
This post contains affiliate links. If you buy through our links, we may earn a small commission at no extra cost to you.
A burst pipe causes an average of $11,000 in water damage. Here’s the complete winterizing checklist — insulation, heat tape, outdoor shutoffs, and what to do if you’re leaving the house empty.
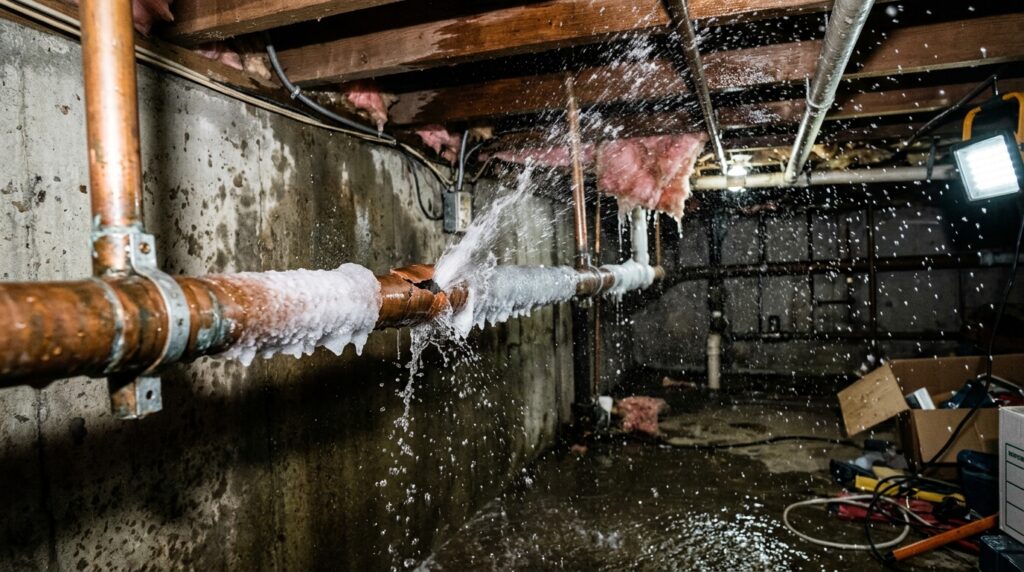
A burst pipe is one of the most expensive home emergencies a homeowner can face — the average claim is $11,000 in water damage, and it’s almost entirely preventable. Water expands when it freezes, and that expansion generates enough pressure to split copper, PVC, and steel pipes.
The vulnerable pipes in most homes are in unheated spaces: crawl spaces, attics, garages, exterior walls, and outdoor faucets. Identifying and protecting these before the first freeze is a 2–3 hour project that costs under $50.
Quick answer: Insulate pipes in unheated spaces with foam pipe insulation, install heat tape on the most vulnerable runs, shut off and drain outdoor faucets, and keep the thermostat at 55°F minimum even when away. Do this before temperatures drop below 28°F for 4+ hours.
⭐ Essential Product:
Frost King PE Foam Pipe Insulation — self-sealing foam tubes that slip over pipes, available in sizes for 1/2-inch to 1-inch pipe (most residential sizes). Around $5 for 6 feet. Buy more than you think you need — you’ll find more exposed pipe than expected.
For the most vulnerable runs: Frost King Electric Heat Cable (~$25 for 9 feet) — plugs into an outlet, wraps around pipe, thermostatically controlled to activate when temperature drops near freezing. Use on pipes in crawl spaces, garages, or exterior walls where insulation alone isn’t enough.
Step 1: Find Your Vulnerable Pipes
Walk your home specifically looking for pipes in unheated or poorly heated spaces. The freeze risk is proportional to how cold the space gets.
High risk — insulate and/or heat tape:
- Pipes in crawl spaces
- Pipes in unheated garages
- Pipes running through exterior walls (especially north-facing)
- Pipes in unheated attics
- Any pipe within 6 inches of an exterior wall
Medium risk — insulate:
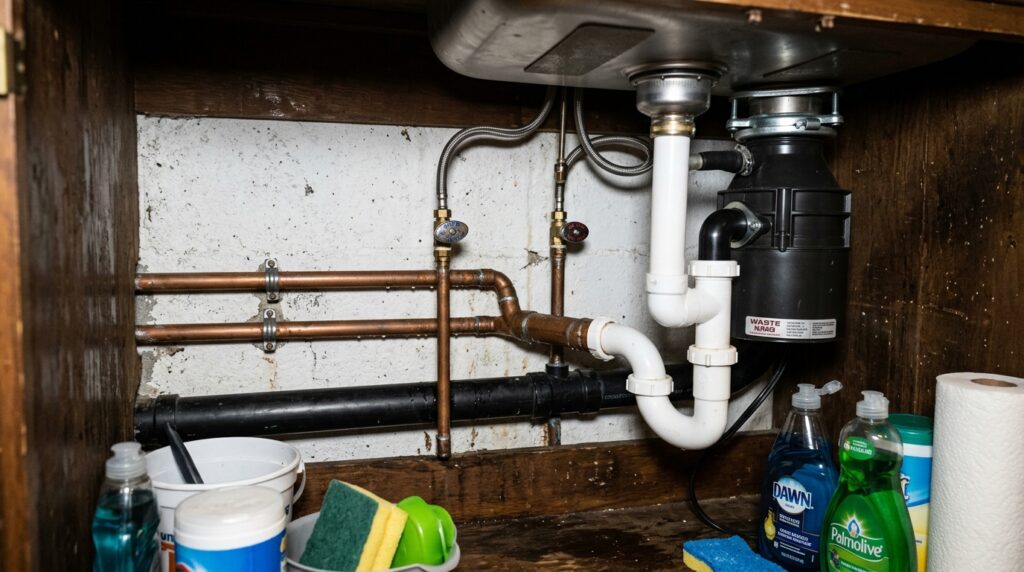
- Pipes under kitchen and bathroom cabinets on exterior walls
- Basement pipes near exterior foundation walls
- Pipes in enclosed porches or sunrooms
Low risk — monitor:
- Interior pipes in heated spaces
- Pipes near water heaters or furnaces
The 28°F rule: Pipes in unheated spaces begin to freeze risk when outdoor temperatures drop below 28°F and stay there for 4+ hours. At 20°F or below, risk is high even with brief exposure.
Step 2: Insulate Exposed Pipes
Foam pipe insulation is the first line of defense for pipes in unheated spaces. It doesn’t generate heat — it slows the rate of heat loss from the pipe, buying time during cold snaps.
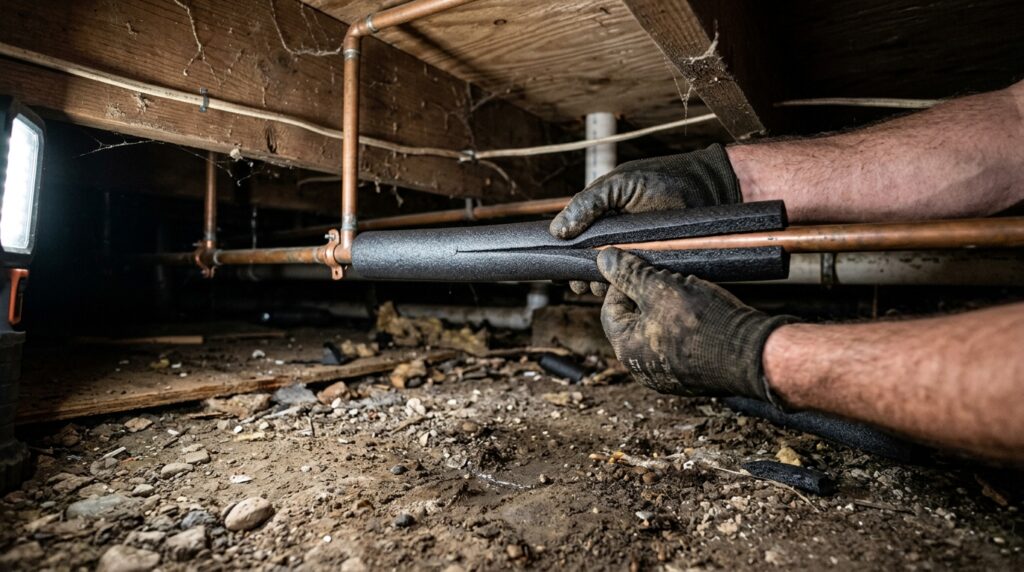
How to Install Foam Pipe Insulation
- Measure the pipe diameter — most residential water pipes are 1/2 inch or 3/4 inch
- Buy foam insulation sized to match (the inner diameter of the foam = the outer diameter of the pipe)
- Slit the foam along the pre-cut seam (most come pre-slit) and snap it around the pipe
- Press the self-adhesive seam closed
- At elbows and joints, cut the foam at 45-degree angles and join pieces tightly
- Tape any gaps with foam pipe tape or duct tape
Cover all exposed pipe in unheated spaces — don’t leave gaps at joints or fittings. Cold air finding a gap defeats the insulation on either side.
Step 3: Install Heat Tape on High-Risk Runs
For pipes in spaces that get very cold (below 20°F regularly, or crawl spaces and garages in cold climates), foam insulation alone may not be enough. Electric heat tape adds active warmth.
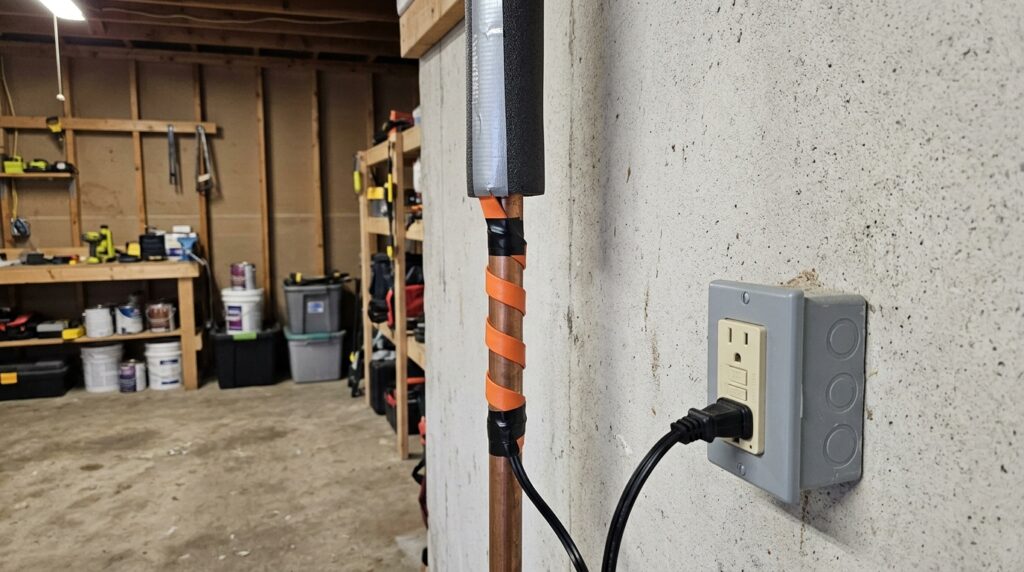
How to Install Heat Tape
- Clean and dry the pipe surface
- Wrap the heat tape in a spiral around the pipe — overlap slightly, don’t cross the tape over itself
- Secure with electrical tape every 12 inches
- Cover the heat tape with foam pipe insulation for maximum efficiency
- Plug into a GFCI outlet (required — moisture and electricity proximity)
- Test before cold weather arrives
Our Pick: Frost King 9-Foot Electric Heat Cable — thermostatically controlled (activates at 38°F, shuts off at 50°F), UL listed, safe to use under insulation. Around $29.
⚠️ Never overlap heat tape on itself — creates hot spots that can start fires. Use only UL-listed products rated for pipe use.
Step 4: Shut Off and Drain Outdoor Faucets
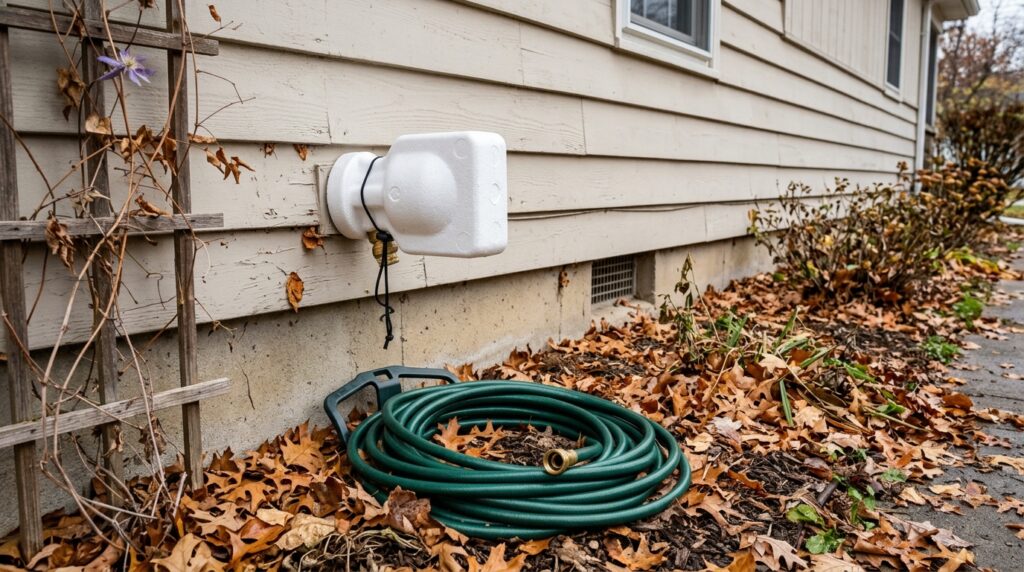
Outdoor hose bibs (spigots) are among the first things to freeze because they’re fully exposed to outside temperature. Even frost-free sillcocks can freeze if a hose is left connected — the hose traps water in the pipe.
Standard Shutoff Process
- Disconnect and store all garden hoses
- Locate the interior shutoff valve for each outdoor faucet — usually in the basement or crawl space on the wall behind the faucet
- Turn the shutoff valve clockwise to close
- Go outside and open the faucet fully to drain remaining water
- Leave the outdoor faucet open slightly (a few turns) — this allows any remaining water to expand without pressure building
- Install an outdoor faucet cover for added insulation
Our Pick: Frost King Outdoor Faucet Cover — foam-insulated cover, fits most standard hose bibs, installs in seconds. Around $7 each. Buy one per outdoor faucet.
If You Have a Frost-Free Sillcock
Frost-free faucets have the shutoff mechanism inside the wall (6–12 inches in), so the water drains back when you close the faucet. They work automatically — but only if no hose is connected. A connected hose prevents drainage and defeats the frost-free design. Always disconnect hoses.
Step 5: Protect Pipes Under Cabinets
Kitchen and bathroom pipes under exterior-wall cabinets are more vulnerable than most homeowners realize — the cabinet door insulates the interior from the room’s heat, and the exterior wall behind the cabinet can get very cold.
During a cold snap (single digit temperatures):
- Open cabinet doors under kitchen and bathroom sinks to allow room heat to reach the pipes
- Let cold water trickle from faucets on exterior walls — moving water freezes at a lower temperature than standing water
For a permanent fix:
- Add pipe insulation to pipes under exterior-wall cabinets
- If there are gaps in the cabinet back where cold air infiltrates, seal with caulk or spray foam
Step 6: Winterize for Extended Vacancy
If you’re leaving the home empty for more than a few days during cold weather, standard thermostat settings aren’t enough. A power outage or furnace failure while you’re away means no heat — and pipes freeze quickly in an empty house.
Option A: Keep Heat On (Easier)
Set thermostat to 55°F minimum — not lower. At 55°F, interior temperatures in walls and cabinets stay above freezing even in very cold weather. This costs roughly $5–$10/day in heating costs.
Option B: Shut Off and Drain the System (Complete Protection)
- Turn off the main water supply at the meter or main shutoff
- Open all faucets (hot and cold) throughout the house to drain the lines
- Flush all toilets and add RV antifreeze to toilet bowls and tank to prevent the remaining water from freezing
- Pour RV antifreeze (not automotive — it’s toxic) into all sink and shower drains to protect P-traps
- Drain the water heater
This is the most thorough protection but requires turning the water back on and flushing antifreeze from lines when you return.
Pipe Winterizing Quick Checklist
Insulation:
All pipes in crawl spaces insulated
All pipes in unheated garage insulated
Pipes on exterior walls or near foundation insulated
No gaps at elbows or fittings
Heat tape (high-risk areas):
Heat tape installed on most vulnerable runs
Heat tape plugged into GFCI outlet
Heat tape tested before cold weather
Outdoor faucets:
All garden hoses disconnected and stored
Interior shutoff valves closed for all outdoor faucets
Outdoor faucets drained and left slightly open
Faucet covers installed
During cold snaps:
Cabinet doors under sinks opened
Faucets on exterior walls trickling if temperatures drop below 10°F
Thermostat set to 55°F minimum
Extended vacancy:
Thermostat at 55°F minimum, OR
Water shut off and system drained with RV antifreeze in traps
Frequently Asked Questions
At what temperature do pipes freeze? Pipes begin to freeze risk when the surrounding air drops below 28°F for 4+ consecutive hours. At 20°F, freezing can occur faster. The risk depends on pipe location — pipes in unheated crawl spaces or exterior walls reach ambient temperature faster than interior pipes. Insulation and heat tape extend the safe range significantly.
How do I know if a pipe has frozen? Turn on a faucet — if only a trickle comes out or nothing comes out at all, a pipe upstream may be frozen. Check pipes in unheated areas for frost on the outside. If you find a frozen pipe, don’t use an open flame to thaw it — use a hair dryer on low heat, working from the faucet end toward the frozen section.
What do I do if a pipe bursts? Immediately turn off the main water shutoff. Then turn on all faucets to drain remaining water from the system. Call a plumber. Document the damage with photos for insurance. Don’t use electricity in flooded areas until it’s confirmed safe.
Is foam pipe insulation enough for a crawl space? In mild climates (rarely below 20°F), foam insulation is usually sufficient. In cold climates (regularly below 10°F), combine foam insulation with heat tape for crawl space pipes. Also seal any crawl space vents during winter — they allow cold air in and dramatically increase freeze risk.
Does letting faucets drip actually prevent freezing? Yes — moving water requires more energy to freeze than standing water. A trickle (not a full drip) from faucets on exterior walls during extreme cold (-10°F to 10°F) is an effective last line of defense when insulation and heat may not be enough. Use cold water only — hot water lines are usually less vulnerable since the water heater adds warmth.
The Bottom Line
Winterizing pipes is a 2–3 hour fall project that prevents a potential $11,000 repair. Insulate pipes in unheated spaces, shut off and drain outdoor faucets, disconnect garden hoses, and keep the heat on at 55°F minimum when away. Add heat tape to the highest-risk runs.
Do it before the first freeze — not during one.
For your complete fall home winterizing checklist, our room-by-room winterizing guide covers pipes plus everything else that needs attention before winter — gutters, weatherstripping, HVAC, and more.
Have questions about your specific pipe situation? Leave a comment below.
Related posts: