
This post contains affiliate links. If you buy through our links, we may earn a small commission at no extra cost to you.
A disorganized pantry wastes food and time. Here’s the zone-based system that works for any pantry size — from a deep cabinet to a walk-in — and actually stays organized.
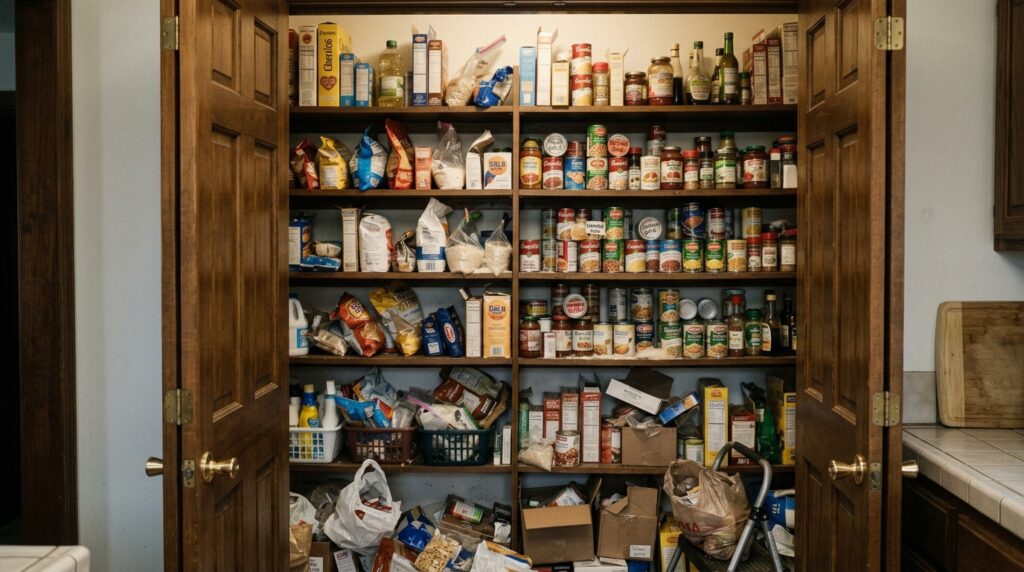
A disorganized pantry costs money — food gets buried, expires, and gets repurchased. The average American household throws away $1,500 in food annually, and a significant portion is from items lost in the back of the pantry.
The fix isn’t more space. It’s a system.
Quick answer: Empty the pantry completely, purge expired and duplicate items, categorize what’s left, assign each category a dedicated zone (baking, canned goods, snacks, breakfast), and add shelf organizers and labels to maintain the zones. Any pantry transforms in 2–3 hours.
⭐ Essential Product:
mDesign Stackable Pantry Organizer Bins (8-packs)— clear plastic, stackable, open front for easy access, fits most pantry shelves. Around $35 for 8. Clear bins let you see contents without pulling everything out — the single biggest upgrade for pantry visibility.
Also useful:
- Lazy Susan turntable (~$12) — for deep shelves where items get buried in the back
- OXO Good Grips Label Maker (~$25) — labels are what keeps the system working after week one
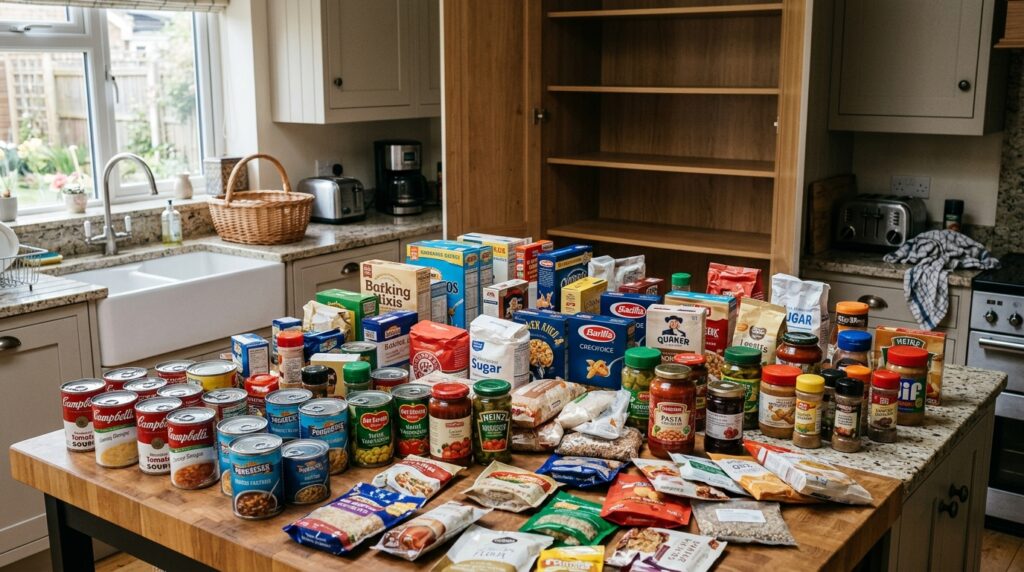
Step 1: Empty the Pantry Completely
Pull everything out. Every can, box, bag, and bottle. Lay it on the counter or kitchen table where you can see all of it at once.
This is the same principle that applies to any organization project — you cannot organize what you cannot fully see. Working around items still on the shelves guarantees you’ll miss things and build a system around clutter.
While the pantry is empty, wipe down the shelves. A clean surface makes everything feel more organized from the start.
Step 2: Purge — Check Every Date
Sort every item into three groups:
- Keep — not expired, something you actually use
- Donate — unexpired but you won’t use it (food banks accept unopened, unexpired items)
- Trash — expired, damaged, or unidentifiable
Check these specifically:
- Spices (most lose potency after 1–2 years, even if not “expired”)
- Baking powder and baking soda (lose effectiveness after 6–12 months)
- Oils (go rancid — smell them if unsure)
- Canned goods (check for dents, rust, or bulging lids)
- Open bags and boxes (check for pantry moths or moisture damage)
Be honest. Items you haven’t used in a year and have no specific plan to use are clutter, not inventory.
Step 3: Categorize What You’re Keeping
Group items by how you use them — not by what they are. Usage-based grouping means everything you need for a task is in one place.
Standard pantry zones:
| Zone | What Goes Here |
|---|---|
| Baking | Flour, sugar, baking soda, powder, extracts, chocolate chips |
| Canned goods | Vegetables, beans, tomatoes, soups, broth |
| Pasta & grains | Pasta, rice, quinoa, oats, breadcrumbs |
| Snacks | Chips, crackers, nuts, granola bars, popcorn |
| Breakfast | Cereal, pancake mix, syrup, nut butters |
| Condiments & sauces | Oils, vinegars, soy sauce, hot sauce, pasta sauce |
| Drinks | Tea, coffee, drink mixes, water packets |
| Kids/specialty | Items used by specific household members |
Not every pantry needs every zone. Create zones that match how your household actually cooks.
Step 4: Plan the Layout
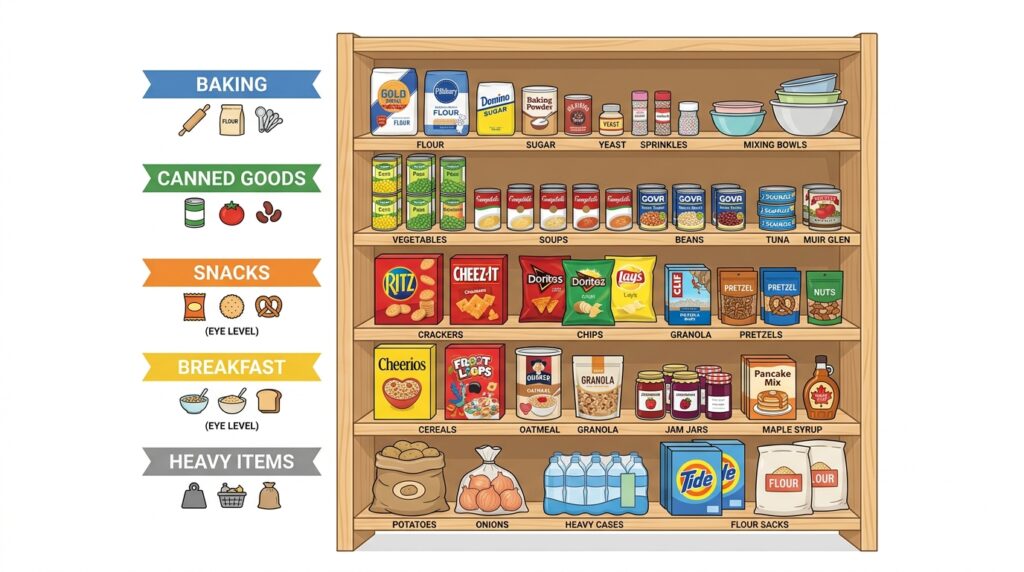
Assign zones to shelf locations before putting anything back.
Rules for shelf assignment:
Eye level: Most-used items. What you reach for daily — snacks, breakfast staples, cooking oils.
Upper shelves: Less-used items. Baking supplies (if you bake occasionally), specialty ingredients, backup stock.
Lower shelves: Heavy items. Large cans, bulk bags of rice or flour, appliances stored in the pantry.
Door (if applicable): Small items. Spice packets, seasoning mixes, small condiments.
Deep shelves need special treatment. Items pushed to the back of a deep shelf disappear. Solutions:
- Lazy Susan for corner or deep shelves (spin to access the back)
- Pull-out drawers or bins (pull the whole bin forward to access)
- Two-tier shelf risers (front row and elevated back row both visible)
Step 5: Add Organizers
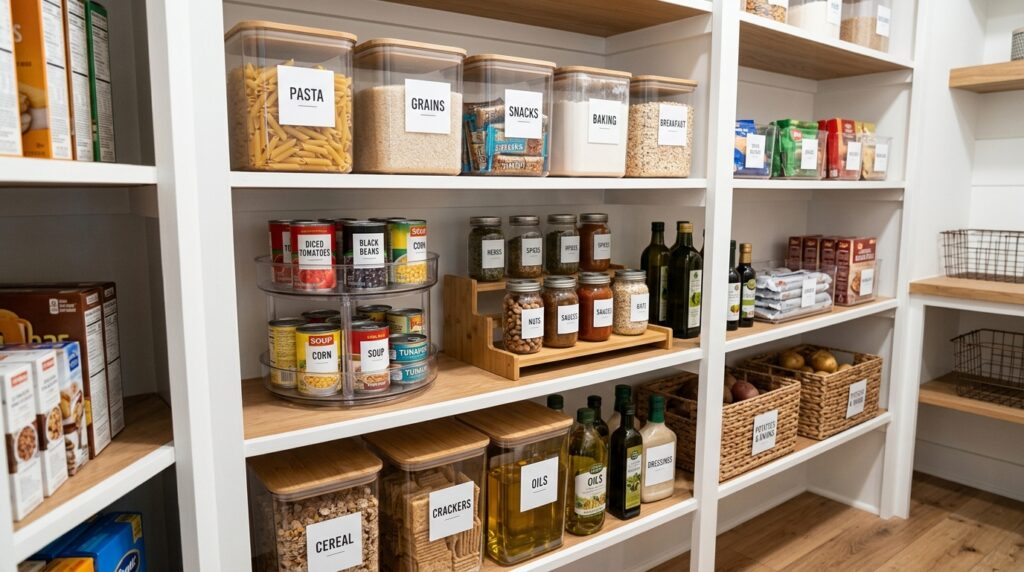
Organizers are what convert a pantry from “sorted once” to “stays organized.” Without them, categories drift within weeks.
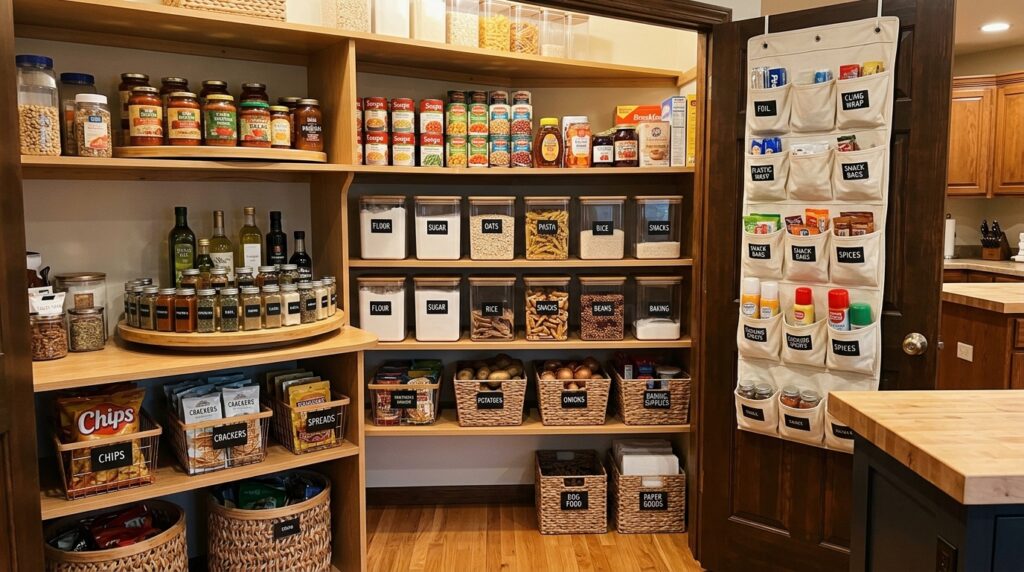
Clear Bins
Group categories into clear bins — one bin per zone or sub-zone. When something runs out, you see the empty bin, not a disorganized shelf. When you shop, everything for a category goes into its bin.
Our Pick: mDesign Stackable Pantry Bins — open front, stackable, clear.
Lazy Susan
For deep shelves or corner cabinets, a two-tier lazy Susan puts everything within reach with a spin. Use one for canned goods, one for condiments.
Our Pick: Copco Non-Skid 2-Tier Lazy Susan — non-slip surface, 11-inch diameter, works in cabinets and on shelves. Around $14.
Shelf Risers
Create a second level on deep shelves so back-row items are visible above front-row items.
Our Pick: SimpleHouseware 2-Tier Expandable Shelf Organizer — expands from 17 to 27 inches, works for cans and jars. Around $16.
Spice Organization
Spices are the most chaotic pantry element for most households. Options:
- Tiered spice rack — shows all spices at once, eliminates searching
- Alphabetical order in a bin — fastest to find
- Door-mounted spice rack — saves shelf space entirely
Step 6: Decant and Label (Optional but High-Value)
Decanting means transferring dry goods (flour, sugar, pasta, rice, cereal) from original packaging into clear airtight containers. Benefits: see quantity at a glance, fits more on shelves, keeps food fresher longer, eliminates half-open bags.
Our Pick: OXO Good Grips POP Containers — airtight, stackable, one-push open. Starter set of 10.
Labeling is what keeps everyone in the household using the system correctly. Label every bin, container, and shelf zone. Labels aren’t just for finding things — they tell other people where things go back.
Pantry Organization Quick Checklist
Before starting:
Counter or table cleared for staging
Trash bag and donation box ready
Cleaning supplies for shelf wipe-down
During organization:
Everything removed from pantry
Every item checked for expiration
Items grouped by usage zone
Layout planned before loading back in
Organizers placed before items
After organization:
Every zone labeled
Heavy items on lower shelves
Most-used items at eye level
Deep shelves have lazy Susan or pull-out bins
Shopping list made for items to restock
How to Keep It Organized Long-Term
Two rules that make the difference:
1. Everything goes back to its zone. Not “somewhere in the pantry” — to its specific bin or area. The 10 seconds it takes to put something back correctly is what separates a maintained pantry from drift back to chaos.
2. Shop to the pantry, not past it. Before grocery shopping, check what’s in each zone. Buy to refill zones, not to add random items. This also reduces food waste significantly.
A monthly 10-minute reset — pulling items to the front, checking dates on anything that’s been sitting — keeps the system functional without a full reorganization.
For the same zone-based approach applied to a larger space, our guide on how to organize a garage covers the same principles at a bigger scale.
Frequently Asked Questions
How long does it take to organize a pantry? A standard reach-in pantry takes 2–3 hours including the purge, layout planning, and loading back in. A walk-in pantry takes 3–5 hours. The purge is always the longest step — expect to spend at least 30–45 minutes sorting and checking dates before touching any organizers.
Do I need to buy organizers or can I use what I have? You can start with what you have — shoe boxes, baskets, empty containers. The goal is zone separation and visibility. Dedicated clear bins are worth buying eventually because they fit shelves efficiently and make contents visible, but they’re not required for the first pass.
What’s the best way to organize a small pantry cabinet? For small pantries, vertical space is the priority. Add a shelf riser to create two levels on each shelf. Use the door with an over-door organizer for small items. Pull-out bins make deep cabinets accessible. Clear bins are especially important in small spaces — you need to see everything at once.
Should I alphabetize my spices? Alphabetical order works if you have more than 20 spices and can’t remember what you have. For smaller collections, grouping by cuisine type (Italian, Asian, Mexican) or by use (baking spices, grilling rubs) is faster in practice. The key is any consistent system with labels.
How do I prevent pantry moths? Pantry moths (Indian meal moths) infest grains, pasta, flour, and dried goods. Prevention: store all dry goods in airtight containers (not original packaging), check new purchases before storing, and add a bay leaf to grain bins — moths dislike bay. If you find moths, discard all infested items, vacuum the shelves, wipe with white vinegar, and transfer all grains to airtight containers.
The Bottom Line
Pantry organization is a purge problem first, a system problem second, and a product problem third. Cut what you don’t use, assign every category a specific zone, add clear bins so everything is visible, and label everything so the system survives daily use.
The payoff is faster meal prep, less food waste, and no more buying duplicates of things you already have buried in the back.
For the closet version of this same approach, our guide on how to organize a closet uses identical principles applied to clothing and accessories.
Have questions about your specific pantry setup? Leave a comment below.
Related posts: