
This post contains affiliate links. If you buy through our links, we may earn a small commission at no extra cost to you.
Wrong cleaner on tile leaves residue, dulls the surface, or damages grout. Here’s the correct method for ceramic, porcelain, and stone tile — including the grout cleaning step most people skip.
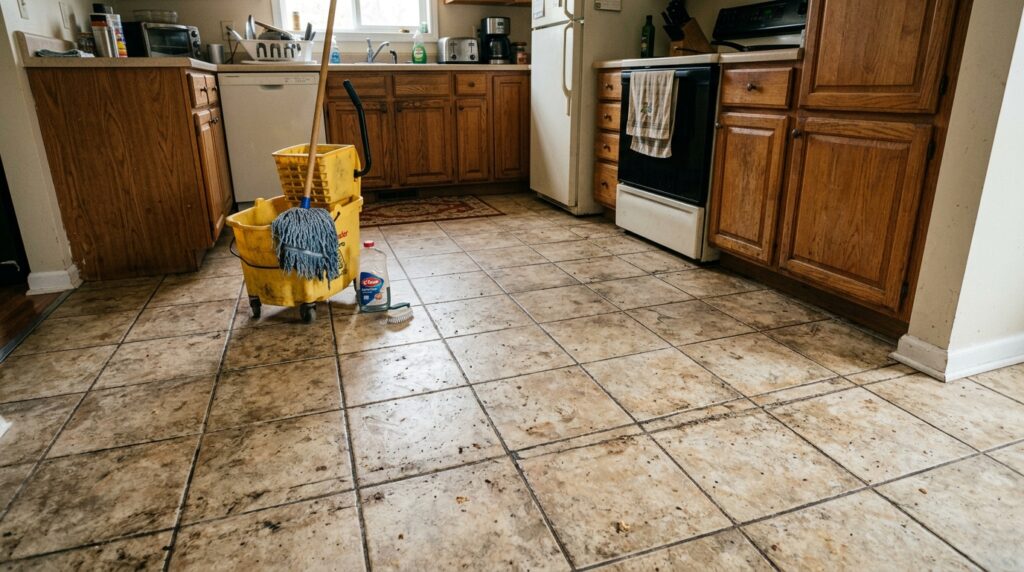
Tile floors are durable and low-maintenance — but they’re not no-maintenance. The wrong cleaner leaves a dull film. Too much water pushes dirt into grout lines. A dry mop without sweeping first grinds grit into the surface.
Most tile cleaning problems come from using the wrong product or skipping the sweep step. Get those two things right and tile floors are genuinely easy to maintain.
Quick answer: Sweep or vacuum first (never skip this), mop with warm water and a pH-neutral cleaner using a microfiber mop, wring thoroughly so the mop is damp not wet, and let air dry. For grout, scrub with a grout brush and oxygen bleach cleaner every 1–3 months.
⭐ Essential Product:
Bona Hard-Surface Floor Cleaner — pH-neutral, no-rinse formula safe for ceramic, porcelain, and most natural stone. Leaves no residue or film. Around $8 for a 32 oz spray bottle. The pH-neutral formula is the key — acidic or alkaline cleaners damage grout and dull stone over time.
For grout: OxiClean Versatile Stain Remover (~$12) mixed with warm water is the most effective DIY grout cleaner — oxygen bleach lifts stains without the harshness of chlorine bleach.
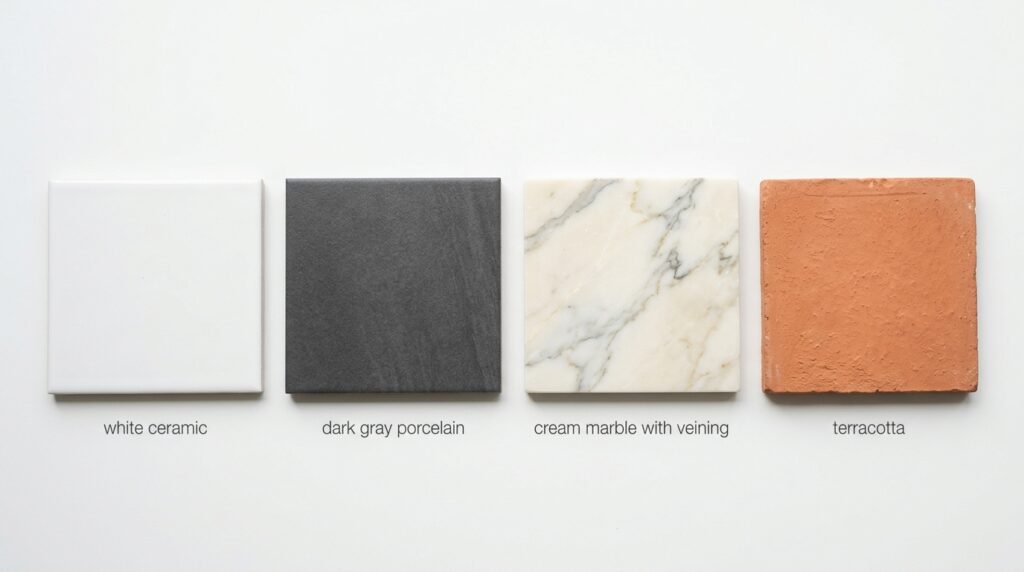
Know Your Tile Type First
Cleaning method varies by tile material — especially for natural stone, which requires different products than ceramic or porcelain.
| Tile Type | Safe Cleaners | Avoid |
|---|---|---|
| Ceramic | pH-neutral cleaner, mild dish soap | Abrasive scrubbers |
| Porcelain | pH-neutral cleaner, steam mop | Bleach (on colored grout) |
| Natural stone (marble, travertine, slate) | pH-neutral cleaner ONLY | Vinegar, lemon juice, any acid |
| Saltillo / terracotta | Mild soap, specialized cleaner | Excessive water, vinegar |
Critical note for natural stone: Vinegar, lemon juice, and acidic cleaners etch marble, travertine, and limestone permanently — damage that cannot be reversed without professional polishing. If you have natural stone, pH-neutral cleaner is non-negotiable.
What You’ll Need
- Broom, dust mop, or vacuum with hard floor attachment
- Microfiber mop (flat head style)
- Bucket
- pH-neutral tile cleaner
- Grout brush (for grout cleaning)
- OxiClean or oxygen bleach (for grout)
- Soft-bristle brush (for stubborn spots)
Our Pick — Mop: Turbo Microfiber Mop Floor Cleaner — flat microfiber head, reusable washable pads, adjustable handle. Around $30. Microfiber picks up significantly more dirt than traditional string mops and leaves less water on the floor.
Step 1: Sweep or Vacuum First — Always
This step is non-negotiable. Mopping over loose grit and debris scratches the tile surface and pushes dirt into grout lines.
Use a broom with fine bristles, a dry dust mop, or a vacuum with a hard floor attachment (not a beater bar — it can scratch tile). Get corners and along baseboards where grit accumulates.
Frequency: Sweep high-traffic tile floors daily or every other day. Mopping without sweeping is always the wrong order.
Step 2: Mop with the Right Solution
Mix Your Cleaning Solution
For most ceramic and porcelain tile: mix 1/4 cup pH-neutral cleaner per gallon of warm water. Warm water cuts grease better than cold; hot water can crack grout seals over time with repeated use.
Avoid:
- Vinegar (damages grout and natural stone)
- Oil-based soaps (leave residue)
- Too much soap (creates film buildup — more soap is not better)
- Steam mops on natural stone (heat opens pores and accelerates staining)
Mop Technique
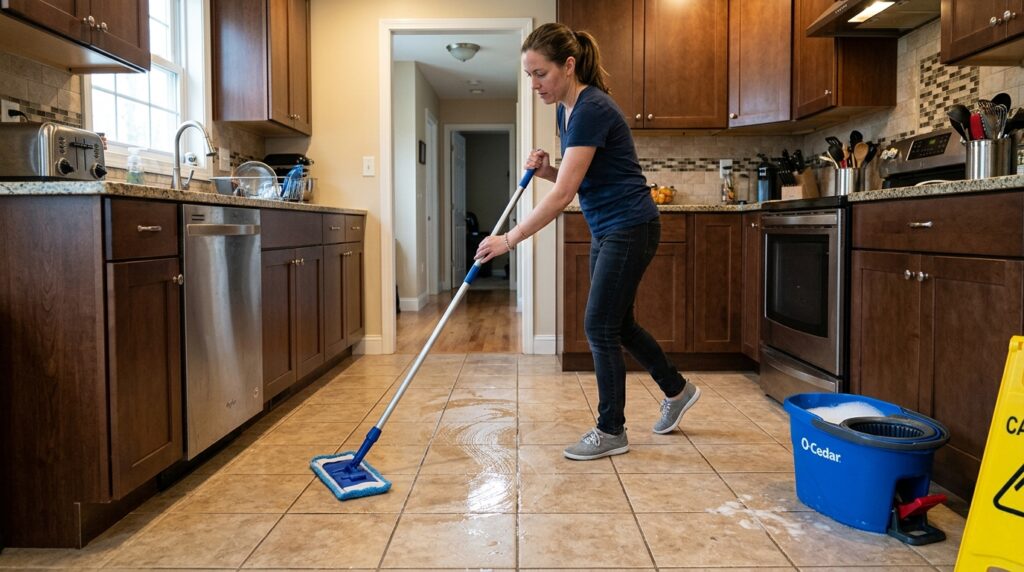
Wring thoroughly. The mop should be damp, not dripping. Excess water seeps into grout lines, loosens grout over time, and can damage subfloor materials in wood-framed homes.
Work in sections, mopping in a figure-8 or S-pattern — this keeps the mop head moving in a consistent direction and prevents pushing dirt into already-clean areas.
Work backward from the far corner toward the exit so you don’t step on clean floor.
Change the mop water when it turns visibly dirty — mopping with dirty water leaves a film and redistributes soil.
Step 3: Handle Stubborn Spots
For stuck-on grime, food residue, or soap scum:
- Apply a small amount of cleaner directly to the spot
- Let sit 2–3 minutes to loosen
- Scrub with a soft-bristle brush (not steel wool — scratches tile glaze)
- Wipe clean and continue mopping
For grease (kitchen tile): A few drops of dish soap on a damp cloth, scrubbed directly on the grease spot, then rinsed clean with the mop.
For soap scum (bathroom tile): Mix equal parts water and hydrogen peroxide, apply, let sit 5 minutes, scrub, and rinse.
Step 4: Clean the Grout
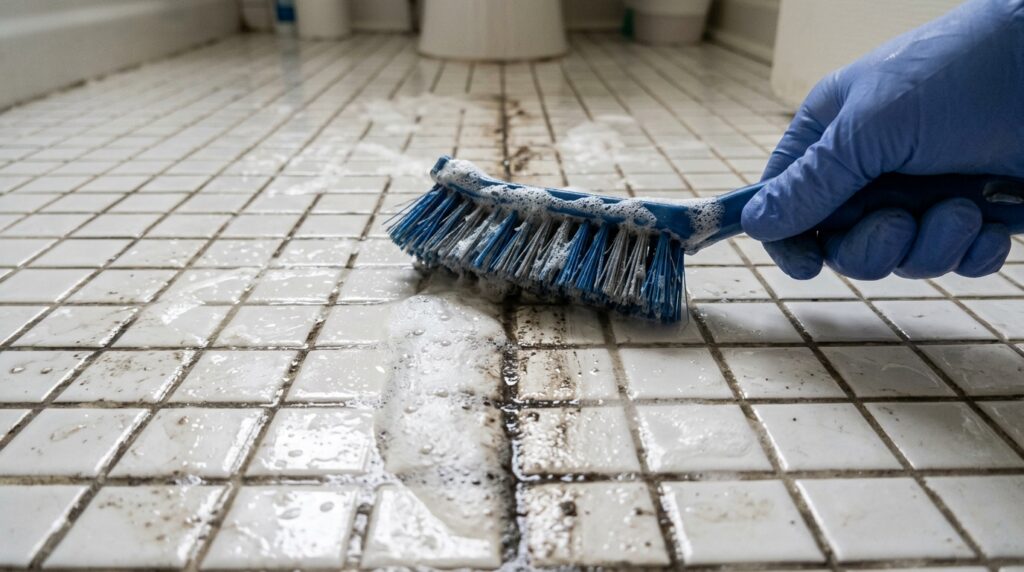
Grout is porous and stains easily — it’s the reason tile floors look dirty even after mopping. Regular grout cleaning (every 1–3 months) keeps grout from reaching the deep-stain stage that requires professional cleaning or regrouting.
DIY Grout Cleaning Method
- Mix OxiClean with warm water per package directions (roughly 1 scoop per 2 cups water)
- Apply to grout lines with a brush or spray bottle
- Let sit 5–10 minutes — oxygen bleach works as it sits
- Scrub with a stiff grout brush, working in small sections
- Rinse thoroughly with clean water — leftover OxiClean residue can lighten grout if left too long
Our Pick — Grout Brush: Tilley Grout Brush with Stiff Bristles — narrow head fits grout lines exactly, stiff nylon bristles. Around $8.
For very dark or stained grout: Apply a paste of baking soda + hydrogen peroxide directly to the grout line, let sit 10 minutes, scrub, and rinse. This is more aggressive than OxiClean solution and effective on set-in stains.
Grout Sealing
After deep cleaning, seal the grout with a penetrating grout sealer. Sealer fills the pores in the grout, dramatically reducing staining. Apply every 1–2 years.
Our Pick: Granite Gold Sealer for Natural Stone & Grout — penetrating spray sealer, safe for natural stone, marble, granite, and all grout types. Around $20 for 24 oz spray.
Step 5: Dry the Floor
Let the floor air dry — usually 10–15 minutes with good ventilation. In bathrooms with poor ventilation, run the exhaust fan or open a window.
Walking on a wet tile floor redistributes soil and leaves footprints. Keep traffic off until fully dry.
Tile Floor Cleaning Quick Checklist
Regular cleaning (weekly or as needed):
Swept or vacuumed before mopping
pH-neutral cleaner used (not vinegar, not oil soap)
Mop head wrung thoroughly — damp, not wet
Mop water changed when visibly dirty
Worked backward toward exit
Floor left to air dry
Deep cleaning (monthly or as needed):
Stubborn spots pre-treated and scrubbed
Grout cleaned with OxiClean solution and grout brush
Grout rinsed thoroughly after cleaning
Floor fully dried before traffic
Maintenance (annual):
Grout sealer applied after deep cleaning
Cracked or missing grout sections repaired
Frequently Asked Questions
Can I use vinegar to clean tile floors? For ceramic and porcelain tile surfaces, diluted vinegar works — but it degrades grout over time with repeated use. For natural stone (marble, travertine, limestone), never use vinegar — it etches the surface permanently. A pH-neutral cleaner is safe for all tile types and doesn’t risk grout damage.
Why does my tile floor look streaky after mopping? Streaks are almost always from too much cleaner (soap residue) or a dirty mop. Use less cleaner than you think you need — a light solution is more effective than a heavy one. Change mop water more frequently. If streaks persist, mop with plain warm water to rinse the residue.
How often should I mop tile floors? High-traffic areas (kitchen, entryway) benefit from weekly mopping. Lower-traffic areas (bathroom, laundry room) can go 2–4 weeks between moppings. Sweep or vacuum regardless of mopping frequency — daily sweeping in high-traffic areas prevents scratch damage.
Can I use a steam mop on tile floors? Steam mops are safe for ceramic and porcelain tile with intact grout. Avoid steam on natural stone (heat opens pores), on tile with cracked grout (steam forces water into subfloor), or on saltillo and terracotta (too porous). When in doubt, stick with a damp microfiber mop.
My grout is gray/black even after cleaning. What now? Deeply stained grout that doesn’t respond to OxiClean may need a stronger treatment: a commercial grout cleaner with bleach, or professional cleaning. If the grout is permanently discolored, grout colorant (a pigmented sealer) can restore a uniform color without regrouting — faster and cheaper than full regrouting.
The Bottom Line
Tile floors stay clean with the right sequence: sweep first, mop damp with pH-neutral cleaner, clean grout every 1–3 months, seal grout annually. The most common mistakes are mopping without sweeping, using vinegar or too much soap, and ignoring the grout until it’s visibly black.
For tile installation and repair, our guide on how to grout tile covers the full process — useful if your grout is damaged beyond cleaning and needs replacing.
Have questions about your specific tile situation? Leave a comment below.
Related posts: