
This post contains affiliate links. If you buy through our links, we may earn a small commission at no extra cost to you.
Installing a bathroom vanity looks complicated but breaks down into four simple stages: remove the old one, set the new cabinet, connect the plumbing, and caulk the edges. Here’s the full process.
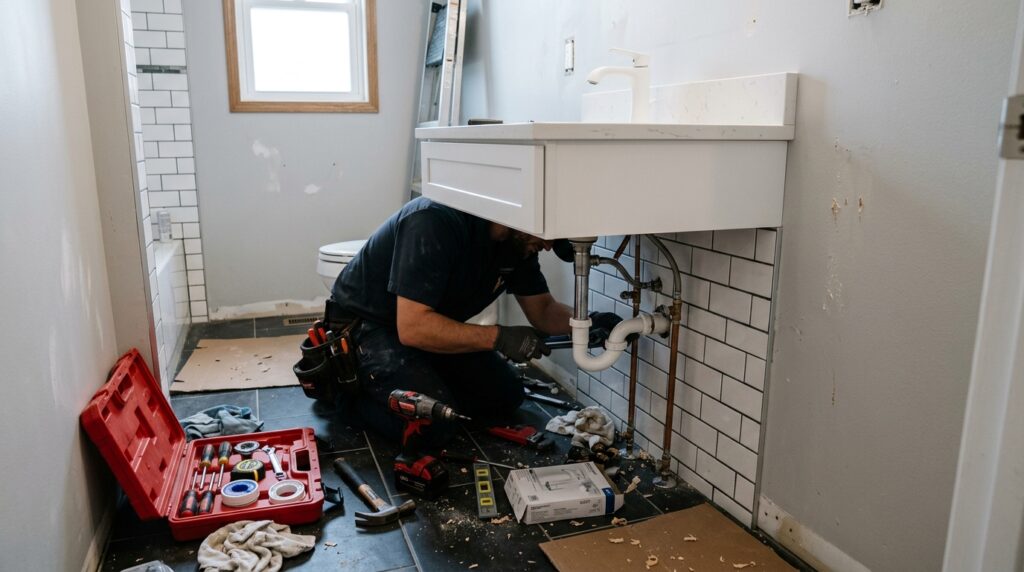
Replacing a bathroom vanity is one of the highest-impact bathroom upgrades you can make — and one of the most overpriced contractor jobs. Labor runs $200–$400 for a job that takes 3–4 hours and requires no special skills beyond basic plumbing comfort.
The plumbing connections on a vanity are the same connections you’d make replacing a faucet — shutoff valves, supply lines, and a P-trap. If you’ve replaced a faucet before, a vanity is the next level up.
Quick answer: Shut off the water, disconnect and remove the old vanity, mark stud locations, set the new cabinet level and secure to studs, connect the supply lines and P-trap, install the countertop and faucet, caulk the perimeter, and restore water. Budget a full day for the first installation.
⭐ Essential Product:
Eastman Faucet Connector Supply Lines (2-pack) — braided stainless steel, 3/8-inch compression × 1/2-inch FIP, fits most residential shutoff valves. Around $10. Replace supply lines whenever you replace a vanity — old lines are a leading cause of under-sink water damage.
Also needed:
- P-trap kit (~$8) — PVC drain assembly with all fittings
- DAP 100% Silicone Caulk (~$7) — for sealing vanity to wall and countertop to wall

Before You Start: What to Buy and Measure
Measure the Space
- Width: Standard vanities come in 18, 24, 30, 36, 48, and 60-inch widths. Measure your existing vanity width and the available wall space.
- Depth: Standard depth is 21 inches. Confirm you have clearance for the door swing.
- Height: Standard vanity height is 31–32 inches (traditional) or 34–36 inches (comfort height). Measure from floor to existing countertop.
Check Plumbing Locations
Note where the drain pipe exits the wall (or floor) and where the supply lines come out. Your new vanity needs to accommodate these locations — most vanities have a back panel that can be cut for plumbing access.
Faucet — Pre-Install Before Setting the Vanity
If your new countertop or sink requires a faucet, install the faucet and drain assembly before the vanity goes against the wall. Working from above while the countertop is on a counter is far easier than lying on the bathroom floor.
Faucet: Moen Adler Two-Handle Bathroom Faucet — widespread two-handle, brushed nickel, WaterSense certified. Around $60. Reliable brand with excellent parts availability.
Step 1: Shut Off Water and Disconnect Old Vanity
- Turn off the hot and cold shutoff valves under the sink (clockwise to close)
- Turn on the faucet to release pressure and drain remaining water
- Place a bucket under the P-trap
- Disconnect the supply lines from the shutoff valves (have a towel ready)
- Loosen the P-trap slip nuts and remove the trap — water will drain into the bucket
- If the countertop is caulked to the wall, cut the caulk line with a utility knife
- Remove the countertop (may be screwed down from inside the cabinet or just sitting on top)
- Look inside the cabinet for screws securing it to the wall studs — remove them
- Pull the cabinet away from the wall
Step 2: Prepare the Wall
With the old vanity removed:
Locate and Mark Studs
Use a stud finder to locate studs behind where the new vanity will sit. Mark stud locations with painter’s tape or pencil above where the vanity top will land — you’ll lose the marks once the cabinet is in place.
Most bathroom walls have studs at 16-inch intervals. You need at least two studs to secure the vanity securely.
Inspect for Water Damage
Check the wall and floor where the old vanity sat. Look for:
- Soft or discolored drywall (water damage from old plumbing leaks)
- Mold on the wall or subfloor
- Damaged flooring under the vanity footprint
Address any water damage before installing the new vanity — it will be inaccessible again once the new cabinet is in place.
Clean Up
Remove any old caulk residue from the wall. Sand smooth if needed. The back wall where the new vanity sits doesn’t need to be perfect, but remove any large bumps that would prevent the cabinet from sitting flush.
Step 3: Set the Cabinet Level and Secure to Wall
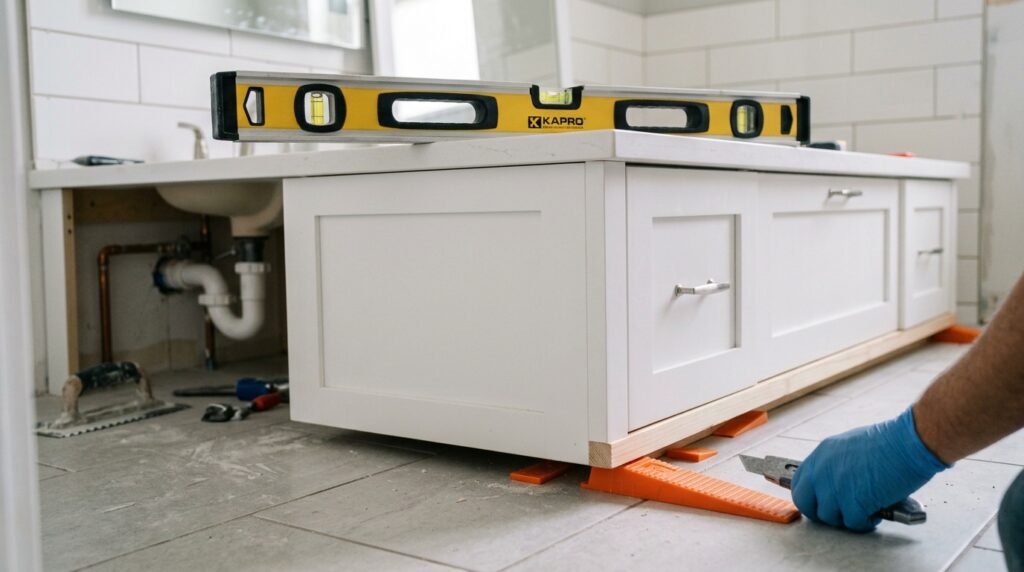
This is the most important step — an unlevel vanity causes the countertop to look crooked, doors to swing open on their own, and drawers that don’t close properly.
- Slide the new cabinet into position
- Place a 4-foot level on top of the cabinet — check side to side and front to back
- If the floor is uneven (common in older homes), shim the low corners with plastic shims until the cabinet reads level
- Once level, mark the wall through the pre-drilled mounting holes inside the cabinet (most vanities have 2–4 mounting holes at the back top rail)
- Drive 3-inch wood screws through the mounting holes into the wall studs
- Check level again after securing — screwing into a stud can pull the cabinet slightly
If no studs align with the mounting holes: Use toggle bolts rated for the vanity weight. Less ideal than stud mounting but adequate for most standard-weight vanities.
Step 4: Connect the Plumbing
Install the Countertop (If Separate)
If your vanity has a separate countertop:
- Apply a thin bead of silicone caulk to the top perimeter of the cabinet
- Set the countertop in place
- Let the silicone cure per package instructions before applying weight
Connect the Drain
- Thread the drain body through the sink drain hole from above
- From below, thread on the drain nut with plumber’s putty under the drain flange (or use the included gasket — don’t use both)
- Tighten hand-tight plus 1/4 turn — over-tightening cracks porcelain sinks
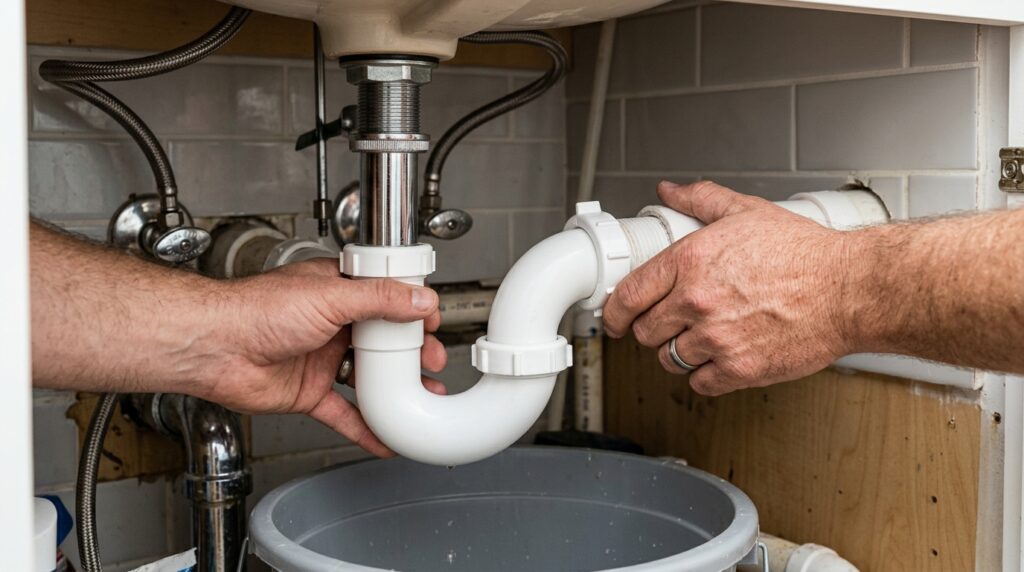
Connect the P-Trap
- Slide the P-trap onto the drain tailpiece below the sink
- Connect the horizontal arm of the P-trap to the drain stub-out in the wall
- Hand-tighten the slip nuts — snug, not over-tightened (PVC threads strip easily)
- Check that the P-trap has a slight downward slope toward the wall drain
Connect the Supply Lines
- Connect the supply lines to the faucet inlets below the sink (hand-tight plus 1/4 turn)
- Connect the other end to the shutoff valves — thread on, then tighten with a wrench (1/4 turn past hand-tight)
- Do not overtighten — supply line connections only need to be snug
Step 5: Restore Water and Test
- Turn on the shutoff valves slowly (counterclockwise)
- Let water fill the supply lines
- Check all connections for drips — supply lines, P-trap slip joints, drain
- Run the water and watch the P-trap for leaks
- Fill the sink and let it drain — check the P-trap again
If any connection drips: Turn off the water, dry the connection, and tighten slightly. For supply line connections, use thread seal tape (Teflon tape) on the threads if they won’t seal.
Step 6: Caulk and Finish
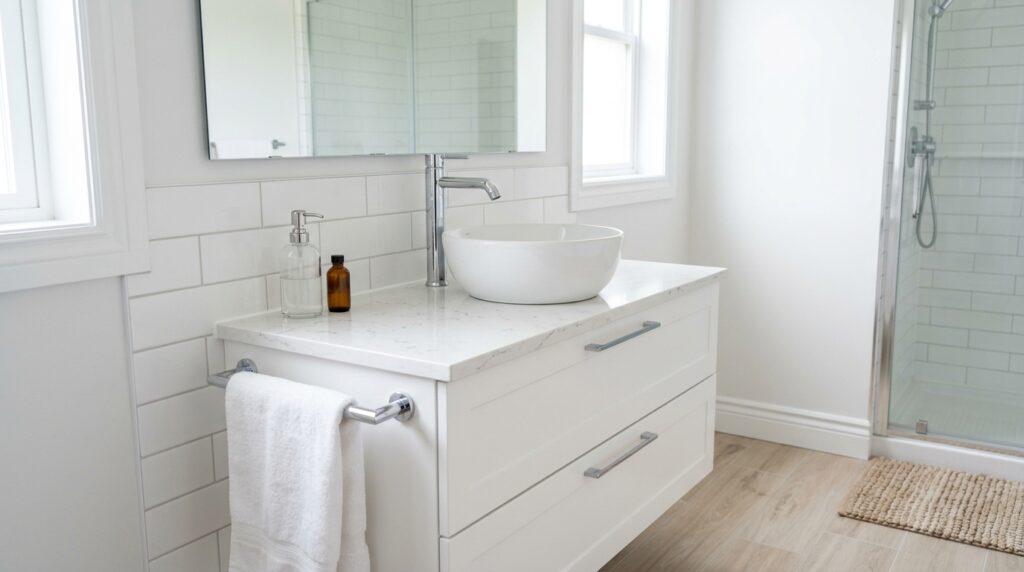
- Apply a thin bead of 100% silicone caulk where the countertop meets the wall
- Apply caulk where the side of the vanity meets the wall (if there’s a gap)
- Smooth with a wet finger in one continuous pass
- Let cure 24 hours before using the sink
Install the mirror, light fixture, and any accessories that were removed with the old vanity. Reinstall outlet covers if removed during the job.
Vanity Installation Quick Checklist
Before starting:
New vanity measured against space
Stud locations found and marked
Faucet and drain pre-installed in countertop
All materials gathered (supply lines, P-trap, caulk, shims, screws)
Installation:
Old vanity fully disconnected and removed
Wall inspected for water damage
New cabinet level (both directions)
Cabinet secured to studs with 3-inch screws
Countertop set and caulked to cabinet
Drain connected with proper putty or gasket
P-trap connected with slight downward slope
New supply lines connected at both ends
After installation:
Water turned on slowly
All connections checked for drips
Sink filled and drained — P-trap checked
Perimeter caulked and smoothed
24-hour cure before use
Frequently Asked Questions
Do I need a permit to replace a bathroom vanity? Like-for-like vanity replacement (same location, same drain and supply connections) typically doesn’t require a permit in most jurisdictions. Moving plumbing or adding new plumbing lines does. Check with your local building department if you’re unsure — it’s a 2-minute call.
Can I install a vanity without disconnecting the water supply? No — the supply lines must be disconnected to remove the old faucet and connect the new one. The shutoff valves under the sink make this a 10-second step. If the shutoff valves are seized or don’t fully stop the flow, replace them before starting the vanity installation.
My new vanity is narrower than the old one. What about the gap on the sides? Options: install the vanity centered on the wall and caulk the side gaps (works for gaps up to 1/2 inch), add side panels to extend the vanity to the wall, or tile the exposed wall section. For larger gaps, matching the wall tile or paint is the cleanest solution.
How do I cut the vanity back panel for plumbing? Mark the drain and supply line locations on the back panel (measure from the floor and from the side wall). Cut with a jigsaw or hole saw. Cut slightly oversized — the connections need some room and the gap will be hidden by the cabinet interior.
Can I install a vessel sink vanity myself? Yes — vessel sinks follow the same process but use a taller drain assembly (the drain body is longer to reach through the countertop to the P-trap). The faucet also needs to be taller (vessel faucet) to reach over the sink rim. Otherwise identical installation.
The Bottom Line
Installing a bathroom vanity is a full-day project that saves $200–$400 in contractor labor. The plumbing connections are simple — shutoff, supply lines, P-trap — and the most important step is getting the cabinet level before securing it to the wall.
Pre-install the faucet and drain before setting the vanity, replace the supply lines while you’re in there, and take your time on the level check. Everything else follows from those three.
For the faucet installation detail, our guide on how to replace a bathroom faucet covers the under-sink connections in more detail — the same process applies here.
Have questions about your specific vanity situation? Leave a comment below.
Related posts: