
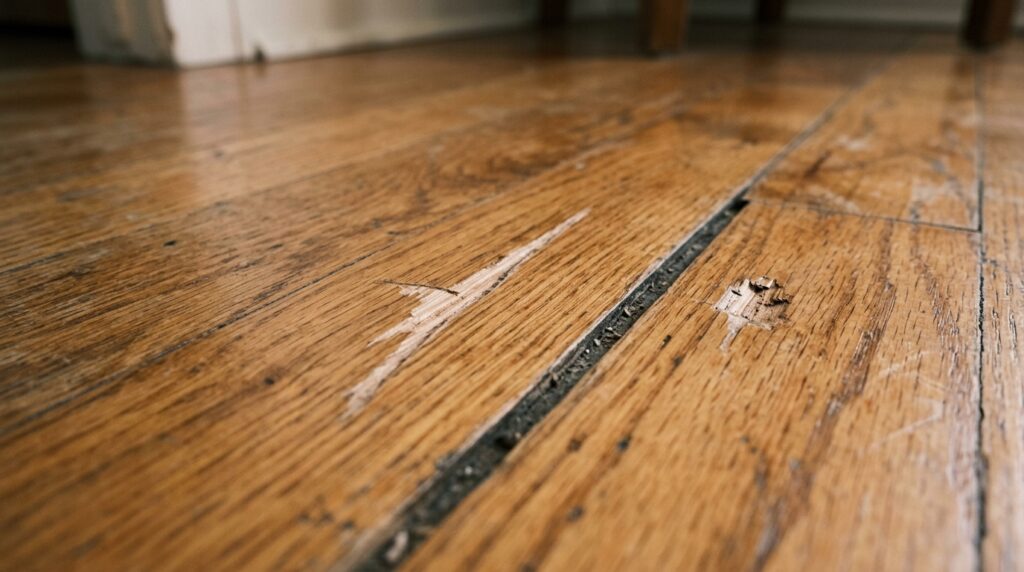
Scratches, gouges, squeaks, and gaps — most hardwood floor damage is a $10–$30 DIY fix. Here’s how to diagnose and repair each type without calling a contractor.
This post contains affiliate links. If you buy through our links, we may earn a small commission at no extra cost to you.
Hardwood floors look like a big investment to repair, but most common damage — scratches, small gouges, squeaks, gaps between boards — is a DIY fix that costs under $30 and takes less than an hour. The repairs that require a professional (full refinishing, replacing multiple boards over a large area) are less common than most homeowners think.
This guide covers the four most common hardwood floor problems and how to fix each one yourself.
Quick answer: For surface scratches, use a stain marker or scratch repair kit matched to your floor color. For gouges, use wood filler tinted to match, sand flush, and apply finish. For squeaks, drive screws through the subfloor from below or use a powdered graphite lubricant from above. For gaps, use rope caulk in winter and wait — seasonal gaps often close on their own in summer.
What You’ll Need
Depending on the repair type:
- Scratches: Wood stain marker or scratch repair kit
- Gouges: Wood filler (stainable), putty knife, sandpaper (120 and 220-grit), finish (polyurethane or matching floor finish)
- Squeaks: Powdered graphite, screws, or squeak-fix kit
- Damaged boards: Circular saw, chisel, pry bar, replacement boards, flooring nailer or construction adhesive
Our Top Pick — Scratch Repair: Minwax Wood Finish Stain Marker — available in 12 wood tones, fills and colors minor scratches in one step. Around $6. Buy 2 tones if your floor is between shades and blend.
Our Pick — Gouge Repair: Elmer’s E855 Carpenter’s Wood Filler — stainable, sandable, works on all wood species. Around $7. For deeper gouges, apply in layers — let each layer dry before adding the next.
Our Pick — Squeak Fix: O’Berry Enterprises SQUEEEEEK-No-More Kit — drives a special screw from above through carpet or hardwood into the subfloor, then snaps off flush. Around $25. Works without access to the floor below.
Repair 1: Surface Scratches
Surface scratches are the most common hardwood floor complaint and the easiest to fix. If the scratch hasn’t cut through the finish into the raw wood, it’s essentially a finish scratch — not a wood scratch.
Identify the Depth
Run your fingernail across the scratch. If your nail doesn’t catch in it, it’s a finish scratch. If your nail catches, it’s penetrated into the wood fiber.
Fix a Finish Scratch
Apply a small amount of paste wax or floor polish to the scratch and buff in a circular motion. The wax fills the micro-scratch in the finish and restores the sheen. For light scratches, this is often invisible after buffing.
Fix a Wood Scratch
Use a stain marker matched to your floor color. Apply along the scratch, let sit 60 seconds, then wipe away the excess with a clean cloth. The stain penetrates the exposed wood fiber and colors it to match the surrounding floor. Finish with a thin coat of floor finish or paste wax over the repaired area.
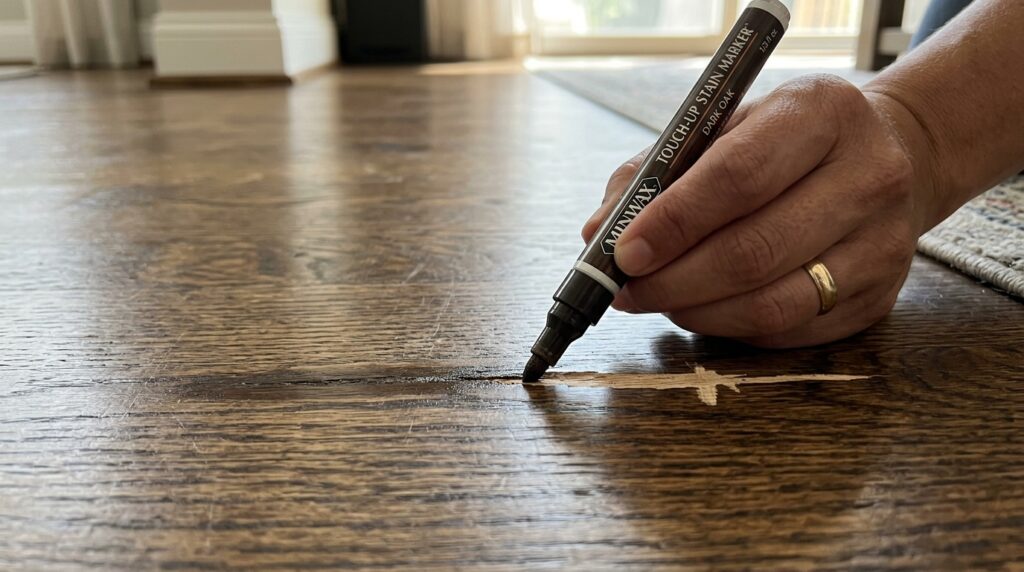
Color matching tip: Test the marker on an inconspicuous area (inside a closet, behind a door) before applying to a visible scratch. Wood floors vary in tone across the same room — most repairs need a blend of two markers to match well.
Repair 2: Gouges and Deep Scratches
Gouges are deeper damage — furniture legs dropped, pet claws, high heels — that remove wood fiber rather than just scratching the surface.
Step 1: Clean and Dry the Area
Remove any debris from the gouge. The wood and surrounding finish must be clean and dry before applying filler.
Step 2: Apply Wood Filler
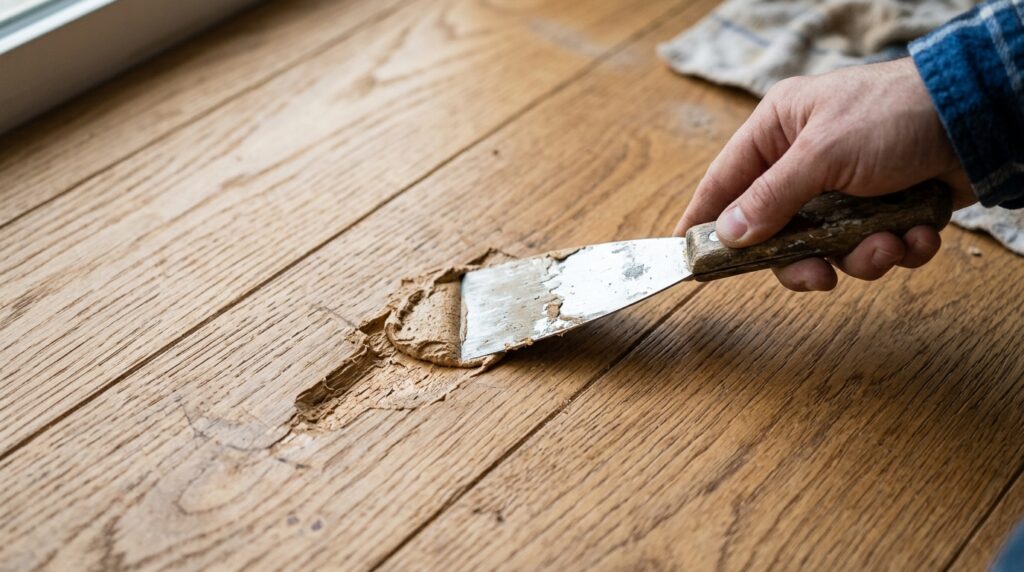
Choose a stainable wood filler that matches your wood species as closely as possible. Apply with a putty knife, slightly overfilling the gouge — the filler shrinks as it dries.
For deep gouges, apply in two layers: fill halfway, let dry completely (1–2 hours), then apply the second layer to bring it flush.
Step 3: Sand Flush
Once fully dry, sand the filled area flush with the surrounding floor. Start with 120-grit sandpaper, then finish with 220-grit. Sand with the grain — never across it.
Step 4: Stain (If Needed)
If the filler is lighter than the surrounding wood, apply a matching stain with a small brush. Wipe excess after 60 seconds. Let dry fully.
Step 5: Apply Finish
Apply one thin coat of matching floor finish (polyurethane, oil-based, or water-based depending on your existing floor) over the repaired area. Feather the edges into the surrounding finish to blend. Let cure per product instructions before walking on it.
⚠️ Perfect color matching on a gouge repair is difficult without professional experience. The goal is “much better, not noticeable from standing height” — not invisible. Manage expectations and you’ll be satisfied with the result.
Repair 3: Squeaky Floors
Squeaks happen when wood rubs against wood — either boards rubbing against each other, boards rubbing against the subfloor, or the subfloor rubbing against joists. The fix depends on whether you have access from below.
Fix With Access From Below (Basement or Crawl Space)
Have someone walk on the squeaky area while you watch from below. Identify which joist the squeak is near. Drive a short screw up through the subfloor into the bottom of the hardwood — long enough to pull the two layers together, short enough not to break through the top surface. A ¾-inch screw for ¾-inch hardwood is typical; measure your floor thickness first.
This is the most reliable squeak fix. Direct access makes it a 10-minute job.
Fix Without Access From Below
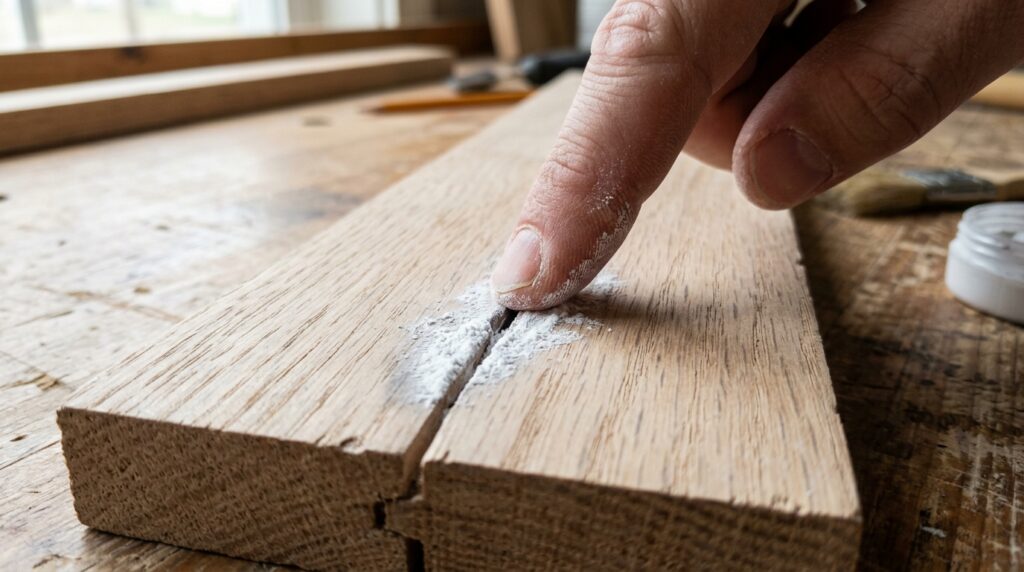
Powdered graphite method: Force powdered graphite lubricant into the gaps between the squeaking boards. Walk on the boards to work the graphite in. This lubricates the wood-on-wood contact and often eliminates or significantly reduces the squeak. Wipe away excess.
Squeak No More kit: Drive the special screw from above through the hardwood and subfloor into the joist, then snap off the screw head below the surface using the kit’s driver. The small hole left behind is barely visible and can be filled with a matching stain marker.
Flooring screws from above: For a more permanent fix without the specialized kit, drive a finish nail or thin flooring screw at an angle through the face of the board and into the subfloor. Set the head below the surface and fill with a matching wood filler.
Repair 4: Gaps Between Boards
Gaps between hardwood boards are often seasonal — wood shrinks in dry winter air and expands in humid summer air. Before repairing, identify which type you have.
Seasonal Gaps (Normal)
Small gaps (up to ¼ inch) that appear in winter and close in summer are normal for solid hardwood floors. They require no repair — filling them in winter traps the filler and causes boards to buckle when they expand in summer.
How to tell: Measure the gap in winter and again in summer. If it closes significantly, it’s seasonal.
Permanent Gaps (Need Repair)
Gaps that don’t close in summer are permanent — caused by moisture damage, installation errors, or boards that have shrunk beyond seasonal variation.
Fix for small permanent gaps: Rope caulk (also sold as “draft stopper caulk”) matches wood tones and stays flexible — it won’t crack when boards move slightly. Apply along the gap, press in, wipe smooth, let dry.
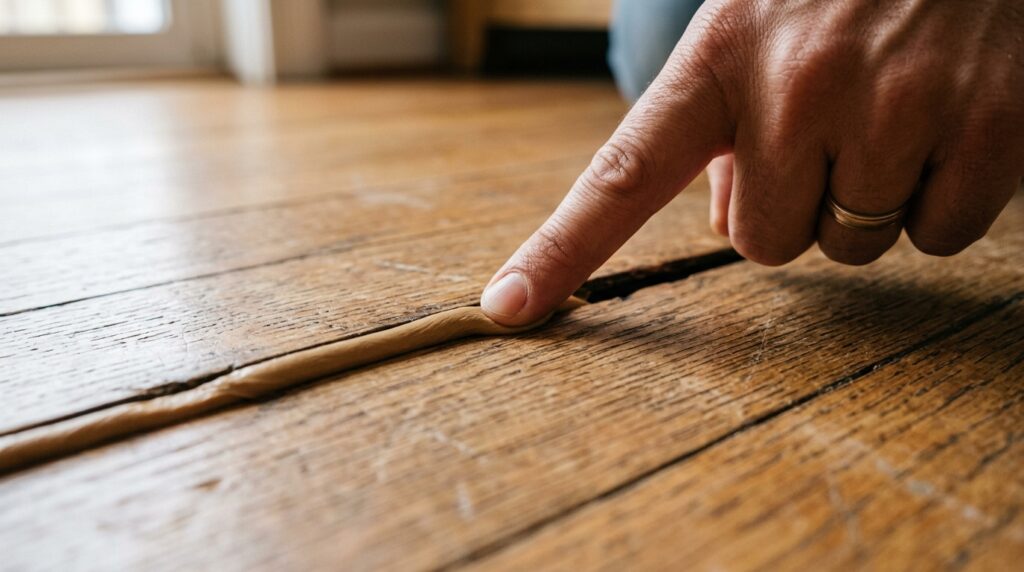
Fix for large permanent gaps: This is a job for a flooring professional. Large gaps often indicate a systemic moisture issue or subfloor movement that needs diagnosis before repair.
Repair 5: Replacing a Damaged Board
A board that’s deeply gouged, cupped, cracked, or rotted beyond surface repair needs to be replaced. This is the most involved hardwood floor repair — budget 2–4 hours.
Step 1: Score the Board
Use a circular saw set to the exact depth of the hardwood (typically ¾ inch) to cut along the length of the damaged board, staying inside the tongue and groove edges. Make two parallel cuts to divide the board into thirds.
Step 2: Chisel Out the Middle Section
Use a chisel to pop out the middle section of the board. Work carefully — you’re trying not to damage adjacent boards.
Step 3: Remove the Remaining Pieces
Chisel out the tongue and groove edges. Remove any remaining nails or staples from the subfloor.
Step 4: Prepare the Replacement Board
Cut the replacement board to length. Remove the bottom of the groove (the lower lip) with a chisel so the board can be dropped in from above — you won’t be able to slide it in from the side.
Step 5: Install and Secure
Apply construction adhesive to the subfloor and set the replacement board in place. Face-nail through the top surface with finish nails, set the heads, and fill with matching wood filler.
Step 6: Sand and Finish
Hand-sand the replacement board to match the level of surrounding boards. Apply stain to match, then finish coats.
Matching stain and finish on a replacement board is the hardest part — new wood takes stain differently than aged wood. A close match is realistic; a perfect match usually requires professional refinishing of the surrounding area.
When to Call a Professional
| Situation | DIY or Pro? |
|---|---|
| Surface scratches | DIY ✅ |
| Single gouge or deep scratch | DIY ✅ |
| Squeaky floor (access from below) | DIY ✅ |
| Seasonal gaps | No repair needed ✅ |
| Replacing one damaged board | DIY (intermediate) |
| Cupping or crowning across multiple boards | Pro — moisture issue |
| Full refinishing (heavy wear, discoloration) | Pro |
| Replacing many boards or large damaged area | Pro |
Frequently Asked Questions
Can I refinish hardwood floors myself? Yes, but it’s a significant project — renting a drum sander, sanding the entire floor, applying multiple finish coats. DIY refinishing works well for experienced DIYers on small areas. For whole rooms, professional refinishing ($3–$5 per sq ft) is often worth it for the quality of result.
How do I match stain color on a repair? Buy 2–3 similar stain markers or small stain cans and test on an inconspicuous area. Let dry fully — stain looks different wet than dry. Blend two stains if needed. Accept that repairs on aged floors won’t be invisible — aim for “much less noticeable.”
My floor is creaky everywhere, not just one spot. What’s the problem? Widespread squeaking across a floor usually indicates a subfloor issue — inadequate fastening, subfloor movement, or moisture damage. Check the subfloor from below if accessible. Widespread squeaking is often a structural issue that benefits from professional diagnosis.
Will pet scratches ruin hardwood floors permanently? Surface scratches from pet nails are fixable with stain markers and wax. Repeated deep gouging over time can wear through the finish and into the wood. A harder finish (aluminum oxide) and regular nail trimming prevent most pet damage. If damage is extensive, targeted refinishing of the affected area restores the floor.
How long do hardwood floor repairs last? Surface scratch repairs (stain markers, wax) last until the floor is refinished — typically years. Filler repairs in gouges are permanent if properly sealed with finish. Squeak fixes from below are the most permanent; above-floor fixes may recur if the underlying cause (seasonal movement, loose subfloor) persists.
The Bottom Line
Most hardwood floor damage falls into one of four categories — scratches, gouges, squeaks, or gaps — and all four have DIY solutions that cost under $30. The key is matching the repair to the damage type, using the right materials for your floor finish, and managing expectations on color matching.
For routine hardwood floor care that prevents damage from accumulating, our guide on how to clean hardwood floors covers the products and techniques that protect the finish long-term.
Have questions about your specific floor damage? Leave a comment below.
Related posts: