
This post contains affiliate links. If you buy through our links, we may earn a small commission at no extra cost to you.
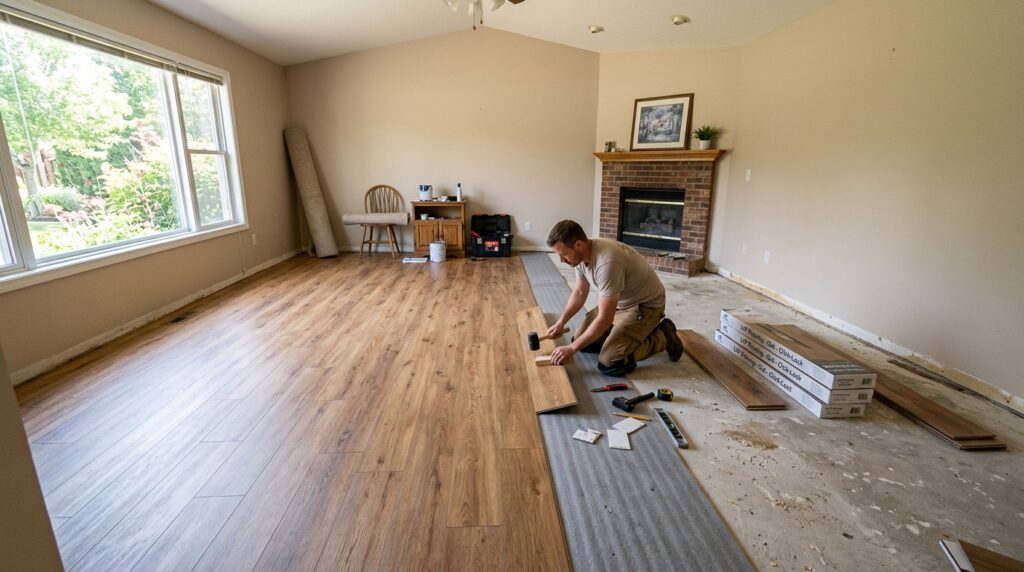
Vinyl plank flooring is the most forgiving floor you can install yourself. It clicks together, floats over almost any existing floor, hides minor subfloor imperfections, and costs a fraction of hardwood. A room that looks like it needs a contractor is usually a weekend project with the right prep.
The catch: most DIY vinyl plank installations that fail do so because of poor prep — not because of the installation itself. Get the subfloor right and the rest is straightforward.
Quick answer: Acclimate the planks 48 hours before install, clean and level the subfloor, lay underlayment, stagger the planks in a brick pattern starting from the longest straight wall, click and lock each row, cut the final row to width, and install baseboards to cover the expansion gap. A 200 sq ft room takes one person about 4–6 hours.
Here’s the full process.
What You’ll Need
- Vinyl plank flooring (measure room + 10% overage for cuts)
- Underlayment (if not pre-attached to planks)
- Tape measure and chalk line
- Utility knife and straight edge (for scoring and snapping)
- Jigsaw or circular saw (for complex cuts around door frames)
- Pull bar and tapping block
- Rubber mallet
- Spacers (1/4-inch)
- Pencil
- Safety glasses
Our Top Pick — Underlayment: QuietWalk LV 50 Premium Underlayment for Luxury Vinyl — specifically designed for LVP flooring, reduces sound transmission, works on any subfloor. Around $40. Skip if your planks have pre-attached underlayment.
Our Pick — Installation Kit: Roberts Pro Flooring Installation Kit — includes pull bar, tapping block, 30 expansion spacers, and double-faced mallet. Works for vinyl, laminate, and hardwood. Around $43.
Our Pick — Scoring Tool: Pacific Handy Cutter Utility Knife — heavy-duty, snap-off blade, handles vinyl plank scoring cleanly. Around $14.
Step 1: Acclimate the Flooring
Vinyl plank flooring expands and contracts with temperature changes. Before installing, the planks need to acclimate to the room’s temperature and humidity.
Lay the boxes flat in the room where they’ll be installed (not in the garage or hallway — the actual room). Leave them for 48 hours minimum at normal living temperature (65–85°F).
Skipping acclimation is the single most common cause of buckling and gapping after installation. Don’t skip it.
Step 2: Prep the Subfloor
The subfloor is everything. Vinyl plank flooring is flexible enough to hide minor imperfections, but major problems will telegraph through the floor and cause planks to flex, creak, or unlock over time.
Clean Thoroughly
Remove all furniture, baseboards, and door thresholds. Sweep and vacuum the subfloor. Remove any staples, nails, or debris that stick up above the surface.
Check for Flatness
Use a long straight edge (or a 6-foot level) across the subfloor in multiple directions. Vinyl plank flooring tolerates up to 3/16 inch variation over 10 feet. Anything more needs to be addressed.
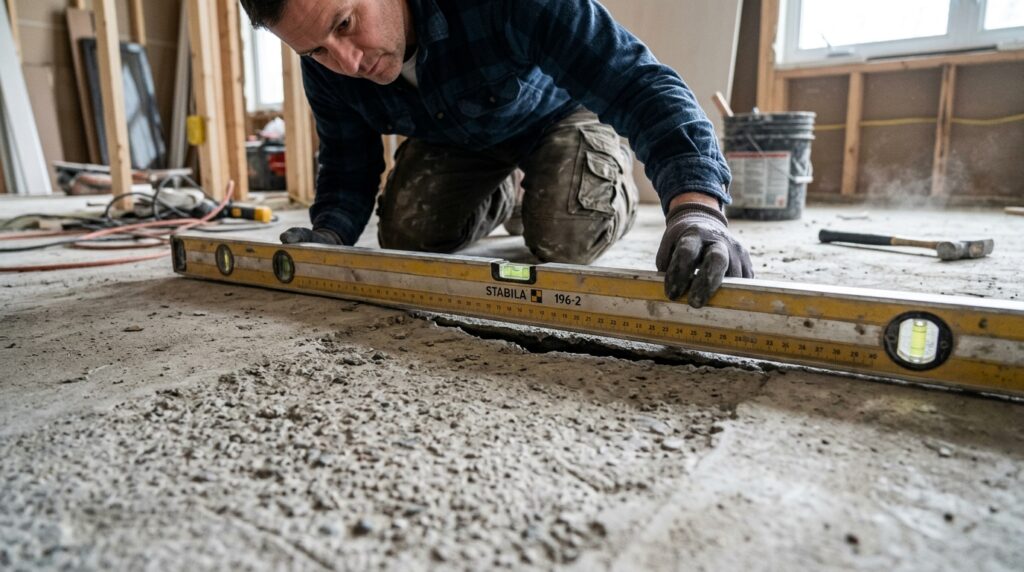
- High spots: Sand or grind down with a floor grinder
- Low spots: Fill with floor leveling compound
Let the leveling compound dry fully before proceeding — typically 24 hours.
Check for Moisture
Vinyl plank is waterproof, but moisture in the subfloor can cause mold underneath. On concrete subfloors, tape a piece of plastic sheeting (12×12 inches) to the floor with all edges sealed and leave it for 24 hours. If moisture beads under the plastic, apply a moisture barrier before installing.
⚠️ On wood subfloors above a crawl space, make sure the crawl space is properly ventilated. A damp crawl space will push moisture up through the wood subfloor regardless of what flooring you put on top.
Remove Doors
Undercut door casings and doorjambs so the flooring can slide underneath rather than butting up against them. Use a handsaw held flat against a scrap piece of flooring + underlayment as a height guide. This gives a much cleaner look than cutting the flooring around the casing.
Step 3: Plan Your Layout
Take 10 minutes here — it pays off in the finished look.
Determine Starting Wall
Start from the longest, straightest wall in the room, typically the wall opposite the main entrance. This ensures the most visible area of the room has full-width planks.
Calculate Row Width
Measure the room width and divide by the plank width to find out how wide your last row will be. If the last row would be less than 2 inches wide, rip the first row narrower to balance the layout. Equal or near-equal first and last rows look intentional; a 1-inch sliver at one wall looks like a mistake.
Snap a Chalk Line
Measure out from the starting wall the width of one plank plus 1/4 inch (for the expansion gap). Snap a chalk line parallel to the wall — this is your guide line for the first row.
Step 4: Install Underlayment
If your vinyl planks don’t have pre-attached underlayment, roll out the underlayment across the entire room before installing any planks.
- Butt the edges together — do not overlap
- Tape seams with the manufacturer’s recommended tape
- Run it up the wall 1–2 inches and trim after baseboards go in
If your planks have pre-attached underlayment, skip this step.
Do not double up underlayment. Two layers of underlayment makes the floor too soft, which puts stress on the locking joints and causes them to fail over time.
Step 5: Install the First Row
Place spacers along the starting wall — 1/4 inch minimum, 3/8 inch preferred. These maintain the expansion gap the floor needs to move with temperature changes.
Lay the first plank in the corner with the tongue side facing the wall. Work left to right (or right to left — whichever is more comfortable). Connect the second plank by angling it into the first at about 20–30 degrees, then pressing down until it clicks flat.
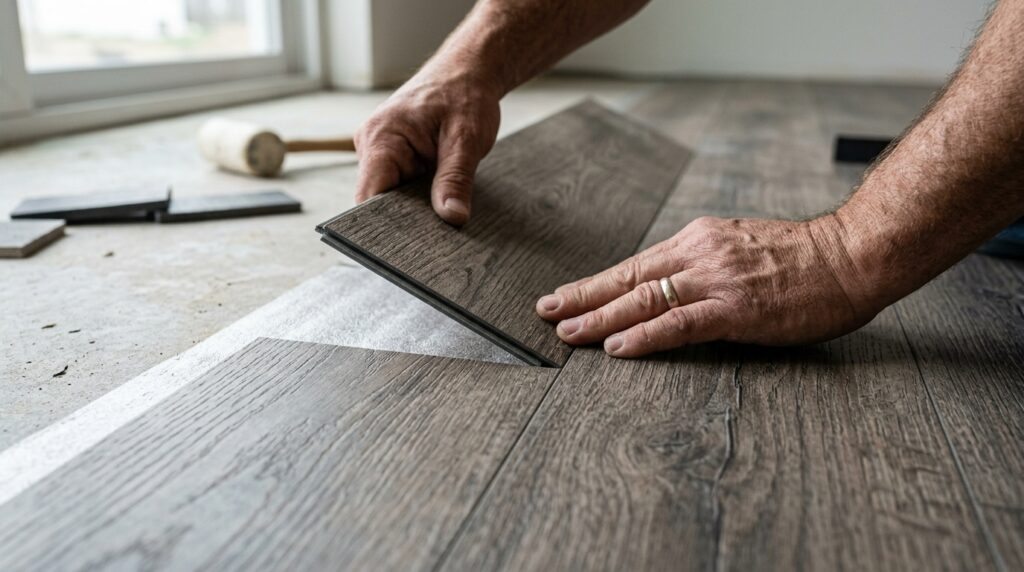
Continue across the room. When you reach the far wall, measure the remaining space, subtract 1/4 inch for the expansion gap, and cut the last plank to length.
Cutting vinyl plank — score and snap method:
- Mark the cut line with a pencil and straight edge
- Score deeply along the line with a utility knife (3–4 firm passes)
- Snap the plank over the edge of a table or your knee — it breaks cleanly along the score
For curved cuts around toilets, vents, or irregular shapes, use a jigsaw with a fine-tooth blade.
Save the cutoff piece from the first row’s last plank. If it’s longer than 6 inches, use it to start the second row. This maintains the stagger pattern and reduces waste.
Step 6: Install Subsequent Rows
Stagger the seams. End joints between rows should be offset by at least 6 inches — ideally 8–12 inches. A random stagger looks natural; a uniform stagger pattern (like a step) looks cheap.
To connect each new row:
- Angle the long edge of the new plank into the previous row’s groove at 20–30 degrees
- Press down until it clicks flat
- Use the tapping block and rubber mallet to close any gaps along the long edge — never hit the plank directly, always use the tapping block
- For the short end joints, use the pull bar at the wall end to draw planks tight together
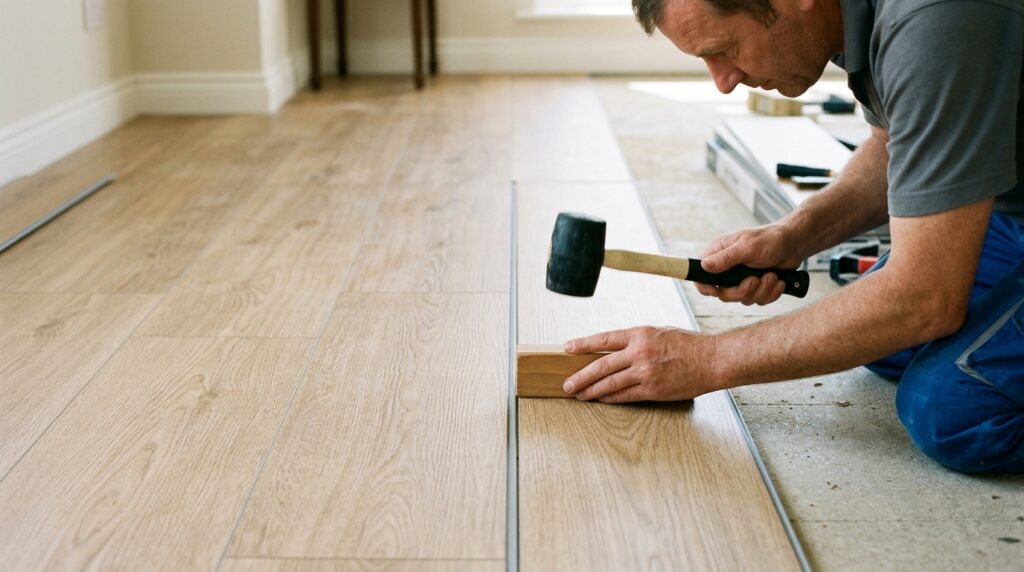
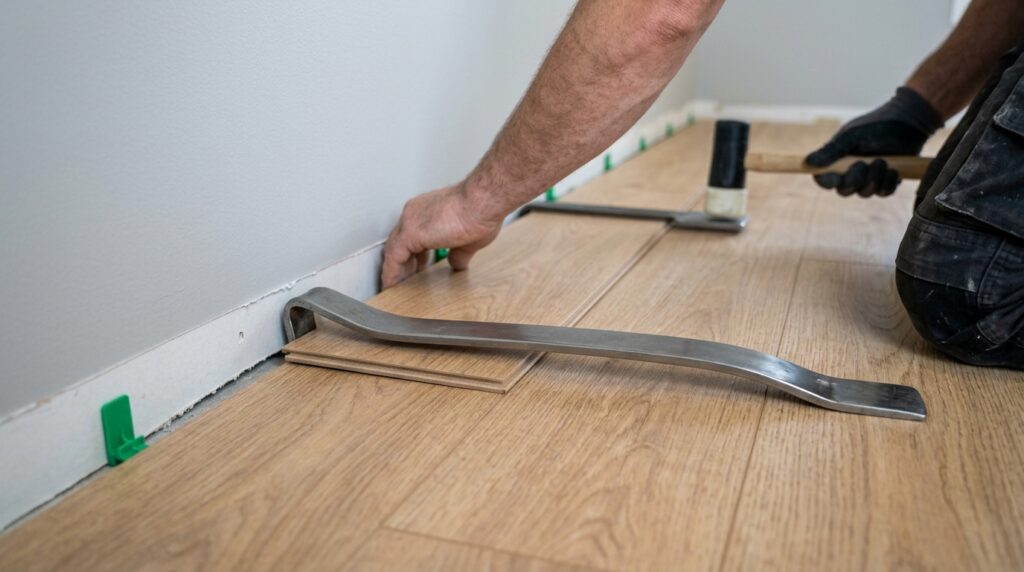
Work your way across the room row by row. Check alignment every 3–4 rows by measuring from the starting wall at multiple points — small errors compound over long runs.
Step 7: Handle Obstacles
Door Frames and Casings
If you undercut the casings in Step 2, slide the plank underneath. If not, trace the casing profile onto the plank and cut with a jigsaw.
Vents and Registers
Cut the plank opening slightly larger than the vent so the register cover overlaps on all sides. Measure twice — the cover is your only margin for error.
Transitions to Other Floors
Where vinyl plank meets carpet, tile, or hardwood, install a transition strip. The type depends on the height difference:
- T-molding — same height floors meeting in a doorway
- Reducer — vinyl plank higher than adjacent floor
- End cap — floor ending at a sliding door or wall
Step 8: Install the Last Row
Measure the remaining space at the far wall at multiple points — walls are rarely perfectly parallel. Cut each plank individually if the gap varies.
Use the pull bar to pull the last row planks tight against the previous row. The pull bar hooks over the plank edge and lets you apply force parallel to the floor without needing space behind the plank.
Step 9: Install Baseboards and Transitions
Remove the spacers. Install baseboards or base shoe molding over the expansion gap — the gap should never be filled with caulk or adhesive, it needs to remain free.
If the existing baseboards are staying, install quarter-round molding along the bottom to cover the gap. Paint or stain to match.
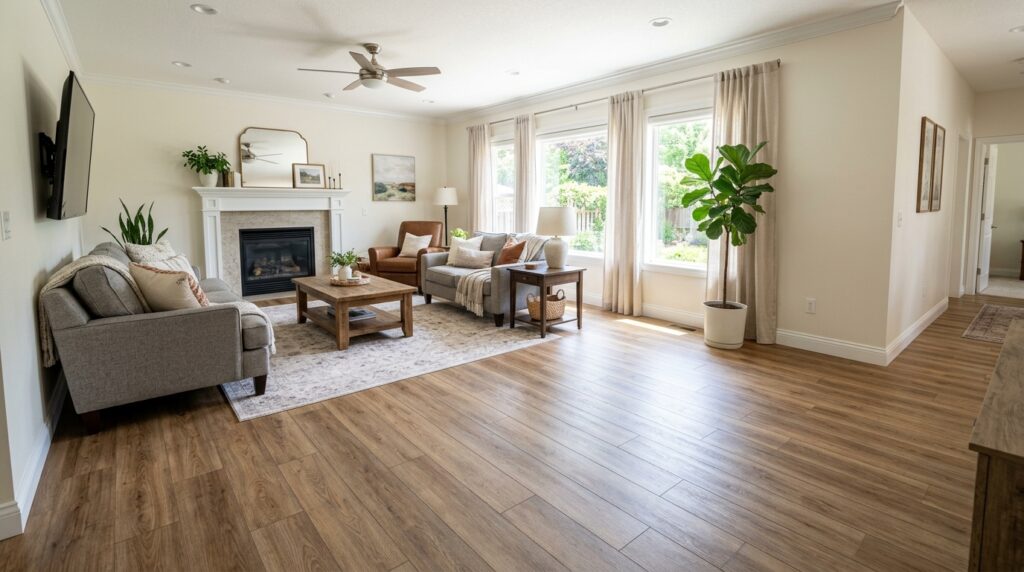
Reinstall door thresholds and transition strips at doorways.
How to Calculate How Much Flooring to Buy
Measure the room in square feet (length × width). Add 10% for cuts and waste on standard rectangular rooms. Add 15% for rooms with diagonal layouts or lots of obstacles.
Example: 12×15 ft room = 180 sq ft. Add 10% = 198 sq ft. Buy 200 sq ft — round up to the nearest box.
Buy all your flooring from the same dye lot. Different lots can have subtle color variations that are invisible in the box but obvious on the floor side by side.
Frequently Asked Questions
Can I install vinyl plank flooring over existing tile or hardwood? Yes — this is one of vinyl plank’s biggest advantages. As long as the existing floor is flat (within 3/16 inch per 10 feet), firmly attached, and in good condition, you can install vinyl plank directly over it. Remove loose tiles or secure any squeaky boards first.
Does vinyl plank flooring need to be glued down? Most modern vinyl plank is a floating floor — no glue, no nails. The click-lock system holds the planks together and the floor’s weight holds it in place. Glue-down vinyl plank exists but is a different product typically used in commercial settings or areas with heavy rolling loads.
How do I cut vinyl plank around a toilet base? Use a paper template — trace the base shape onto paper, cut it out, test the fit, then transfer to the plank and cut with a jigsaw. Work slowly. You can always remove more material but you can’t add it back.
Can vinyl plank go in a bathroom or laundry room? Yes — waterproof vinyl plank is specifically designed for wet areas. The planks themselves won’t be damaged by water, but the subfloor can still be affected if water gets underneath through the expansion gaps. In very wet areas, run a thin bead of silicone at the perimeter (on top of the baseboard, not in the expansion gap) to prevent water infiltration.
My planks won’t click together tightly — what am I doing wrong? Two common causes: debris in the groove (sweep it out), or approaching the angle wrong (the plank needs to be at 20–30 degrees to engage properly — flat sliding doesn’t work). If a specific plank repeatedly refuses to click, check the edge for damage from the manufacturer.
The Bottom Line
Vinyl plank flooring is one of the best DIY flooring projects for a first-timer — the click-lock system is genuinely forgiving, and the materials are inexpensive enough that mistakes don’t sting too badly. The prep is where the job lives or dies: flat subfloor, proper acclimation, consistent expansion gap.
Follow the stagger pattern, use the tapping block instead of hammering directly, and don’t rush the first row — everything after it depends on getting that line straight.
If you’re updating the whole room, check out our guide on how to paint a room — painting before the floor goes in is much easier, and the sequence matters.
Have questions about your specific subfloor situation? Leave a comment below.
Related posts: