
This post contains affiliate links. If you buy through our links, we may earn a small commission at no extra cost to you.
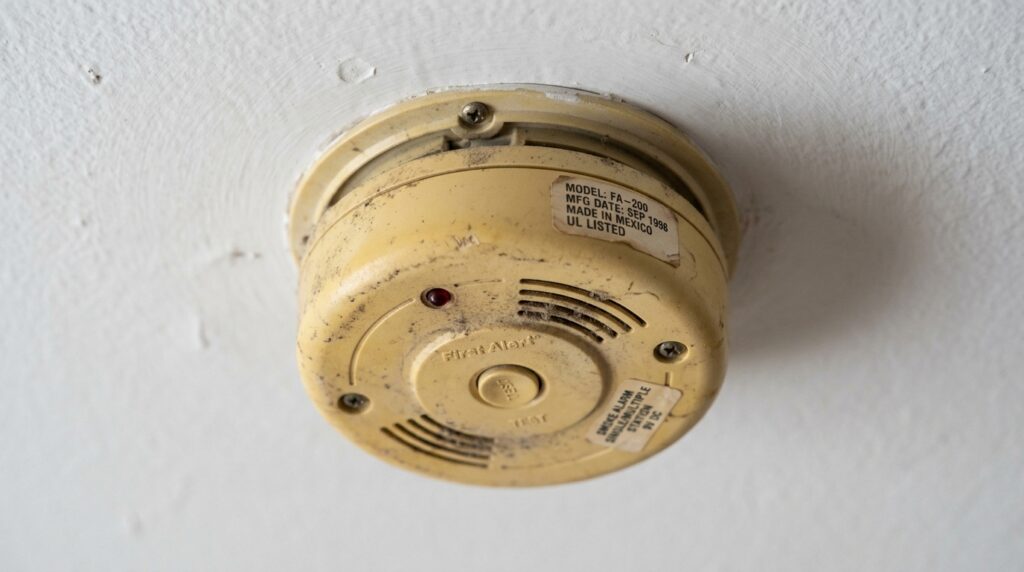
Smoke detectors have a lifespan of 8–10 years. After that, the sensing chamber degrades and the detector may not respond reliably to smoke — even if it still beeps when you test it. Most homeowners replace them only when they start chirping, which usually means the battery is dead, not that the unit itself has failed.
The fix for both is fast. Replacing a smoke detector takes about 15 minutes and requires no tools beyond a screwdriver.
Quick answer: Twist off the old detector, disconnect the wiring harness (or remove the battery), connect the new detector to the same bracket and harness, twist to lock, and test. Battery-only models are even simpler — no wiring at all.
Here’s the full process for both types.
What You’ll Need
- Replacement smoke detector (match the type — see Step 1)
- Phillips screwdriver (for hardwired models)
- Step stool or ladder
- 9V battery or AA batteries (check your new unit’s requirements)
Our Top Pick: First Alert Battery Combination Smoke & Carbon Monoxide Alarm (SMCO100) — detects both smoke and CO, battery-powered, no wiring required, fits standard mounting bracket. Around $40.
For Hardwired Replacement: First Alert BRK 3120B Hardwired Smoke Detector — dual sensor, connects to standard 3-wire harness, includes 9V backup battery. Around $25. Compatible with most existing hardwired systems.
Step 1: Identify Your Detector Type
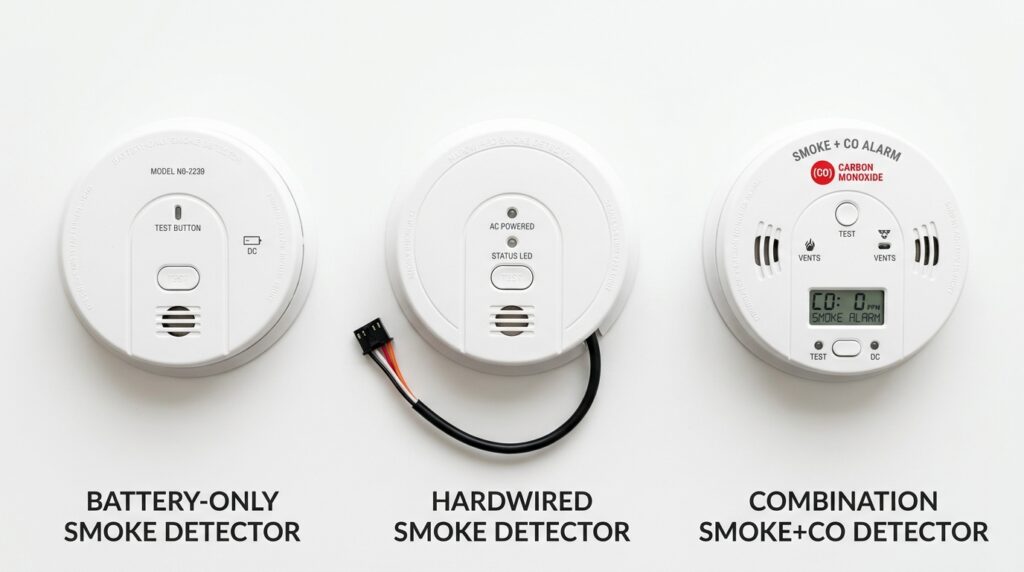
Before buying a replacement, identify what you have. The two main types:
Battery-Only Detectors
No wires. Powered entirely by a 9V battery or sealed lithium battery. Usually white, mounted directly to ceiling or wall with two screws. When you remove it, nothing is attached except the mounting bracket.
Hardwired Detectors
Connected to your home’s electrical system with a wire harness (usually 3 wires — black, white, and yellow or red). Also have a battery backup. Most homes built after 1993 have hardwired detectors, often interconnected so all alarms sound when one triggers.
Important: Replace a hardwired detector with another hardwired detector — not a battery-only unit. Removing a hardwired detector from the circuit can break the interconnect system, meaning other detectors in the home won’t trigger when one does.
Combination Smoke + CO Detectors
Detect both smoke and carbon monoxide. If your existing detector has “CO” or “Carbon Monoxide” on the label, replace it with another combination unit.
Step 2: Check the Age of Your Detector
Before replacing, check the manufacture date on the back of the unit. NFPA recommends replacing smoke detectors every 10 years from the manufacture date — not the installation date.
If the detector is less than 8 years old and just chirping, try replacing the battery first. If it’s 8–10 years old, replace the whole unit regardless.
Step 3: Turn Off the Power (Hardwired Only)
For hardwired detectors, go to your electrical panel and turn off the breaker for the smoke detectors. They’re usually on a dedicated circuit labeled “smoke detectors” or “alarms.”
Confirm power is off by pressing the test button on the detector — it should not sound.
For battery-only detectors, skip this step entirely.
Step 4: Remove the Old Detector
Battery-Only Models
Twist the detector counterclockwise (about 1/4 turn) until it releases from the mounting bracket. Remove the battery.
The mounting bracket stays on the ceiling — you’ll reuse it unless the new detector uses a different bracket size.
Hardwired Models
Twist the detector counterclockwise to release from the bracket. The wire harness will still be attached — pull the detector down gently until you have a few inches of slack.
Squeeze the connector tabs on the wire harness plug and pull it free from the detector. Set the old detector aside.
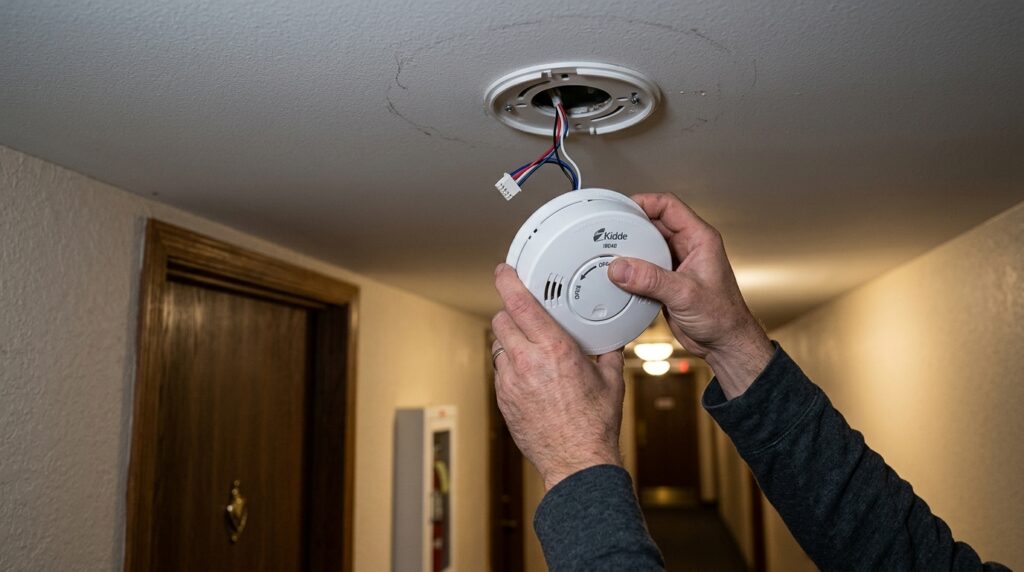
⚠️ If the wires are connected directly to screw terminals (older installations), photograph the wiring before disconnecting. Note which color wire goes to which terminal.
Step 5: Install the New Mounting Bracket (If Needed)
If the new detector’s bracket matches the old one (same diameter, same screw pattern), reuse the existing bracket — skip to Step 6.
If the new detector comes with its own bracket:
- Remove the old bracket by unscrewing it from the ceiling or wall
- Position the new bracket over the same electrical box or mounting point
- Secure with the screws provided
Most modern smoke detectors use a universal bracket that fits standard ceiling boxes.
Step 6: Connect and Mount the New Detector
Battery-Only Models
Install the batteries in the new detector per the manufacturer’s instructions. Align the detector with the mounting bracket, push up, and twist clockwise until it locks. You’ll usually feel and hear a click.
Hardwired Models
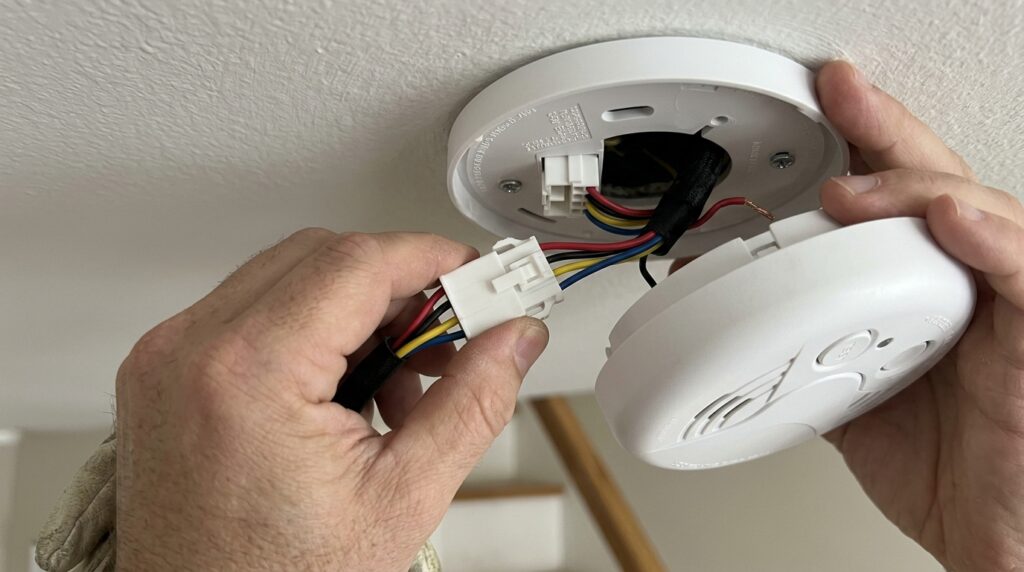
Plug the wire harness into the new detector’s connector — it only fits one way. Tuck any excess wire back into the ceiling box. Align the detector with the bracket, push up, and twist clockwise to lock.
Restore power at the breaker.
Step 7: Test the Detector
Press and hold the test button for 3–5 seconds. The alarm should sound loudly within a few seconds of pressing.
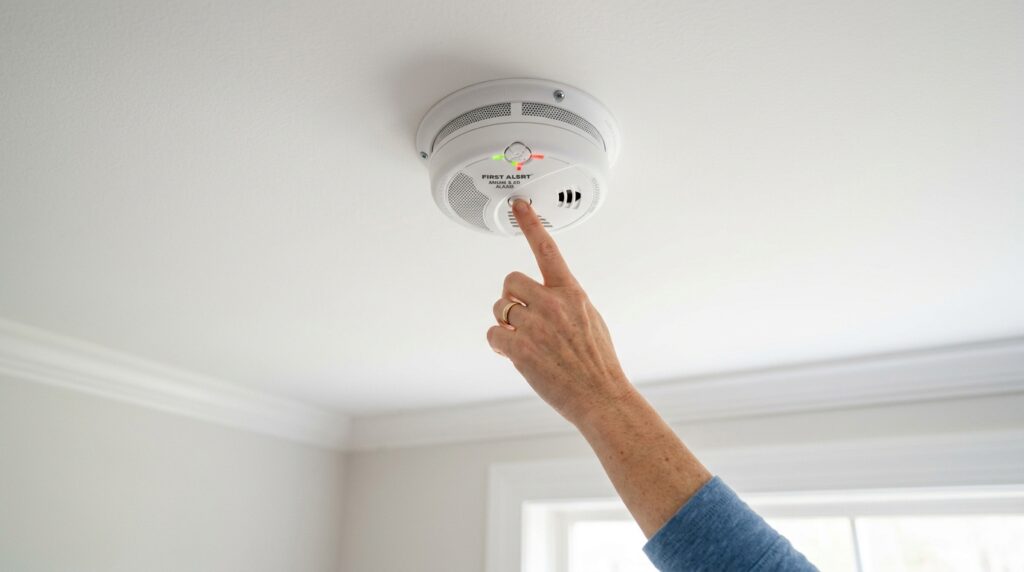
For interconnected systems: Walk to the other detectors in the house and confirm they also sounded when you tested the new one. Interconnect means one alarm triggers all — if the others didn’t sound, check that the wire harness is fully seated.
If the detector doesn’t sound when tested:
- Battery-only: check battery orientation and charge
- Hardwired: confirm the breaker is on and the harness is fully connected
- All types: check that the pull tab (if present on new units) has been removed — new detectors often ship with a plastic tab blocking the battery contact
How Often Should You Replace Smoke Detectors?
| Situation | Action |
|---|---|
| Detector chirps every 30–60 seconds | Replace battery first; if chirping continues, replace unit |
| Detector is 8–10 years old | Replace the unit regardless of function |
| Detector doesn’t sound when tested | Replace immediately |
| After a fire or significant smoke event | Replace — sensors can be permanently affected |
| Moving into a new home | Check manufacture dates; replace any over 8 years old |
Where to Place Smoke Detectors
While you have a step stool out, check your detector placement against NFPA 72 guidelines:
- One on every level of the home including basement
- Inside every bedroom
- Outside each sleeping area (hallway near bedrooms)
- Not within 10 feet of cooking appliances — too many false alarms
- Not in bathrooms — steam triggers false alarms
- On the ceiling (preferred) or high on the wall (6–12 inches from ceiling)
Most homes are under-protected. If you only have one detector per floor, adding more is cheap insurance.
Ionization vs. Photoelectric — Which Type Do You Need?
Most homeowners have never thought about this, but the sensor type matters:
| Type | Best At Detecting | Response Time |
|---|---|---|
| Ionization | Fast-flaming fires (paper, wood) | Fast |
| Photoelectric | Slow, smoldering fires (upholstery, wiring) | Faster for smoldering |
| Dual sensor | Both types | Best overall |
Best choice for most homes: dual-sensor detectors. They cover both fire types and cost only a few dollars more than single-sensor units. Single-sensor ionization detectors (the most common type in older homes) miss smoldering fires — which are more common in residential settings and deadlier because they produce more smoke before flames appear.
Frequently Asked Questions
How do I stop a smoke detector from chirping? A chirp every 30–60 seconds almost always means a low battery. Replace the battery first. If chirping continues after a new battery, the unit is at end of life and needs replacing. If the chirping is random and rapid, it may be detecting actual smoke or a malfunction — don’t disable it, replace it.
Can I replace a hardwired smoke detector with a battery-only model? Technically yes, but it’s not recommended. You’d lose the interconnect feature (all alarms sounding simultaneously), which is a significant safety downgrade. Replace hardwired with hardwired to maintain the system.
Do I need a permit to replace a smoke detector? Like-for-like replacement (same type, same location) doesn’t require a permit in most jurisdictions. Adding new detectors or changing wiring does. Check local code if you’re adding units.
Why does my smoke detector go off when I cook? The detector is too close to the kitchen, or it’s an ionization type (more prone to nuisance alarms from cooking). Relocate it at least 10 feet from cooking appliances, or switch to a photoelectric detector in the kitchen area — they’re less sensitive to cooking particles.
Should I replace all smoke detectors at the same time? If they were all installed at the same time, yes. Replacing them together ensures uniform protection and you won’t be doing it again in 6 months when the next one hits 10 years. It also takes about 20 minutes total to swap out a whole house worth of detectors.
The Bottom Line
Smoke detectors are one of those things that sit on the ceiling doing nothing for years — until the moment they matter more than anything else in the house. Replacing an aging detector takes 15 minutes and costs $20–$40. There’s no maintenance task with a better safety return on investment.
If you’re doing electrical tasks around the house, our guide on how to replace a light switch covers the next level up — same principle of turning off the breaker and working safely with household wiring.
Have questions about your specific detector or wiring setup? Leave a comment below.
Related posts: