
This post contains affiliate links. If you buy through our links, we may earn a small commission at no extra cost to you.
Painting a room is the highest-ROI home improvement project you can do. A gallon of paint costs $30–$50. A professional painter charges $300–$800 per room. The difference is a few hours and knowing the right order to do things.
Most DIY paint jobs look amateur because of prep shortcuts — not because of bad rolling technique. Get the prep right and the painting part is straightforward.
Quick answer: Clean the walls, fill holes, sand smooth, tape edges, cut in with a brush around the perimeter, then roll the main surfaces in a W pattern. Two coats, 2–4 hours drying between coats. Total time for an average bedroom: 4–6 hours spread over one day.
Here’s the full process.
What You’ll Need
- Painter’s tape (2-inch)
- Drop cloths (canvas or plastic)
- Spackling paste + putty knife (for holes)
- Sandpaper (120-grit and 220-grit)
- TSP cleaner or dish soap (for washing walls)
- Paint roller frame + 3/8-inch nap roller covers
- Angled brush (2.5-inch)
- Paint tray + liner
- Primer (if needed — see Step 3)
- Interior latex paint in your chosen finish
Our Top Pick — Roller Kit: Wooster Brush Company Roller Kit — 9-inch frame, two 3/8-inch nap covers, sturdy handle. Around $20. Wooster is the brand professional painters actually use.
Our Pick — Painter’s Tape: ScotchBlue Original Multi-Surface Painter’s Tape — clean removal up to 14 days, works on walls, trim, and glass. Around $8 for a 2-inch roll. Buy two for a standard room.
Our Pick — Drop Cloth: Canvas Drop Cloth 9×12 ft — canvas absorbs paint instead of letting it pool and spread like plastic. Around $15. Reusable for years.
Step 1: Clear and Protect the Room
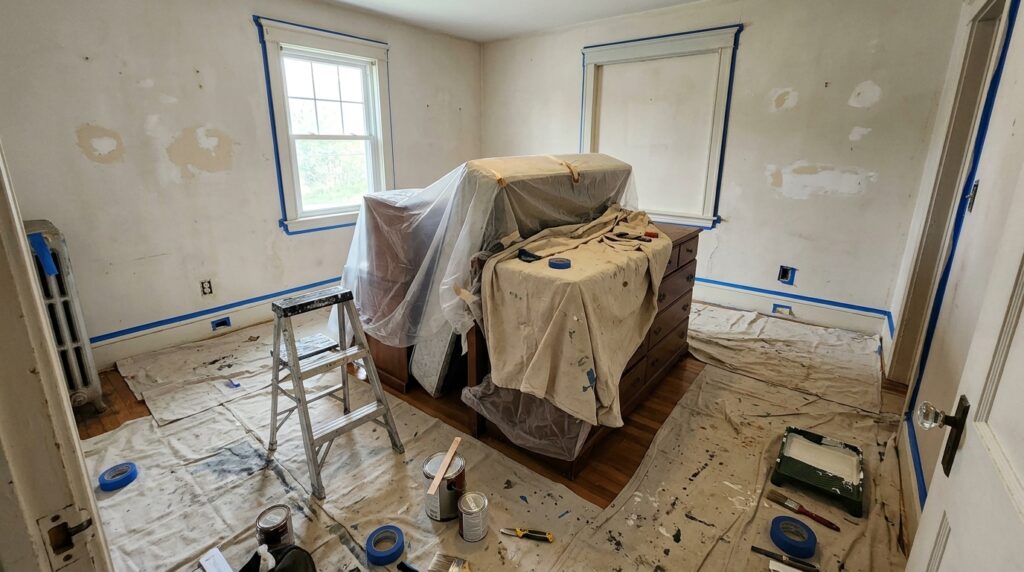
Move furniture to the center of the room and cover with drop cloths or plastic sheeting. Remove outlet covers and switch plates with a screwdriver and set them aside — paint over them looks sloppy and makes covers hard to remove later.
Take down curtain rods, picture hooks, and anything else on the walls. The fewer obstacles, the cleaner the job.
Lay your canvas drop cloth along the perimeter of the floor, overlapping at corners. Canvas is worth the extra cost over plastic — paint spills on plastic stay wet and spread when you step in them.
Step 2: Repair the Walls
Painting over holes and cracks makes them more visible, not less. Fix them first.
Small Holes (Nail Holes, Screws)
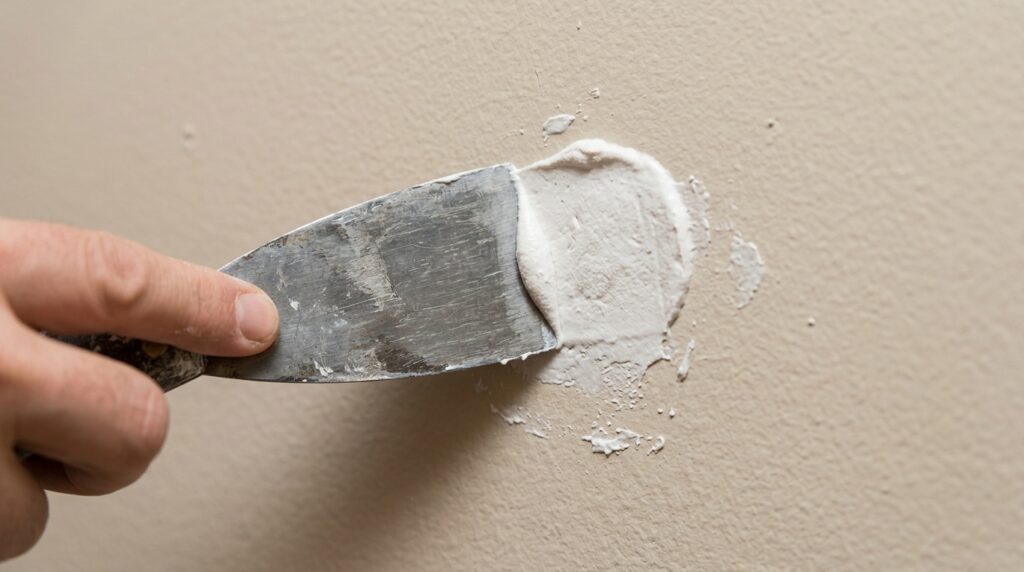
Apply spackling paste with a putty knife, slightly overfilling the hole. Let dry completely (30–60 minutes for most products). Sand flush with 120-grit sandpaper, then finish with 220-grit for a smooth surface. Wipe dust with a damp rag.
Larger Holes (Up to 4 Inches)
Use a drywall patch kit — peel-and-stick mesh with joint compound. Apply the mesh, spread compound over it in two thin coats (letting each dry fully), then sand smooth. Takes longer but handles holes that spackling can’t fill cleanly.
Cracks Along Trim or Ceiling
Fill with paintable latex caulk (not silicone — silicone won’t accept paint). Apply a thin bead, smooth with a wet finger, let dry. This also improves the wall-to-trim seal, which is where most rooms look unfinished.
If you’ve done any recent bathroom repairs, the same caulk technique from our how to caulk a bathtub guide applies directly here — wet finger, one smooth pass.
Step 3: Clean the Walls
Paint doesn’t stick to grease, dust, or soap residue. Walls look clean but aren’t — especially in kitchens, bathrooms, and hallways.
Wipe walls with a solution of TSP (trisodium phosphate) cleaner diluted in water, or just warm water with a few drops of dish soap. Work top to bottom with a sponge. Rinse with clean water and let dry fully before painting.
Pay extra attention to:
- Around light switches and door handles (finger grease)
- Kitchen walls near the stove (cooking grease)
- Bathroom walls (soap and moisture residue)
Step 4: Prime (When You Actually Need It)
Primer is not always necessary — but when it is, skipping it costs you an extra coat of paint and still looks worse.
Prime when:
- Painting a dark color over a light one (or vice versa)
- Painting over fresh drywall or patches
- Covering stains (water stains, smoke, marker)
- Painting a porous surface for the first time
Skip primer when:
- Same color or similar shades
- Previously painted walls in good condition
- Using a paint-and-primer-in-one product on a low-contrast change
Our Pick: Zinsser Bulls Eye Water-Based Primer Sealer — water-based, low odor, primer + sealer in one, dries in 1 hour. Around $19 per quart (Pack of 2).
Step 5: Tape and Protect Edges
Apply painter’s tape along:
- Ceiling line (where wall meets ceiling)
- Baseboard trim
- Window and door frames
- Any adjacent wall you’re not painting
Press the tape edge firmly with a putty knife or your fingernail to prevent paint from bleeding underneath. A loose tape edge is the most common cause of wavy lines.
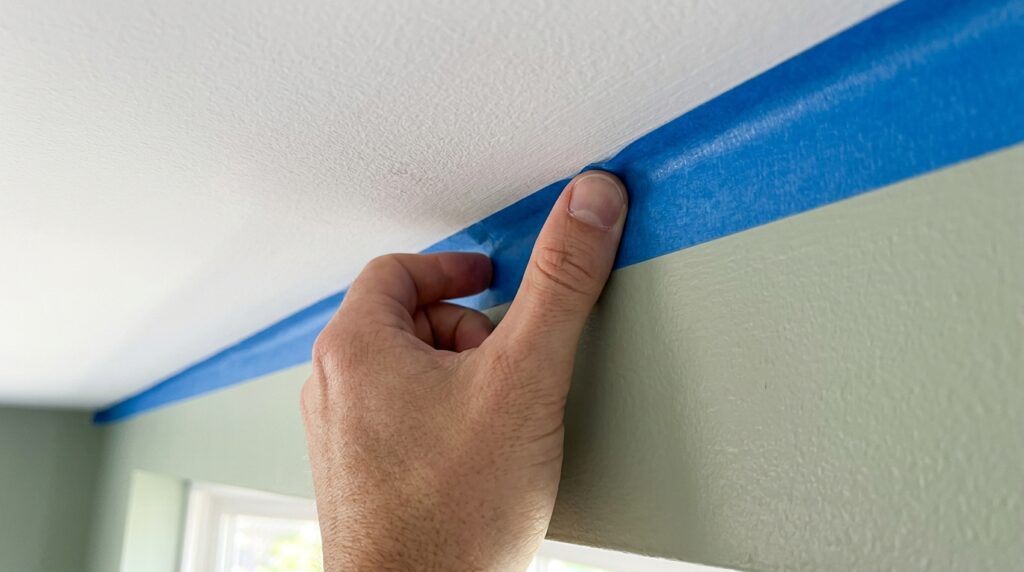
Pro tip: If your walls have a texture, press the tape down firmly but don’t drag it — pulling tape across texture can lift it.
For outlets and switches, fold a small piece of tape over the edge of the box. Don’t tape the entire wall around it — you’ll cut in close with a brush instead.
Step 6: Cut In Around the Edges
Cutting in means painting a 2–3 inch band around all the edges — ceiling, trim, corners — with an angled brush before you roll. This gives the roller a clean area to work up to without touching surfaces you’re not painting.
How to Cut In
Load your brush by dipping about 1 inch into the paint, then tap (don’t wipe) on the side of the can to remove excess. Start 1 inch away from the tape line and work toward it in one smooth stroke. The bristles should fan out slightly as you reach the edge.
Move in 12–18 inch strokes, keeping a wet edge to avoid lap marks. Work around the entire room before moving to rolling.
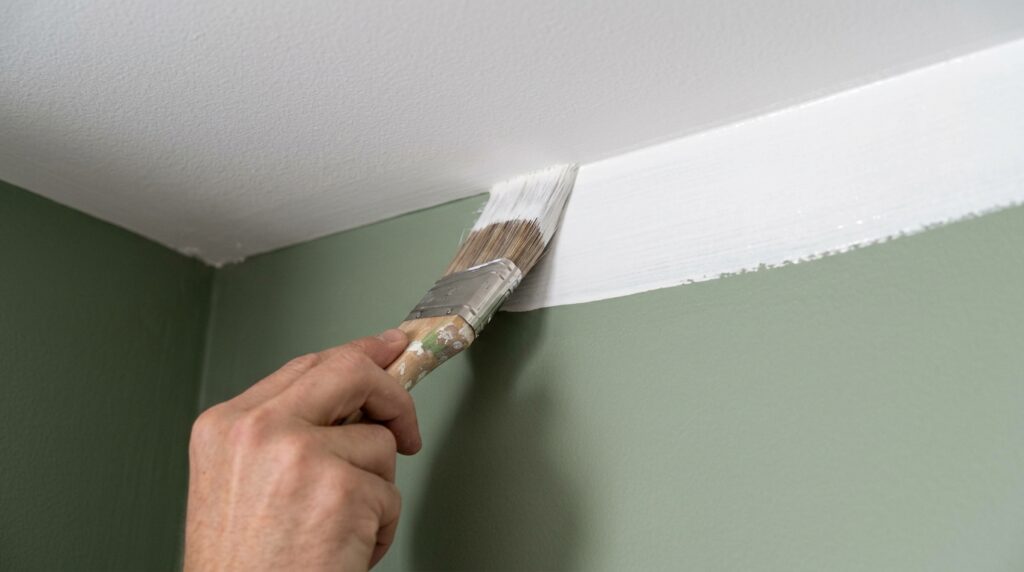
Take your time here. Cutting in is the step that determines how professional the finished room looks. A wobbly cut-in line at the ceiling is visible from across the room.
Step 7: Roll the Walls
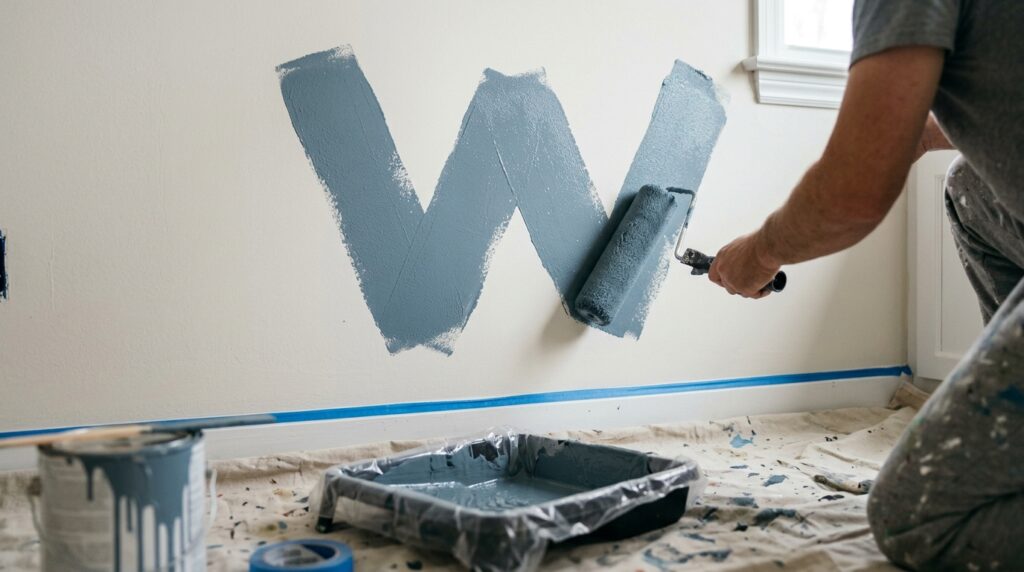
Load the roller by running it through the paint tray until evenly coated — not dripping. Start in an upper corner and work in a large W pattern: roll up diagonally, then back down, then up again, filling in the W. Then roll straight up and down to even out the coverage.
Work in 3×3 foot sections, keeping a wet edge as you move across the wall.
Key rules:
- Don’t press hard — let the roller do the work
- Keep the roller moving — stopping in one spot leaves marks
- Roll as close to the cut-in line as possible without touching it
- Reload the roller often — a dry roller leaves texture inconsistencies
Roll all four walls before evaluating coverage. Paint looks uneven when wet — let it dry before deciding if a second coat is needed.
Step 8: Second Coat
Wait 2–4 hours between coats (check your paint can — some products need longer). The wall should be dry to the touch and not feel cool.
Apply the second coat the same way — cut in first, then roll. The second coat goes on faster because you’re not fighting bare wall anymore.
Two coats is standard for any color change. Deep colors (navy, forest green, charcoal) may need a third coat — this is normal and not a sign of a bad product.
Step 9: Remove Tape and Clean Up
Pull painter’s tape while the paint is still slightly tacky — not fully dry. Pull at a 45-degree angle back over itself, slowly. If you wait until the paint is fully dry, the tape can pull chunks of paint with it.
If any paint bled under the tape, let it dry fully, then scrape the edge clean with a utility knife.
Cleanup:
- Latex paint: wash brushes and rollers with warm soapy water
- Pour leftover paint back into the can, seal tightly, store upside down (creates an airtight seal)
- Label the can with the room name and date
Reinstall outlet covers and switch plates. Move furniture back after 24 hours — paint may feel dry but is still soft and marks easily.
Choosing the Right Paint Finish
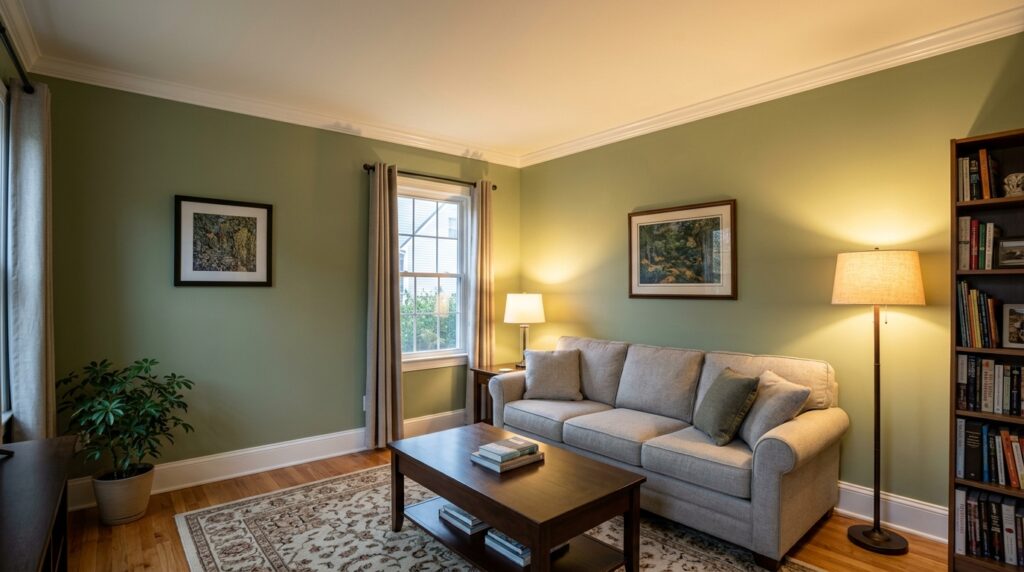
The color gets all the attention, but finish matters just as much for durability and cleanability.
| Finish | Sheen | Best For | Cleanable? |
|---|---|---|---|
| Flat/Matte | None | Ceilings, low-traffic bedrooms | Poor |
| Eggshell | Slight | Living rooms, dining rooms | Good |
| Satin | Medium | Hallways, kids’ rooms, bathrooms | Very good |
| Semi-gloss | High | Trim, doors, kitchens, bathrooms | Excellent |
| Gloss | Very high | Cabinets, furniture, accents | Excellent |
For most rooms: eggshell on walls, semi-gloss on trim. This combination looks clean, holds up to cleaning, and is the standard in professionally painted homes.
Frequently Asked Questions
How much paint do I need for a room? One gallon covers approximately 350–400 square feet with one coat. For an average 12×12 bedroom with 8-foot ceilings, you need about 1.5 gallons for two coats. Round up — leftover paint stores well and you’ll want it for touch-ups.
Do I need to sand walls before painting? Sand only where you’ve applied spackling or patching compound. Scuff-sanding entire walls (with 220-grit) improves adhesion on glossy or slick surfaces. Normal previously-painted walls in good condition don’t need sanding — just cleaning.
How do I avoid roller marks and streaks? Two causes: dry roller (reload more often) and pressing too hard (use light, even pressure and let the roller do the work). Rolling with a consistent W pattern and keeping a wet edge eliminates most texture problems. Let the first coat dry fully before evaluating — wet paint always looks streaky.
Can I paint over wallpaper? Technically yes, but it’s not recommended. Paint softens the wallpaper adhesive and causes bubbling and peeling within months. Remove the wallpaper first — it’s more work upfront but the only approach that lasts.
What’s the right temperature to paint indoors? Most interior latex paints apply and cure best between 50°F and 85°F with humidity below 85%. Below 50°F, the paint thickens and doesn’t flow properly. Above 85°F, it dries too fast and leaves lap marks. A normal interior temperature of 65–75°F is ideal year-round.
The Bottom Line
Painting a room is a prep-heavy job where 70% of the work happens before the roller touches the wall. Fill the holes, clean the surface, tape the edges, cut in carefully, and roll with a consistent pattern. Two coats, patience between them, and tape pulled while still slightly tacky.
The tools matter less than the sequence. Follow the steps in order and a first-time painter gets professional-looking results.
If you’re tackling the whole room, check our guide on how to organize a garage for a system to store your painting supplies so they’re ready for the next project — brushes dry clean, rollers in sleeves, tape flat.
Got questions about your specific walls or color situation? Leave a comment below.
Related posts: