
This post contains affiliate links. If you buy through our links, we may earn a small commission at no extra cost to you.
Most fence paint jobs fail within two years — not because of the paint, but because of skipped prep. Here’s the complete process from cleaning to final coat, with the right tools for each fence type.
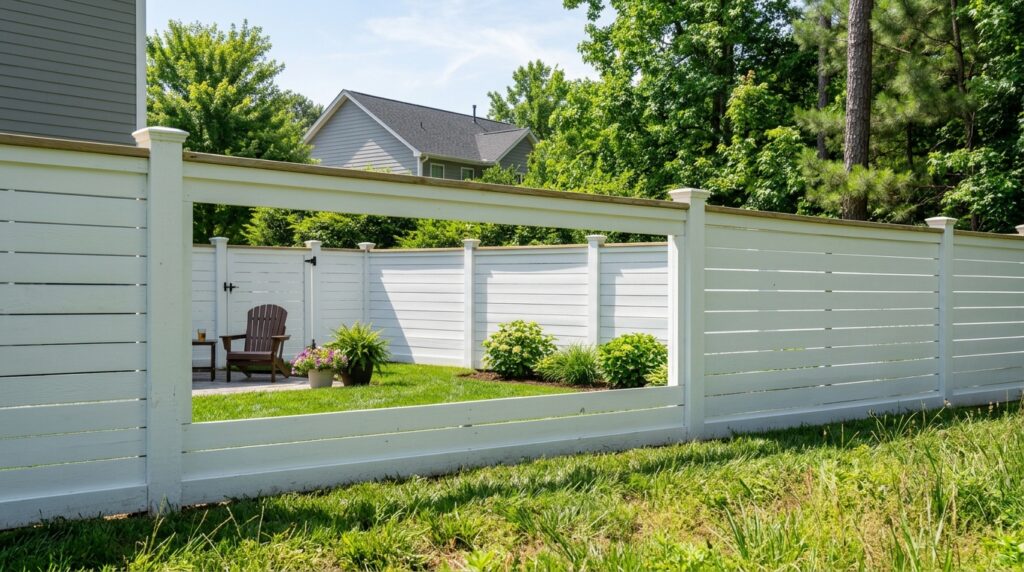
Your fence is faded, peeling, or just looks beat up — and you’d rather spend a weekend painting it than pay someone $500 to do it for you. Fair call. Painting a fence is a straightforward DIY job, but the part most people skip is the part that determines whether the finish lasts two years or eight.
That part is prep.
The paint itself matters less than what’s underneath it. A $40 can of exterior paint applied to a clean, primed surface will outlast a $70 premium paint slapped over dirty, weathered wood. This guide covers the full process — cleaning, repairing, priming, and painting — along with the right tools for wood, vinyl, and chain-link fences.
Quick answer: Clean the fence thoroughly, let it dry 24–48 hours, apply a wood primer (for bare or weathered wood), then paint with exterior-rated paint using a brush for tight areas and a roller or sprayer for flat boards. Two thin coats beat one thick coat every time.
⭐ Essential Product:
Wooster Brush R017-9 Roller Cover — 3/8″ nap, 9-inch, solvent-resistant cover that holds paint evenly on fence boards without dripping or leaving texture. A good roller is what separates a streaky amateur finish from a clean, professional-looking coat. Around $7 each; buy two for a full fence job.
Also essential:
- Primer: Zinsser Bulls Eye 1-2-3 All Surface Primer (~$9–$15/qt) — water-based, interior & exterior, bonds to all surfaces without sanding. 4.6★ with 6,000+ reviews. The go-to primer for weathered wood, bare lumber, and previously peeling paint.
- Paint: BEHR PREMIUM exterior paint + primer (~$45/gallon) — self-priming formula for fences in good condition. Skips the separate primer step when the wood is clean and not bare.
- Sprayer (optional but fast): Graco Magnum X5 Airless Paint Sprayer (~$350) — worth renting if you’re painting more than 50 linear feet of fence. Cuts application time by 70% compared to brush-and-roller.
Step 1: Assess Your Fence Before You Buy Anything
The condition of your fence determines what products you need and whether paint is even the right choice.
Check for These Issues First
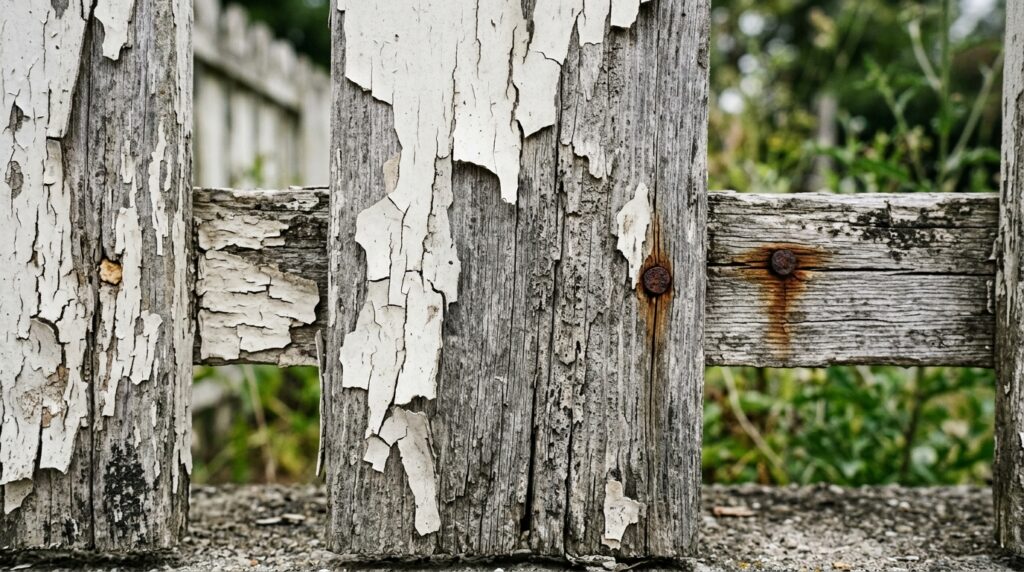
- Peeling or flaking paint: You’ll need to strip or sand before applying anything new. Paint won’t bond to loose paint — it will peel again within a season.
- Mold or mildew (black or green staining): Must be killed before painting. Painting over mold traps it under the surface and it bleeds through.
- Rot or soft wood: Painting rotten wood is a waste of time. Replace damaged boards first — paint won’t stabilize rotted wood.
- Bare wood (never been painted): Needs primer before paint. Unprimed bare wood absorbs the first coat unevenly, leaving a blotchy finish and causing premature peeling.
Stain vs. Paint: Which One?
This matters before you buy:
| Paint | Stain | |
|---|---|---|
| Appearance | Solid, opaque color | Shows wood grain |
| Longevity | 5–10 years (quality paint + primer) | 3–5 years (semi-transparent), 5–7 years (solid stain) |
| Surface prep | Must be clean and primed | Must be clean; no primer needed |
| Best for | Previously painted fences, rotted/patchy wood | New wood, cedar, redwood, natural look |
| Touch-up ease | Can peel — needs full strip to redo | Easier to re-apply |
If your fence has never been painted, a solid stain is often the better long-term choice — less prep, easier maintenance. This guide focuses on paint, but the prep steps apply to both.
Step 2: Clean the Fence
Dirty wood doesn’t hold paint. This is the step most people rush, and it’s why most fence paint jobs fail early.
What You Need
- Stiff-bristle brush or scrub brush
- Garden hose with spray nozzle (or pressure washer)
- TSP substitute cleaner (trisodium phosphate alternative — available at any hardware store)
- Mold-killing solution for fences with mildew: 1 part bleach to 3 parts water
How to Clean It
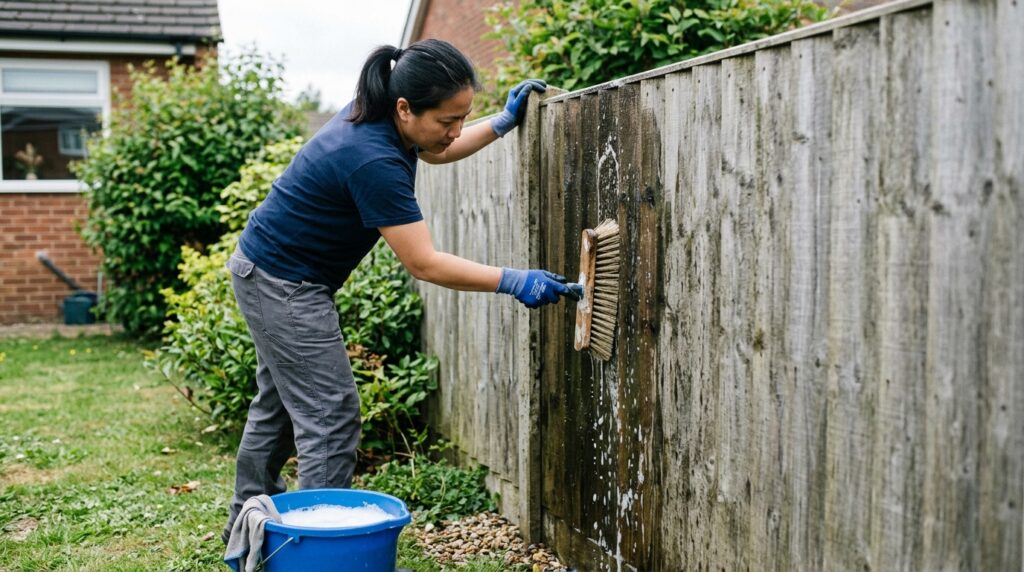
Step 2a: Mix TSP substitute with water per package directions. Apply to fence sections and scrub with the stiff brush — this removes dirt, grease, chalky old paint residue, and any surface contaminants.
Step 2b: If you see black or green spots (mold/mildew), apply the bleach-water solution and let it sit for 10 minutes before scrubbing. Don’t skip this — bleach kills the mold spores so they can’t bleed through the new paint.
Step 2c: Rinse thoroughly with a hose. If you have access to a pressure washer, use it at low pressure (1,200–1,500 PSI) — high pressure can damage and raise the wood grain.
Step 2d: Let the fence dry completely — minimum 24 hours in warm weather, 48 hours if it’s been humid or overcast. Painting over damp wood is one of the most common reasons paint blisters and peels.
⚠️ Patience here pays off. If you can wait 48 hours after washing, do it. Surface moisture you can’t see will still cause adhesion problems.
Step 3: Sand and Repair
Once the fence is dry, address anything the cleaning revealed.
Sanding
- Previously painted fence with peeling areas: Use 80-grit sandpaper or a sanding block to feather the edges of peeling spots — scrape off loose paint first with a putty knife, then sand smooth so there’s no raised lip between the old paint and bare wood.
- New or bare wood: Lightly sand with 120-grit to open the grain and help primer absorb evenly.
- Weathered gray wood: Sanding removes the gray oxidized layer and exposes fresh wood that holds primer better.
You don’t need to sand every inch — focus on rough spots, peeling areas, and anywhere the surface isn’t smooth.
Repairs
- Loose boards: Re-nail or screw before painting. Paint won’t hold a loose board in place.
- Small cracks and gaps: Fill with exterior wood filler (like DAP Plastic Wood or similar) or exterior caulk. Let cure completely before priming.
- Nail holes: Fill and smooth flush. Bare metal nail heads should be countersunk and filled — exposed metal will rust through paint.
Step 4: Apply Primer
Primer is not optional for bare, weathered, or previously peeling wood. Skipping primer on a fence that needs it is how you end up repainting in two years.
When You Need Primer
- Bare or new wood — always
- Weathered, grayed wood — always
- Repaired areas with wood filler — always (filler absorbs paint differently than wood)
- Previously painted fence with any peeling — yes, at minimum on the bare spots
- Previously painted fence in good condition, solid color, no peeling — you can use a paint+primer product and skip a separate primer coat
How to Apply
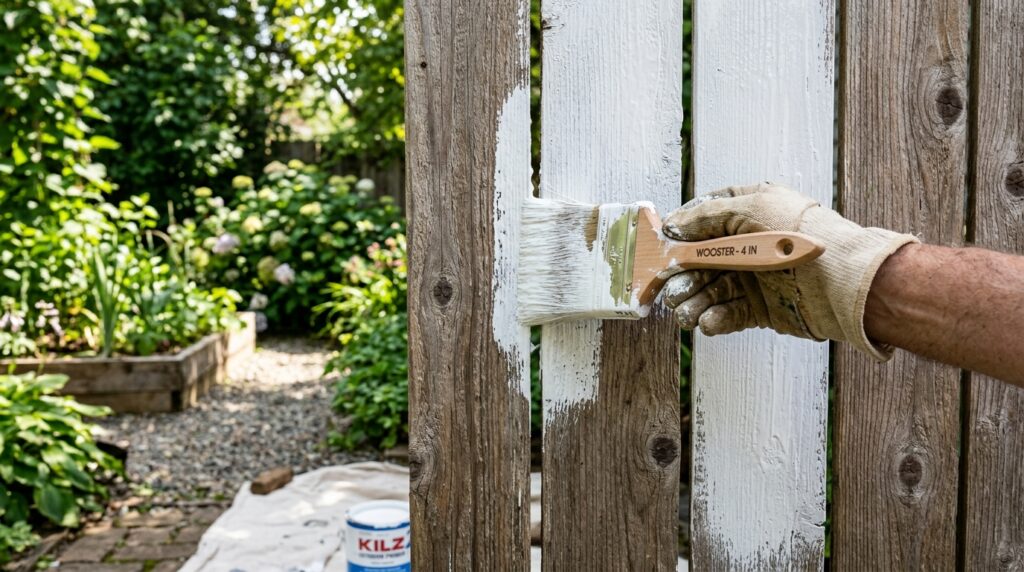
Apply primer with a brush to get into the gaps between boards first, then roll the flat faces. One coat of primer is enough for most fences. Let dry per the can directions — typically 1–2 hours before topcoat, but check: some primers need 24 hours before paint.
Step 5: Paint the Fence
With clean, repaired, primed wood, the painting itself is straightforward. The method depends on your fence type and the tools you have.
Choosing Your Application Method
| Method | Best for | Speed | Quality |
|---|---|---|---|
| Brush only | Picket fences, detailed trim, small jobs | Slow | High control |
| Brush + roller | Privacy fence, flat boards | Medium | Good |
| Airless sprayer | Large fences, 50+ linear feet | Fast | Excellent (with masking) |
If you’re spraying: Mask anything you don’t want painted — plants, concrete, neighboring structures. Overspray travels farther than you think. Use a drop cloth along the base and shield plants with cardboard.
For Wood Fences (Most Common)
Step 5a: Start with a brush to cut in along posts, rails, and any tight gaps between boards. A 2–3 inch angled sash brush works well here.
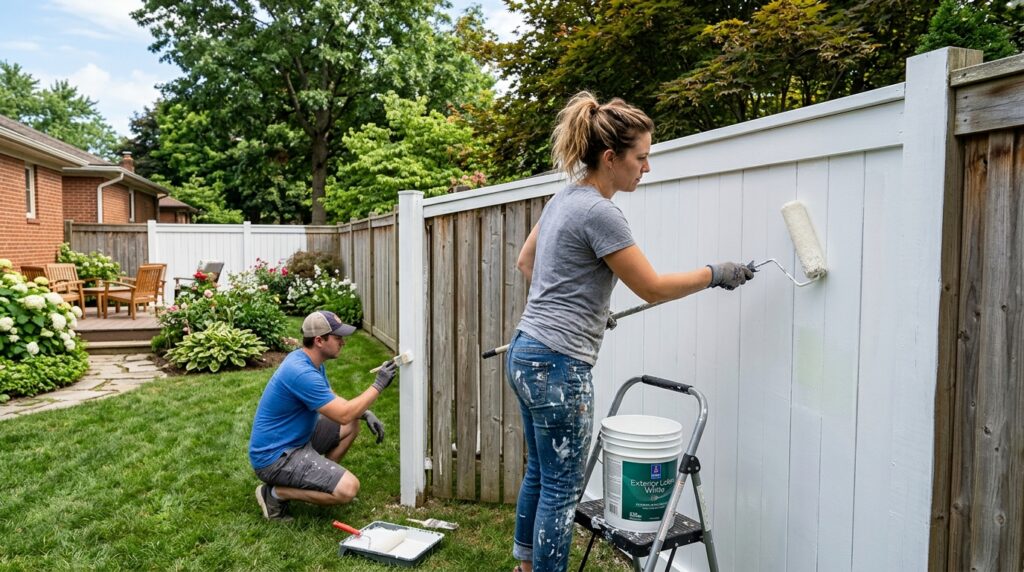
Step 5b: Follow with a roller on the flat faces of boards for efficiency. Use a 3/8″ nap roller — smooth enough to avoid heavy texture, enough nap to cover slightly rough wood.
Step 5c: Apply two thin coats rather than one thick coat. Thick coats sag, run, and take forever to dry. Thin coats dry faster, adhere better, and give a smoother finish. Follow the can’s recoat window (typically 4–6 hours for latex exterior paint).
Step 5d: Work in sections — complete one fence panel or section before moving to the next. This prevents visible lap marks from partially dried edges.
For Vinyl Fences
Vinyl doesn’t need primer, but it needs specific paint — standard exterior paint won’t bond properly to vinyl and will peel.
- Use paint formulated for vinyl or plastic (look for “vinyl-safe” on the label)
- Clean thoroughly with an all-purpose cleaner — no wax, no residue
- Apply in thin coats; vinyl doesn’t absorb paint the way wood does
- Stick with similar or lighter colors — dark paint on vinyl can absorb heat and cause warping
For Chain-Link Fences
Chain-link is rust-prone bare metal — the prep is different.
- Remove rust with a wire brush or rust converter product before painting
- Apply a rust-inhibiting metal primer first
- Use a brush or paint mitt (not a roller — rollers don’t get into chain-link effectively)
- Two coats minimum for coverage
Fence Painting Quick Checklist
Before you start:
Fence boards checked for rot — damaged boards replaced
Fence cleaned with TSP substitute or pressure washer
Mold/mildew treated with bleach solution if present
Fence dried 24–48 hours after washing
Peeling paint scraped and sanded smooth
Cracks, holes, and nail heads filled and cured
Plants and surfaces near fence protected
At application:
Primer applied to bare wood, weathered wood, and repaired areas
Primer fully cured before topcoat
Tight gaps and edges cut in with brush first
Roller used on flat board faces for speed
Two thin coats applied (not one thick)
Recoat window on the can respected between coats
Cleanup:
Brushes and rollers cleaned immediately (or wrapped in plastic and refrigerated for next day)
Leftover paint sealed and stored for touch-ups
Frequently Asked Questions
How many gallons of paint do I need for a fence? Calculate the square footage of your fence (length × height, both sides if you’re painting both). A gallon of exterior paint covers approximately 350–400 square feet. For a 6-foot-tall, 50-foot-long fence painted on one side, that’s 300 square feet — just under one gallon for one coat. Always buy an extra quart for touch-ups.
How long does painted fence last before it needs repainting? A properly prepped and primed fence with quality exterior paint lasts 5–10 years before needing a full repaint. Fences in direct sun or harsh weather (freeze-thaw cycles, heavy rain) land closer to 5 years. Fences in mild climates with minimal sun can go 8–10 years. Annual inspection and touch-ups on problem spots extend that significantly.
Can I paint a fence in direct sun? Avoid it if you can. Painting in direct, hot sun causes the paint to dry too fast — before it can bond properly to the surface — which leads to brush marks, poor adhesion, and a rough finish. Paint in the morning or late afternoon, or choose a cloudy day. Temperature matters too: don’t paint below 50°F or above 90°F.
Do I need to sand a fence before painting? You don’t need to sand every inch of a fence in good condition, but you do need to sand peeling areas smooth and lightly scuff any glossy previously painted surfaces. For bare or new wood, light sanding (120-grit) opens the grain and helps primer absorb evenly. Rough, weathered gray wood benefits from sanding to expose fresh wood.
What’s the difference between fence paint and regular exterior paint? Fence paint is typically formulated to be thinner — easier to work into the crevices and tight spaces of picket or privacy fences — and often has added fungicides and mildewcides to resist outdoor conditions. Standard exterior paint works fine on a fence, but fence-specific products are designed for the job. Either way: exterior-rated only. Interior paint fails fast outdoors.
The Bottom Line
The work that makes a fence paint job last is almost entirely in steps 1 through 4 — cleaning, drying, repairing, and priming. The painting itself goes fast once you’ve done the prep right. Skip the prep and you’ll be doing this again in two years.
Two thin coats over a properly primed surface, applied in moderate temperatures, will give you a fence that looks good and holds up for years. Start with the brush on the tight spots, follow with a roller on the flat faces, and don’t rush the dry time between coats.
For related outdoor projects, our guide on how to caulk a bathtub covers the same prep-first principle that applies to every finish work job around the house.
Have questions about your specific fence situation? Leave a comment below.
Related posts: