
This post contains affiliate links. If you buy through our links, we may earn a small commission at no extra cost to you.
Most tomato failures come from three mistakes: not enough sun, inconsistent watering, and planting too early. Here’s the complete guide from transplant to harvest — including what to do when things go wrong.
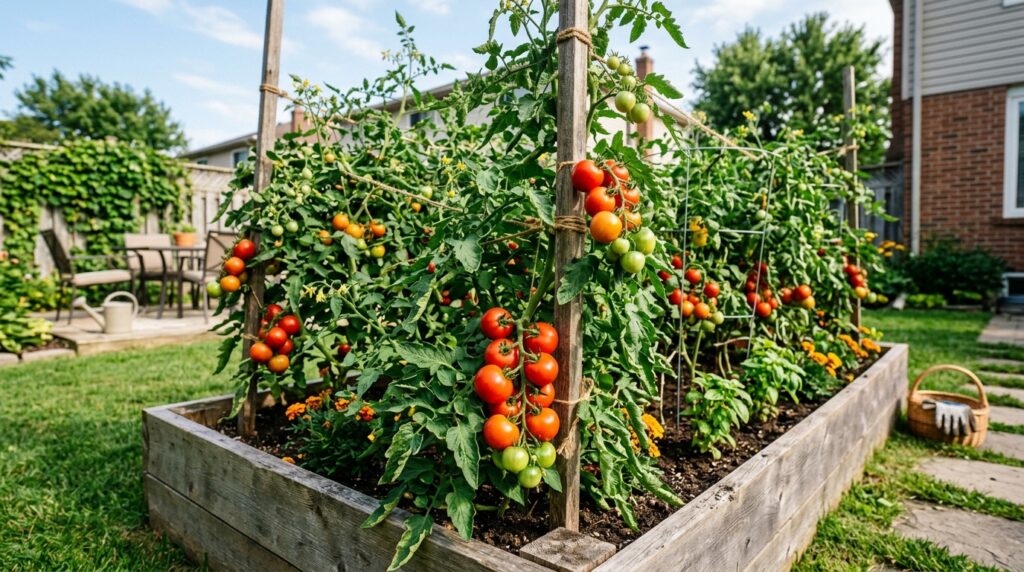
Tomatoes are the most popular home garden vegetable in the US — and one of the most commonly failed. The reasons are consistent: planted too early (cold soil kills transplants), not enough direct sun (6 hours minimum, 8 hours ideal), or inconsistent watering (causes blossom end rot and cracked fruit).
Get those three things right and tomatoes are productive and relatively low-maintenance from late spring through first frost.
Quick answer: Plant transplants after last frost when soil is above 60°F, in full sun (8+ hours), in well-amended soil with consistent moisture. Feed with tomato fertilizer every 2 weeks after flowering begins. Stake or cage immediately at planting — not after the plant needs it.
⭐ Essential Product:
Gardener’s Blue Ribbon Ultomato Tomato Plant Cage — 6-foot steel cage, folds flat for storage, supports indeterminate tomatoes through full season without collapsing (unlike standard wire cages). Around $20 each. The standard wire cone cages sold at garden centers fail under the weight of a mature indeterminate tomato — this cage doesn’t.
Also essential:
- Fertilizer: Jobe’s Tomato Fertilizer Spikes, 18 Spikes (Pack of 2) — Overall Pick, pre-measured slow-release spikes, push into soil at planting and every 8 weeks. No mixing, no measuring, no root burn. Around $12.
- Raised bed (optional): Vego Garden 17″ Tall Raised Garden Bed Kit, 9-in-1 — Overall Pick, #1 Top Rated, metal modular panels, 8×2 ft, 17-inch depth ideal for tomato root development. Around $180.
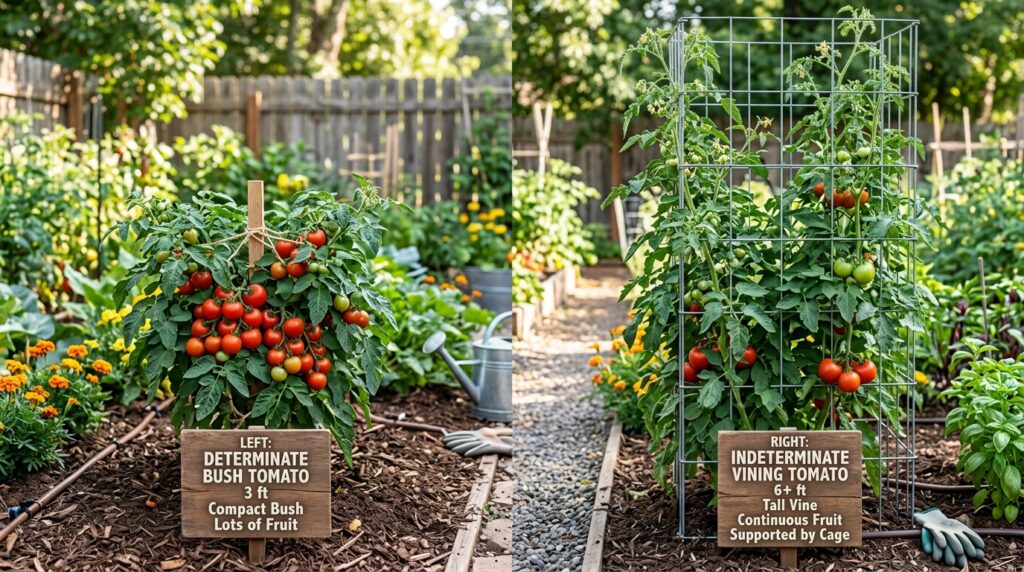
Step 1: Choose the Right Tomato Type
This choice determines how you support the plant and how long it produces.
Determinate (Bush) Tomatoes
- Grow to a fixed height (3–4 feet), set all fruit at once, stop growing
- Ripen fruit over 2–4 week window — good for canning and preserving
- Need minimal staking — a standard cage or single stake works
- Examples: Roma, Celebrity, Rutgers, Patio
Indeterminate (Vining) Tomatoes
- Keep growing and producing until frost kills them — can reach 6–10 feet
- Continuous harvest all season
- Need heavy support — strong cage, trellis, or stake system
- Examples: Cherry tomatoes, Beefsteak, Cherokee Purple, Brandywine, most heirlooms
For beginners: Determinate varieties are more forgiving — predictable size, easier to manage, and the harvest window is defined. Cherry tomato varieties (technically indeterminate) are the most productive and disease-resistant for new gardeners.
Step 2: Timing and Site Selection
When to Plant
Tomatoes are warm-season crops — they need warm soil and warm nights to thrive.
- Last frost date: Find yours at the USDA Plant Hardiness Zone map or PlantMaps.com. Plant transplants 2 weeks after last frost.
- Soil temperature: Must be above 60°F — ideally 65–70°F. Cold soil stunts root development even if air temperatures are warm.
- Night temperatures: Tomatoes stop setting fruit when nights drop below 55°F or rise above 75°F.
The most common timing mistake: Planting too early because “it’s been warm.” One cold night below 50°F can set a tomato plant back by 2–3 weeks.
Site Requirements
- Sun: 8+ hours of direct sun daily. 6 hours is the minimum — below that, plants grow but produce poorly. South or west-facing beds are ideal.
- Drainage: Tomatoes hate wet feet — avoid low spots that hold water after rain
- Air circulation: Space plants 24–36 inches apart — crowded plants get fungal disease faster
Step 3: Prepare the Soil
Tomatoes are heavy feeders that need rich, well-draining soil. Native soil in most yards needs amendment before planting.
Soil Requirements
- pH: 6.0–6.8 (slightly acidic)
- Structure: Loose and well-draining — roots need oxygen
- Organic matter: High — compost improves both drainage and fertility
Amending Native Soil
- Dig or till the planting area 12 inches deep
- Add 3–4 inches of compost and work it in thoroughly
- If soil is heavy clay: add coarse sand and compost in equal parts
- If soil is sandy: add compost only — improves water retention
Raised Bed Option
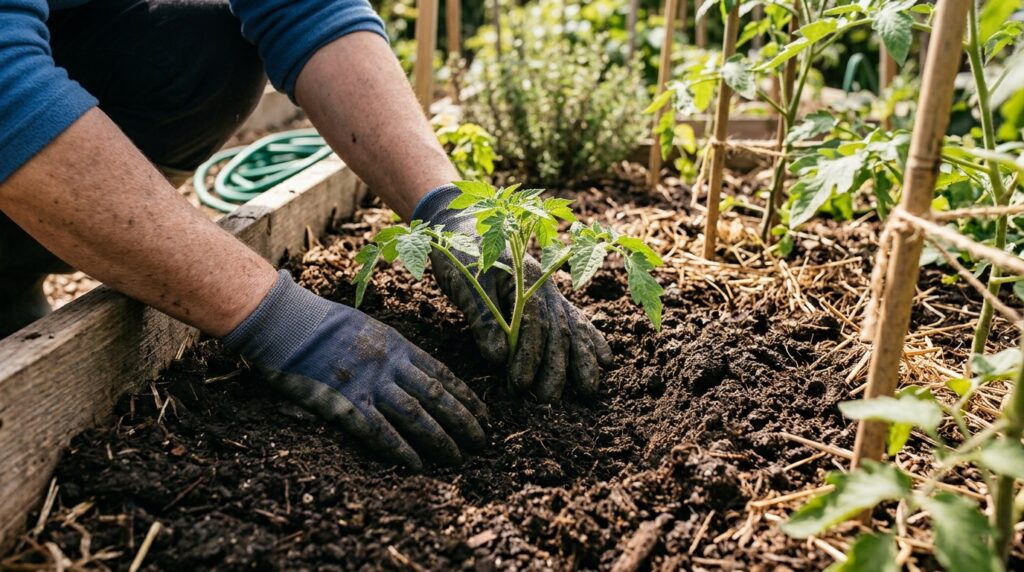
For poor native soil, a raised bed filled with quality garden mix (1/3 compost, 1/3 topsoil, 1/3 perlite or coarse material) gives tomatoes ideal conditions immediately — no native soil amendment needed. Fill depth of 12–17 inches accommodates full root development.
Step 4: Plant the Transplant
Tomatoes can be planted deeper than almost any other vegetable — the buried stem develops roots, creating a stronger root system.
Deep Planting Method
- Dig a hole 6–8 inches deeper than the transplant’s root ball
- Remove all leaves except the top 4–5 sets
- Set the plant so only the top cluster of leaves is above soil
- Backfill and water in thoroughly
- Install the cage or stake immediately — doing it after the plant is established disturbs roots
At Planting
- Add a handful of slow-release tomato fertilizer to the planting hole
- Water with a diluted solution of liquid fertilizer (transplant shock reducer)
- Mulch 2–3 inches around the plant (not against the stem) — conserves moisture and prevents soil splash that spreads disease
Step 5: Water and Fertilize
Watering
Inconsistent watering is the leading cause of tomato problems — blossom end rot, cracking, and dropped flowers are all linked to irregular moisture.
Target: 1–2 inches of water per week, consistently.
Technique:
- Water deeply at the base — not overhead (wet leaves spread disease)
- Water in the morning — soil dries during the day
- Check soil moisture 2 inches down before watering — should be moist, not saturated
Drip irrigation or soaker hose is the best setup for tomatoes — delivers consistent moisture at the root zone, keeps foliage dry. A timer makes it automatic.
Fertilizing Schedule
| Growth Stage | Fertilizer Type | Frequency |
|---|---|---|
| At planting | Slow-release granular | Once |
| Before flowering | Balanced (10-10-10) | Every 2 weeks |
| After first flowers | High phosphorus, low nitrogen | Every 2 weeks |
| Active fruiting | Tomato-specific formula | Every 2 weeks |
After flowering begins, reduce nitrogen — high nitrogen produces lush foliage but suppresses fruit production. Switch to a fertilizer with more phosphorus and potassium (the second and third numbers in N-P-K).
Step 6: Pruning and Maintenance
Suckers
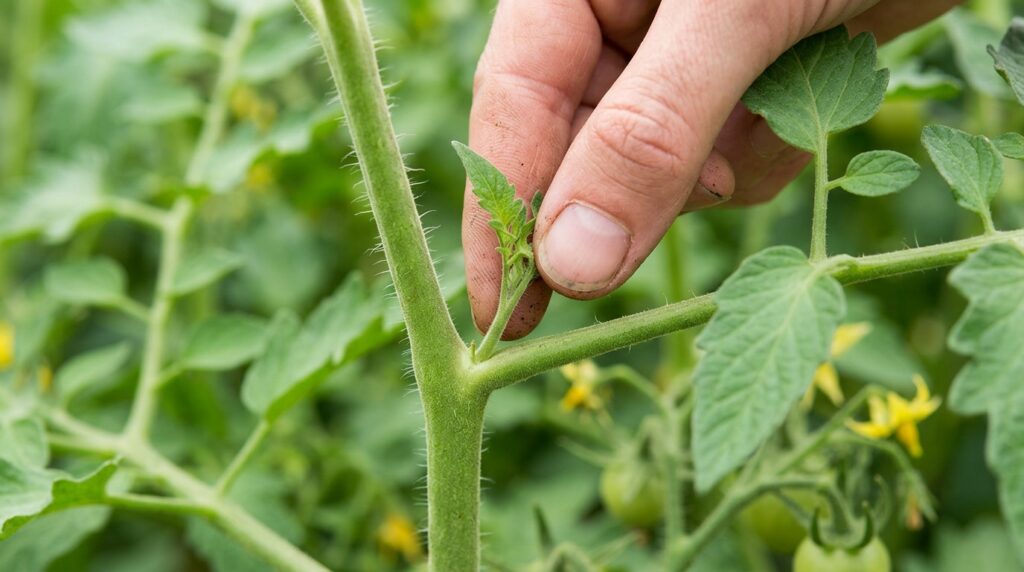
Suckers are the shoots that grow in the crotch between the main stem and a side branch. Left to grow, they become full branches — creating a bushy plant with lots of foliage but smaller, later fruit.
For indeterminate varieties: Remove suckers below the first flower cluster to keep energy directed to fruit. Above the first cluster, leave some suckers as secondary branches.
For determinate varieties: Minimal pruning — removing suckers slows the plant unnecessarily.
How to Remove Suckers
Pinch or snap small suckers (under 2 inches) by hand. Cut larger suckers with clean pruning shears — wipe blades with isopropyl alcohol between plants to prevent disease spread.
Tomato Growing Quick Checklist
Before planting:
Last frost date confirmed
Soil temperature above 60°F
Site receives 8+ hours direct sun
Soil amended with compost
Cage or stake ready to install at planting
At planting:
Planted deeply — lower leaves removed and buried
Slow-release fertilizer added to planting hole
Cage or stake installed immediately
2–3 inch mulch layer applied around base
Watered in thoroughly
Ongoing care:
1–2 inches water per week consistently
Fertilizing every 2 weeks after flowering
Suckers removed on indeterminate varieties
Foliage kept dry — water at base only
Yellowing lower leaves removed promptly
Common Tomato Problems and Fixes
| Problem | Cause | Fix |
|---|---|---|
| Blossom end rot (dark bottom) | Inconsistent watering, calcium deficiency | Even watering, calcium spray |
| Cracked fruit | Irregular watering after dry spell | Consistent moisture, mulch |
| Yellow lower leaves | Normal (age) or fungal disease | Remove leaves, improve airflow |
| No fruit set | Too hot/cold nights, low pollination | Shake plants gently to pollinate |
| Wilting despite water | Fungal wilt disease | Remove plant, don’t compost |
| Stunted growth | Cold soil, nitrogen deficiency | Wait for warmth, fertilize |
Frequently Asked Questions
How long does it take for tomatoes to produce fruit? Most transplants produce ripe fruit 60–85 days after transplanting, depending on variety. Cherry tomatoes are on the faster end (60–70 days); large beefsteak types take longer (80–100 days). Check the days-to-maturity on the plant tag — this is the most reliable timeline.
How much sun do tomatoes really need? 8 hours of direct sun is ideal; 6 is the minimum for fruit production. Below 6 hours, plants grow but produce little fruit. “Part shade” tomatoes marketed for lower light still need 5–6 hours minimum and will underperform compared to full-sun plants.
Why are my tomato flowers falling off? Flower drop is almost always caused by temperature extremes — nights below 55°F or above 75°F, or daytime temperatures above 95°F. There’s no fix during the temperature event — the plant will resume setting fruit when temperatures moderate. Inconsistent watering also causes flower drop.
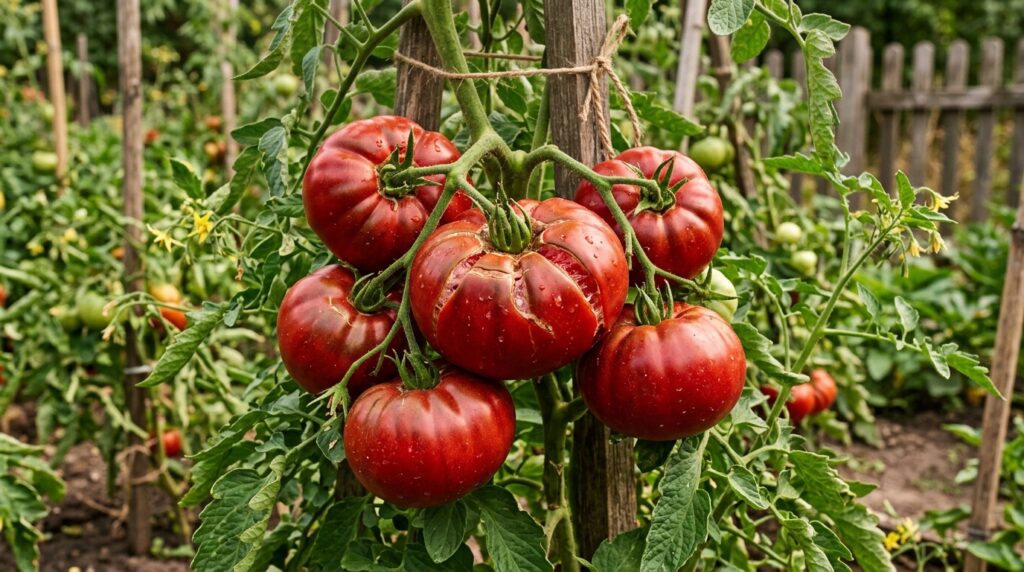
Should I remove tomato leaves that touch the ground? Yes — remove all leaves within 12 inches of the soil. Ground-level leaves pick up fungal spores from soil splash during rain or watering and spread disease up the plant. This single habit significantly extends plant health into late season.
Can I grow tomatoes in containers? Yes — use a minimum 5-gallon container (10-gallon is better for indeterminate types), quality potting mix (not garden soil), and water daily in hot weather (containers dry out fast). Choose compact determinate varieties or cherry tomatoes for containers. Feed every week — container plants exhaust nutrients faster than in-ground plants.
The Bottom Line
Tomatoes succeed with three non-negotiables: enough sun (8+ hours), consistent water (1–2 inches per week at the base), and correct timing (soil above 60°F, past last frost). Deep planting, immediate staking, and switching to low-nitrogen fertilizer after flowering covers the rest.
For maintaining the garden bed that houses your tomatoes, our guide on how to get rid of weeds in your lawn covers weed control strategies that apply equally to garden beds.
Have questions about your specific tomato situation? Leave a comment below.
Related posts: