
This post contains affiliate links. If you buy through our links, we may earn a small commission at no extra cost to you.
Failed shower caulk isn’t an application problem — it’s a prep problem. Here’s the complete process: remove the old caulk completely, prep the surface correctly, and apply new caulk that actually bonds and lasts 5–10 years.
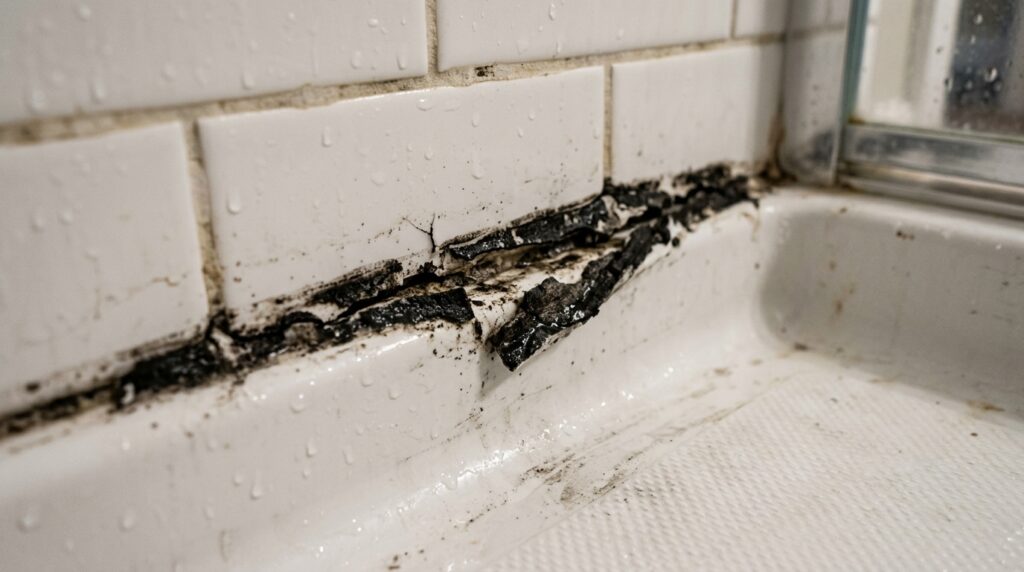
Shower caulk fails for one reason: it was applied over old caulk, or over a surface that wasn’t completely dry and clean. New caulk bonds to the substrate — tile, fiberglass, acrylic — not to old caulk. Apply over old caulk and it peels within months.
The actual application takes 20 minutes. The prep — removing old caulk and waiting for the surface to dry — takes the rest of the time. Get the prep right and the caulk lasts 5–10 years.
Quick answer: Remove all old caulk with a caulk remover tool, clean the joint with isopropyl alcohol, let dry completely (24 hours if possible), apply 100% silicone or siliconized latex caulk in one continuous bead, smooth with a wet finger, and don’t use the shower for 24 hours.
⭐ Essential Product:
GE Sealants Advanced Silicone 2 Kitchen & Bath Caulk — 100% silicone, mold and mildew resistant, stays flexible permanently (doesn’t crack as the shower shifts), 10-year warranty. Around $8 per tube. The best all-around shower caulk for tile, fiberglass, and acrylic surrounds.
Also needed:
- Caulk remover tool: Homax Caulk Remover Tool (~$8) — plastic blade that pulls old caulk without scratching tile or fiberglass
- Caulk gun: Dripless ETS2000 Caulk Gun (~$15) — smooth rod (not ratchet), dripless mechanism prevents excess flow between strokes
Silicone vs. Latex Caulk — Which to Use
This choice determines how long the caulk lasts.
| Type | Best For | Lifespan | Paintable | Cleanup |
|---|---|---|---|---|
| 100% Silicone | Shower joints, wet areas | 10–20 years | No | Mineral spirits |
| Siliconized Latex | Shower surrounds, some flexibility needed | 5–10 years | Yes | Water |
| Acrylic Latex | Trim, baseboards, dry areas | 2–5 years | Yes | Water |
Use 100% silicone for shower joints — the seam between the tub/shower base and tile wall, corners, and any joint that flexes when the shower is used. Silicone stays permanently flexible and doesn’t crack when the structure moves slightly.
Use siliconized latex for larger flat areas if you need a paintable caulk — it’s easier to apply and clean up, but shorter lifespan in wet conditions.
Never use plain acrylic latex in a shower. It absorbs water, degrades quickly, and grows mold. It’s designed for dry interior applications only.
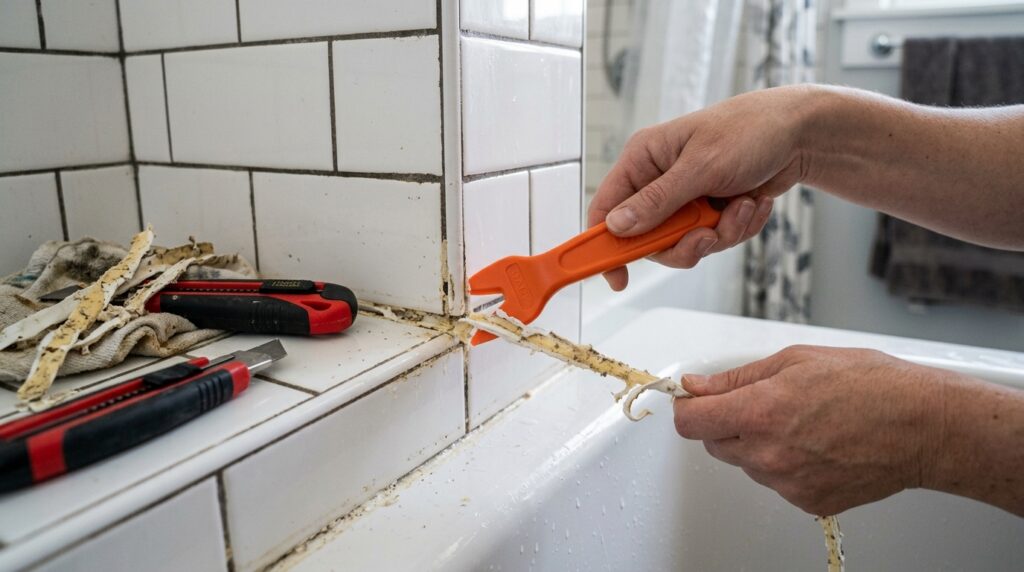
Step 1: Remove All Old Caulk
This is the most important step — and the one most homeowners skip or rush.
New caulk does not bond to old caulk. Any old caulk left in the joint will cause the new application to fail at that point, usually within weeks.
Manual Removal
- Score the old caulk along both edges with a utility knife or caulk scoring tool — this breaks the bond with the tile and tub surfaces
- Pull the caulk out in strips with the caulk remover tool or needle-nose pliers
- Use the plastic scraper to remove any remaining bits — work carefully to avoid scratching tile glaze or fiberglass
Chemical Assist (For Stubborn Old Caulk)
Apply a caulk remover gel (like Motsenbacher’s Lift Off or DAP Caulk-Be-Gone) to the old caulk, let sit 2–3 hours, then scrape. Softens silicone caulk significantly — makes removal much faster on older, hardened applications.
On fiberglass and acrylic surrounds: Use only plastic scrapers — metal tools scratch the surface permanently. Scratches in fiberglass hold mold and are nearly impossible to remove.
Step 2: Clean and Dry the Joint
After removing all old caulk, the joint needs to be completely clean and dry before new caulk goes in.
Clean
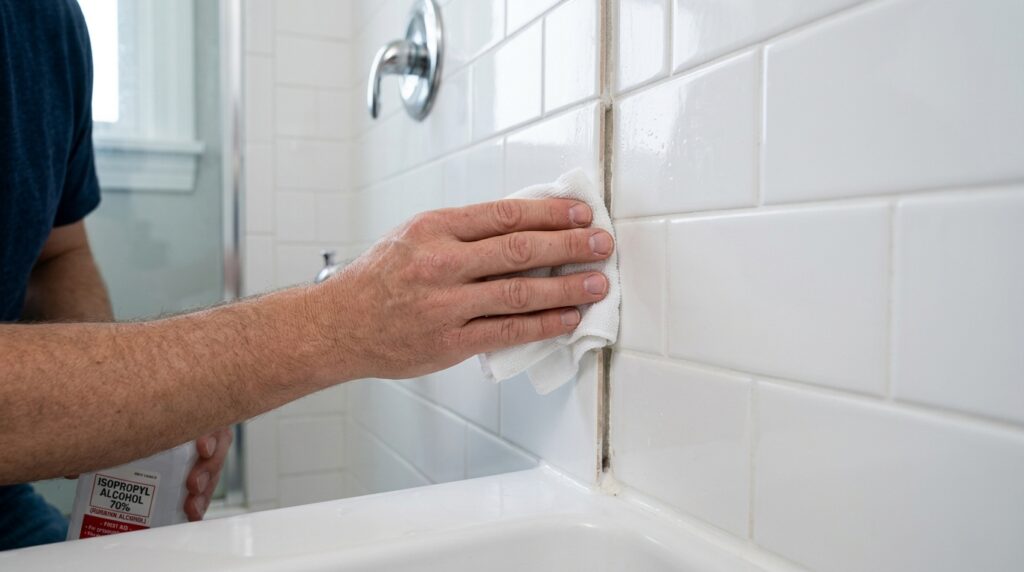
- Spray the joint with isopropyl alcohol (70% or higher)
- Wipe with a clean cloth — removes soap residue, skin oils, and any caulk remover residue
- For mold-stained joints: apply a bleach solution (1 part bleach, 10 parts water), let sit 10 minutes, rinse, then dry
- Final wipe with isopropyl alcohol
Dry — The Critical Wait
The joint must be completely dry before caulking. Moisture under silicone caulk prevents bonding and causes premature failure.
Minimum dry time: 6 hours after cleaning. Best practice: 24 hours. Don’t rush this step.
If you’re working in a humid bathroom, run the exhaust fan and open a window during the dry time. A hair dryer on low heat can speed drying in the joint if you’re on a tighter schedule.
Step 3: Tape the Joint (Optional but Recommended)
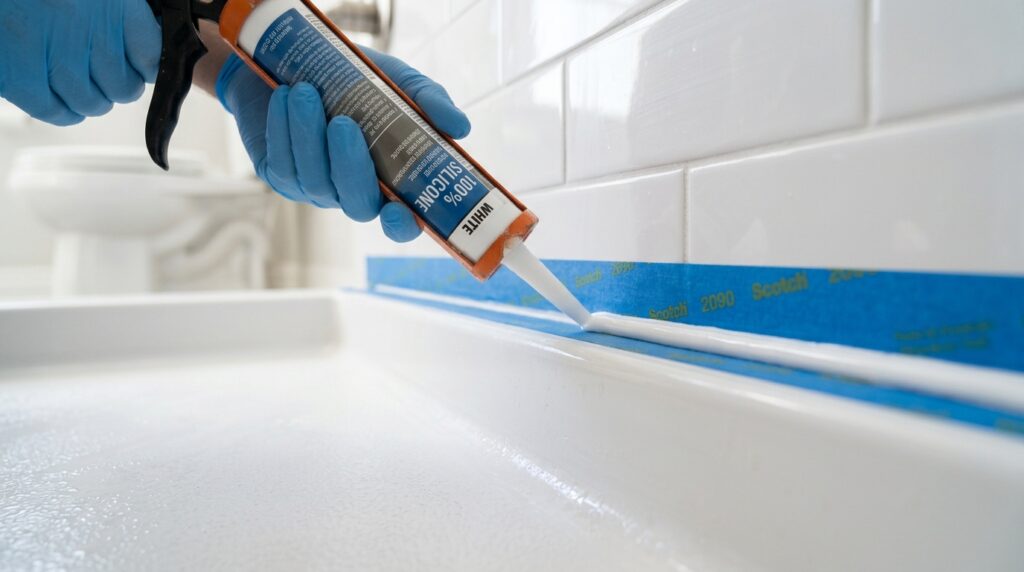
Applying painter’s tape on both sides of the joint before caulking creates perfectly straight lines — especially valuable in visible areas like the front corners of the shower.
- Apply tape on the tile side, 1/8 inch from the joint edge
- Apply tape on the tub/base side, 1/8 inch from the joint edge
- Press the tape firmly — any gap lets caulk bleed under
The tape must come off while the caulk is still wet — remove immediately after smoothing, not after it cures.
Step 4: Apply the Caulk
Prepare the Tube
Cut the tip of the caulk tube at a 45-degree angle — the opening should be about 1/4 inch wide for shower joints. Smaller opening = more control. You can always cut wider if needed; you can’t un-cut.
Pierce the inner foil seal with the puncture tool on the caulk gun or a long nail.
Load and Test
Load the tube into the caulk gun. Test the flow on a piece of cardboard — adjust your pace before starting on the shower.
Apply in One Continuous Bead
- Position the tip at one end of the joint, angled 45 degrees into the joint direction
- Squeeze the trigger with steady, even pressure while moving along the joint at a consistent pace
- Complete each joint line in one pass — stopping and restarting creates visible seams
- Apply slightly more caulk than needed — you’ll push excess out when smoothing
Work in this order: Back wall horizontal joint first, then side walls, then front corners, then the tub-to-tile joint along the floor.
Step 5: Smooth and Finish
Smoothing must happen immediately after application — silicone caulk starts skinning over within minutes.
Wet Finger Method
- Wet your finger with water (for siliconized latex) or isopropyl alcohol (for 100% silicone — water doesn’t release silicone as cleanly)
- Run your finger along the caulk bead in one smooth, continuous stroke
- Apply light, consistent pressure — you’re pressing the caulk into the joint and shaping the surface profile
- Wipe excess caulk off your finger on a paper towel, re-wet, and repeat for the next section
Remove the Tape
Immediately after smoothing each joint, pull the painter’s tape off at a 45-degree angle while the caulk is still wet. Waiting until the caulk cures causes the tape to peel the caulk edge.
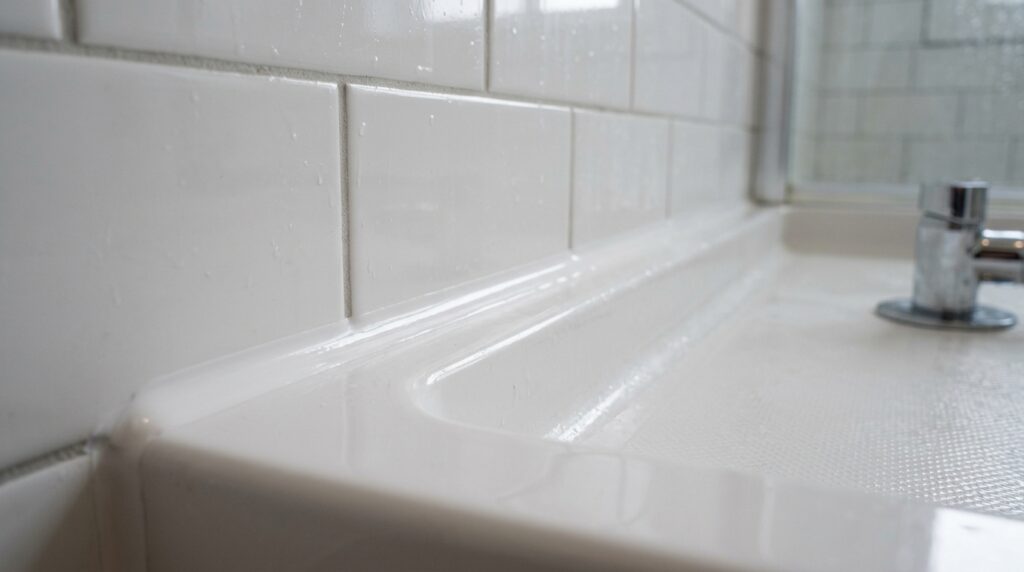
Shower Caulking Quick Checklist
Prep:
All old caulk removed — no remnants in joint
Joint cleaned with isopropyl alcohol
Mold treated with bleach solution if present
Joint dry for minimum 6 hours (24 hours preferred)
Painter’s tape applied on both sides of joint
Application:
Caulk tube tip cut at 45 degrees, 1/4 inch opening
Test bead on cardboard before starting
Each joint completed in one continuous pass
Caulk applied slightly overfilled
Finishing:
Smoothed with wet finger immediately after application
Painter’s tape removed while caulk still wet
No shower use for minimum 24 hours (48 hours preferred for silicone)
Cure time:
Siliconized latex: 24 hours before water exposure
100% silicone: 24–48 hours before water exposure
Frequently Asked Questions
How long does shower caulk last? 100% silicone caulk in a properly prepped joint lasts 10–20 years. Siliconized latex lasts 5–10 years. Caulk that fails within 1–2 years was applied over old caulk or a wet surface — the formula isn’t the issue, the prep was.
Can I caulk over existing caulk? No — new caulk doesn’t bond to old caulk. The new application will peel at the points where it contacts old caulk rather than the substrate. Complete removal of old caulk is required for any caulk application that will last.
Why does my shower caulk keep getting moldy? Mold grows on soap residue and body oils that accumulate on caulk surfaces. Prevention: wipe the caulk joints dry after each shower, run the exhaust fan for 20 minutes after showering, and use a daily shower spray. When mold appears, treat with a bleach pen or diluted bleach before it penetrates the caulk. 100% silicone caulk with mold-inhibiting additives resists surface mold better than standard formulas.
What’s the difference between caulk and grout? Grout fills joints between tiles — it’s rigid and cement-based. Caulk fills the joint between the tile and the tub/shower base — it must be flexible because those two surfaces move independently. Never use grout at the tile-to-tub joint; it will crack within months as the structure flexes.
How do I fix a caulk job that looks bad? If the caulk is still wet, wipe it out immediately with isopropyl alcohol and redo. If it’s cured, the only fix is complete removal and reapplication — there’s no way to patch or smooth cured silicone caulk. This is why painter’s tape and a careful smoothing step matter.
The Bottom Line
Shower caulking is a 20-minute application preceded by 24 hours of prep. Remove every trace of old caulk, clean with isopropyl alcohol, let the joint dry completely, and apply 100% silicone caulk in one continuous bead per joint. Smooth immediately, remove the tape while wet, and stay out of the shower for 24 hours.
For the same process applied to a bathtub, our guide on how to caulk a bathtub covers the tub-specific details including the full-tub-of-water trick that prevents caulk from cracking when the tub flexes under weight.
Have questions about your specific shower situation? Leave a comment below.
Related posts: