
This post contains affiliate links. If you buy through our links, we may earn a small commission at no extra cost to you.
Ceiling painting fails for three reasons: wrong paint, no extension pole, and rolling in random directions. Here’s the method that gets a clean, even finish on the first coat — and when two coats are actually necessary.
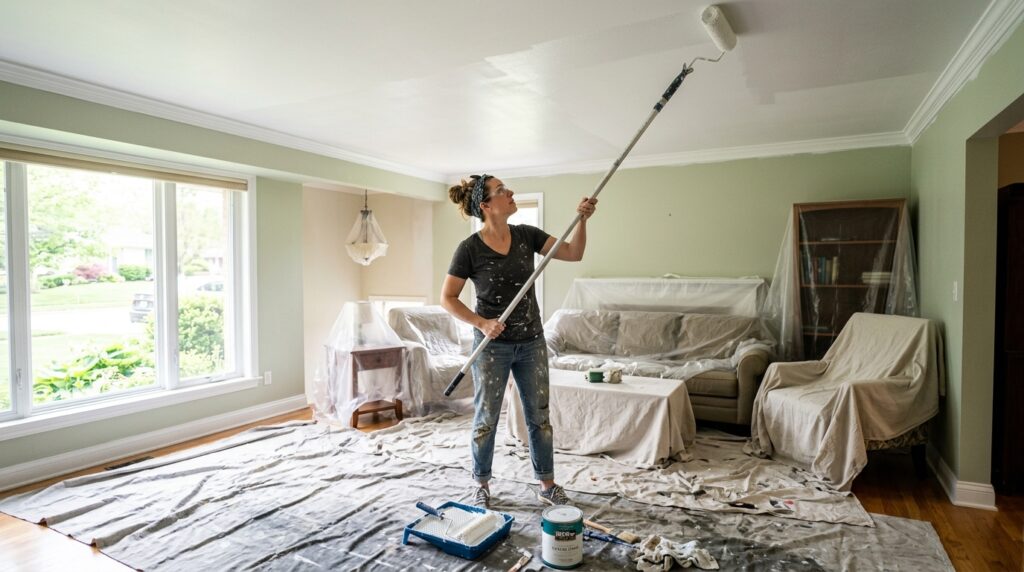
Painting a ceiling is the most intimidating DIY painting job — and the one most homeowners overpay contractors to do. The concerns are legitimate: drips, roller marks, lap marks, and neck strain from working overhead. But every one of those problems has a specific technical fix.
Get the right paint, use an extension pole, roll in one consistent direction, and maintain a wet edge. A standard 12×12 room ceiling takes 2–3 hours including prep.
Quick answer: Use flat ceiling paint (not wall paint), cut in the edges with a brush, then roll in overlapping W or M patterns working from the far corner toward the door, maintaining a wet edge. One coat covers most ceilings; two coats needed for color changes or stain coverage.
⭐ Essential Product:
Wooster Brush R017-18 Roller Cover — 3/8-inch nap, 18-inch wide roller, lint-free, leaves no texture on smooth ceilings. Around $12. The 18-inch wide roller covers ceiling surfaces 50% faster than a standard 9-inch roller — the single biggest time-saver for ceiling work.
Also essential:
- Extension pole: 5-8 ft Telescopic Extension Pole for Paint Roller — Best Seller, locks at any length, universal twist-on fits standard roller frames. Around $36.
- Ceiling paint: KILZ Ceiling Paint, Bright White (~$30/gallon) — ultra-flat finish hides surface imperfections, spatter-resistant formula reduces drips.
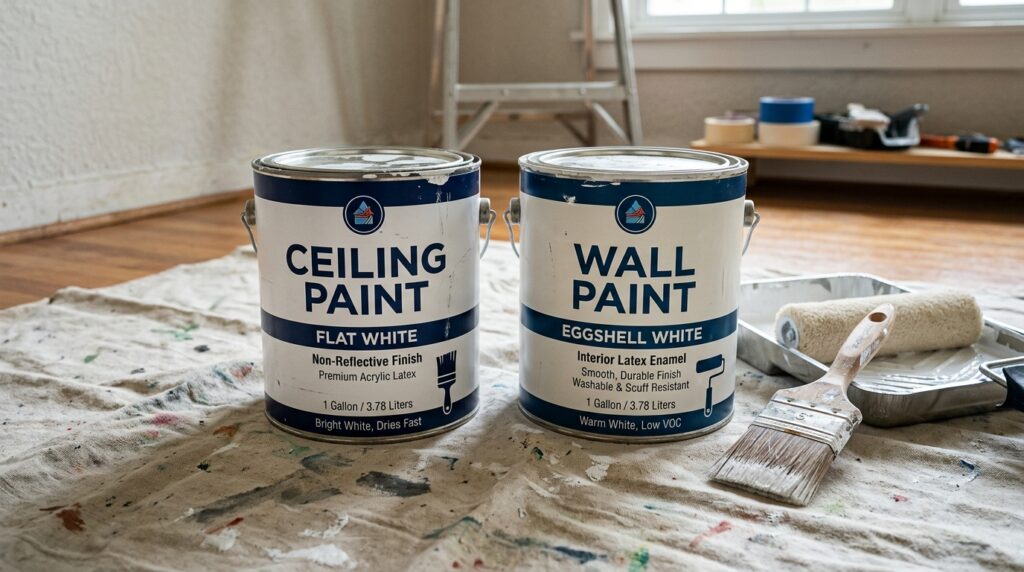
Before You Start: Ceiling Paint vs. Wall Paint
This is the most common ceiling painting mistake — using leftover wall paint on the ceiling.
| Feature | Ceiling Paint | Wall Paint |
|---|---|---|
| Sheen | Flat (zero sheen) | Eggshell to satin |
| Viscosity | Thicker | Thinner |
| Drip resistance | High — formulated for overhead | Low — drips easily overhead |
| Hides imperfections | Yes — flat finish diffuses light | No — sheen reflects imperfections |
| Washability | Low | High |
Ceiling paint is thicker — formulated to cling to overhead surfaces without dripping. Wall paint thins under gravity and drips. Use ceiling-specific paint for any ceiling project.
Color: Most ceilings are painted bright white — it maximizes light reflection and makes rooms feel larger. If matching an existing ceiling color, bring a chip to the paint store for matching.
Step 1: Prep the Room
Clear and Cover
- Move furniture to the center of the room or out entirely
- Cover everything with drop cloths — ceiling paint spatters more than wall paint
- Remove ceiling light fixtures if possible (cap the wires with wire nuts) — painting around fixtures is slower and less clean
Prep the Ceiling Surface
- Fill any cracks or holes with lightweight spackle — let dry, sand smooth
- For water stains: apply a stain-blocking primer (Zinsser BIN or Bulls Eye 1-2-3) before painting — regular paint won’t cover water stains permanently
- Sand any texture bumps or rough spots lightly with 120-grit
- Wipe the ceiling with a dry microfiber cloth to remove dust — paint won’t adhere to dusty surfaces
Tape the Walls
Apply painter’s tape at the wall-ceiling junction — press firmly with a putty knife to seal the edge. This protects the wall paint from ceiling paint overlap.
Our Pick: FrogTape Multi-Surface Painter’s Tape — PaintBlock technology seals tape edges, prevents bleed-through. Around $8 per roll.
Step 2: Cut In the Edges
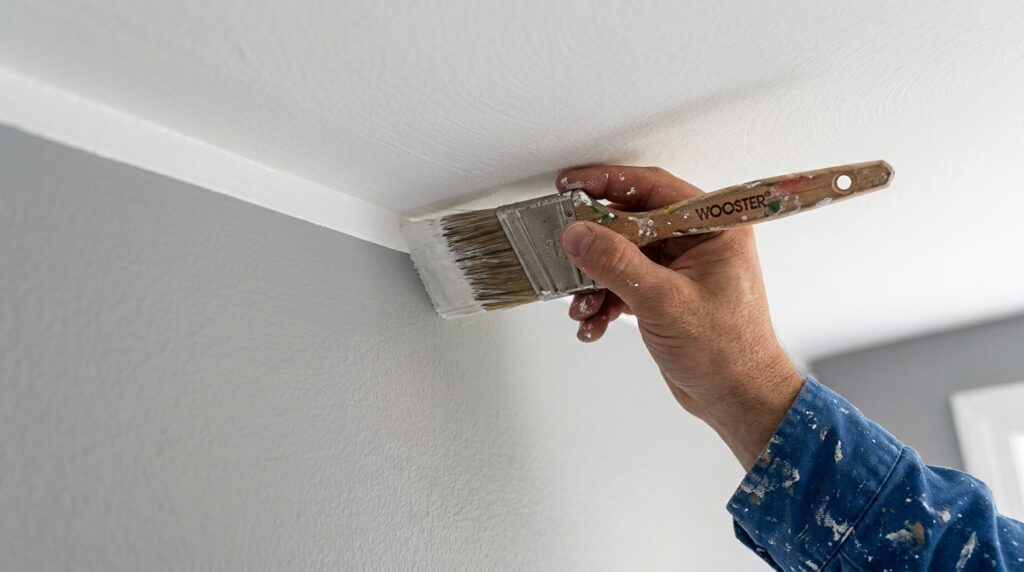
Cutting in means painting a 2–3 inch band around the perimeter of the ceiling with a brush before rolling. This gives clean edges that the roller can’t reach.
Technique
- Load a 2.5-inch angled brush with paint — don’t overload (dip 1 inch into paint, tap both sides)
- Start at a corner and paint a 2–3 inch band along the wall-ceiling junction
- Work in 3–4 foot sections — don’t let cut-in paint dry before rolling (causes lap marks)
- Keep a wet edge — always brush back into wet paint, not onto dry paint
Critical timing: Cut in one wall section and immediately roll that section before cutting the next wall. Don’t cut in the entire perimeter and then roll — the cut-in edges will dry and create visible lines where the wet roller meets the dry brush strokes.
Step 3: Roll the Ceiling
Set Up the Extension Pole
Attach the roller frame to the extension pole and set the length so you can roll comfortably while standing — typically 4–6 feet of extension for standard 8-foot ceilings.
Working from the floor with an extension pole is:
- Faster than a ladder (no climbing up and down)
- Less fatiguing (arms at a natural angle)
- Safer (no fall risk)
Load the Roller
Pour paint into the tray, load the roller by rolling it back and forth until fully saturated, then roll off excess on the ridged ramp section. The roller should be fully loaded but not dripping.
Rolling Technique
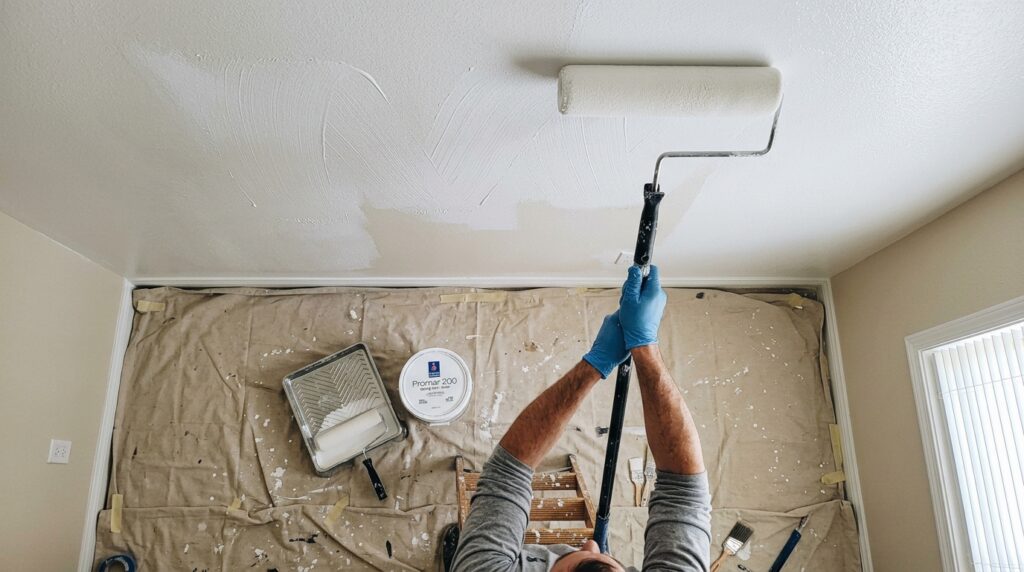
Pattern: Roll in a W or M pattern — 3 feet wide, 3 feet tall. Fill in the W with parallel strokes, then move to the next W section. This distributes paint evenly before it can start drying.
Direction: Finish all strokes rolling in the same direction (toward the primary light source — usually the window). This makes roller texture invisible under light.
Overlap: Each pass should overlap the previous by 2–3 inches while both are still wet — this eliminates lap marks.
Speed: Roll at moderate speed — too fast creates spatter, too slow pulls paint back up.
Step 4: Work Section by Section
Divide the ceiling into 3×3 foot sections mentally. For each section:
- Cut in that section’s edges (if adjacent to a wall)
- Immediately roll that section while cut-in edges are wet
- Finish strokes toward the light source
- Move to the adjacent section, overlapping the wet edge
Work from the far corner toward the door — you’ll never have to step over wet sections or paint yourself into a corner.
Maintaining a Wet Edge
The wet edge is the key to lap-mark-free ceilings. Always roll back into the edge of the section you just painted before it dries. In warm or dry conditions, work faster — paint dries in 20–30 minutes and laps once dry.
Step 5: Second Coat (When Needed)
One coat of ceiling paint covers most repaints of white-over-white ceilings. Two coats are needed when:
- Changing color (even from white to a slightly different white)
- Covering water stains (after primer)
- Painting new drywall (always needs two coats — raw drywall absorbs paint unevenly)
- Covering dark marks or smoke damage
Wait time between coats: Minimum 2 hours, preferably 4. The ceiling should be dry to the touch and uniform in sheen before recoating.
Apply the second coat in the same direction as the first. No need to cut in again if the first coat’s edges are clean.
Ceiling Painting Quick Checklist
Prep:
Furniture covered or removed
Drop cloths covering entire floor
Ceiling surface cleaned, cracks filled, stains primed
Painter’s tape applied and sealed at wall-ceiling junction
Ceiling paint purchased (not wall paint)
During painting:
Extension pole set to comfortable working height
Cut in edges section by section (not entire perimeter at once)
Rolled immediately after cutting in each section
W/M pattern used, finished strokes toward light source
Wet edge maintained throughout
After first coat:
Tape removed while paint is still slightly wet (prevents peeling)
Coverage assessed — second coat needed?
Second coat applied after minimum 2-hour dry time if needed
Frequently Asked Questions
Do I need to prime a ceiling before painting? Not for standard repaints over existing paint in good condition. You do need primer for: new drywall (PVA drywall primer), water stains (stain-blocking primer like Zinsser BIN), smoke or grease (stain-blocking primer), or drastic color changes. Skipping primer on water stains is the most common mistake — the stain bleeds through regular paint indefinitely.
Why does my painted ceiling show roller marks? Two causes: rolling in inconsistent directions (always finish in one direction toward the light) or lap marks from letting sections dry before overlapping. The fix for existing roller marks is a second coat applied carefully with consistent direction and a maintained wet edge.
How much paint do I need for a ceiling? One gallon covers approximately 400 sq ft. A 12×12 room ceiling (144 sq ft) needs about 1/3 gallon per coat — buy a quart for single rooms, a gallon for multiple rooms or two coats. Always buy slightly more than the calculation — running out mid-coat forces a lap mark at the refill point.
Can I use a sprayer instead of a roller for ceilings? A sprayer produces the smoothest finish but requires significantly more prep (masking everything in the room) and practice to avoid runs. For DIY ceiling work, a roller with an 18-inch frame and extension pole is faster overall when prep time is factored in. Sprayers make sense for new construction or full room repaints where walls are being painted simultaneously.
How do I avoid getting ceiling paint on the walls? Two methods: painter’s tape at the ceiling-wall junction (required for clean lines), and a steady hand when cutting in. The tape does the work — cut in along the tape edge, remove the tape while the paint is still slightly wet (not fully dry, which causes peeling). If ceiling paint gets on the wall, let it dry completely and touch up the wall color with a small brush.
The Bottom Line
Painting a ceiling is a 2–3 hour project for a standard room. Use ceiling-specific paint, cut in section by section (not the full perimeter at once), roll in a W pattern and finish in one direction, and maintain a wet edge throughout. The extension pole is non-negotiable — working from the floor is faster and safer than a ladder.
For the full room painting process including walls, trim, and prep, our guide on how to paint a room covers the complete sequence from prep to final coat.
Have questions about your specific ceiling situation? Leave a comment below.
Related posts: