
This post contains affiliate links. If you buy through our links, we may earn a small commission at no extra cost to you.
A leaky roof doesn’t always mean a full replacement. Most leaks come from a handful of fixable spots — damaged shingles, failed flashing, or cracked sealant. Here’s how to find the source and stop it before the next rainstorm.
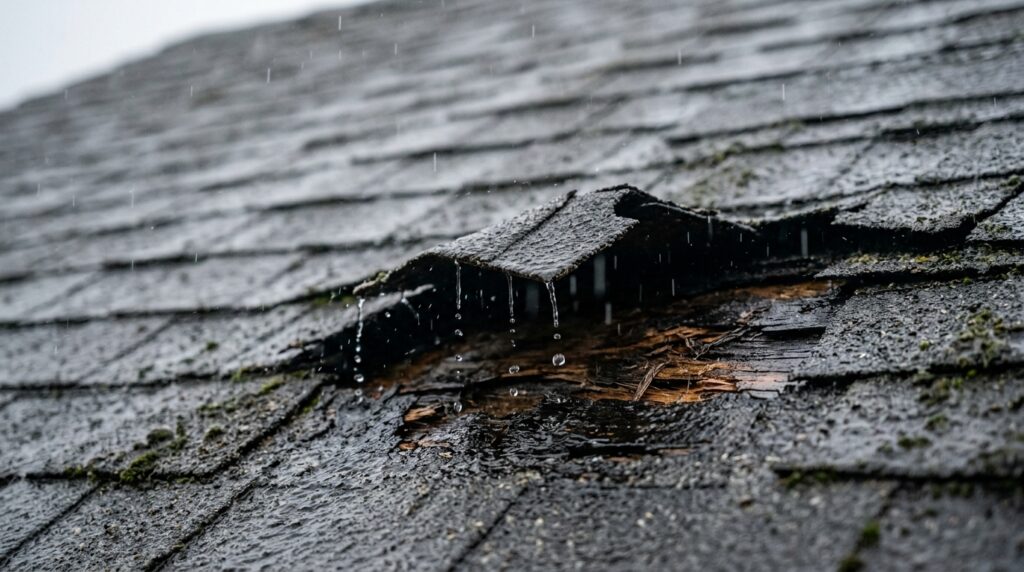
Water stain on the ceiling. Drip during a rainstorm. That sinking feeling when you realize it’s not a one-time thing.
A leaky roof is one of those problems that gets exponentially worse the longer you ignore it. What starts as a small drip can turn into damaged insulation, rotted decking, and mold — all from a gap you could have patched in an afternoon.
Here’s the truth: most roof leaks are not caused by catastrophic damage. They come from a handful of small, fixable failures — a cracked shingle, a gap in the flashing around a chimney or vent, or sealant that’s dried out and pulled away. A homeowner with basic tools can handle most of these repairs safely.
This guide covers how to find the source of the leak, what to do in an emergency, and how to make the right patch for the most common leak types. We’ll also tell you clearly when the job is beyond DIY — because some roof problems genuinely need a professional.
Quick answer: Most roof leaks come from failed flashing around chimneys, vents, or skylights — not from the shingles themselves. Check those areas first. For emergency situations, a self-adhesive flashing tape or roofing caulk stops most leaks temporarily until you can do a proper repair.
⭐ Essential Product:
Flex Seal Liquid Rubber Sealant Coating — brush-on liquid rubber that fills cracks, gaps, and holes in shingles, flashing, and roof joints. Waterproof, UV-resistant, and stays flexible so it won’t crack in temperature swings. Works on most roofing materials including asphalt shingles, metal, and concrete. Around $20–$25/qt.
Also useful:
- Roofing caulk: Geocel 2300 Tripolymer Construction Sealant (~$10–$14) — the industry standard for sealing flashing, vent boots, and small gaps. Stays flexible, bonds to metal, wood, and asphalt. Far more durable than standard silicone for roofing.
- Self-adhesive flashing tape: Cofair WQR625 Quick Roof Flashing Tape (~$18–$22) — peel-and-stick aluminum tape for emergency repairs on seams, flashing, and cracked shingles. Bonds in minutes without tools.
- Emergency tarp: Kotap Waterproof Poly Tarp (~$15–$25 depending on size) — heavy-duty polyethylene for covering a large damaged area fast. Buy one size bigger than you think you need.
Step 1: Safety First — Know Before You Climb
Before anything else: roof work is one of the leading causes of serious DIY injuries. A few non-negotiable rules:
- Never work on a wet roof. Even a slight slope becomes dangerously slippery when wet. Wait until the roof is completely dry.
- Wear rubber-soled shoes with good grip — work boots or sneakers, not sandals or dress shoes.
- Use a safety harness for any roof with a pitch steeper than 6:12 (a 6-inch rise for every 12 inches of horizontal run). If you’re not sure, it’s probably worth the extra step.
- Work with a partner whenever possible — someone to hold the ladder and call for help if needed.
- If the roof feels soft or spongy underfoot, stop. That indicates rotted decking, which is a structural problem that needs a professional.
⚠️ This guide covers repairs on low-to-moderate pitch roofs (under 6:12) accessible without scaffolding or special equipment. Steep roofs, two-story roofs, and roofs with extensive damage are jobs for a licensed roofing contractor.
Step 2: Find the Source of the Leak
This is the hardest part — and the most important. The water stain on your ceiling is almost never directly below where the leak is entering. Water travels along rafters and sheathing before dripping down, sometimes several feet from the actual entry point.
Start Inside the Attic
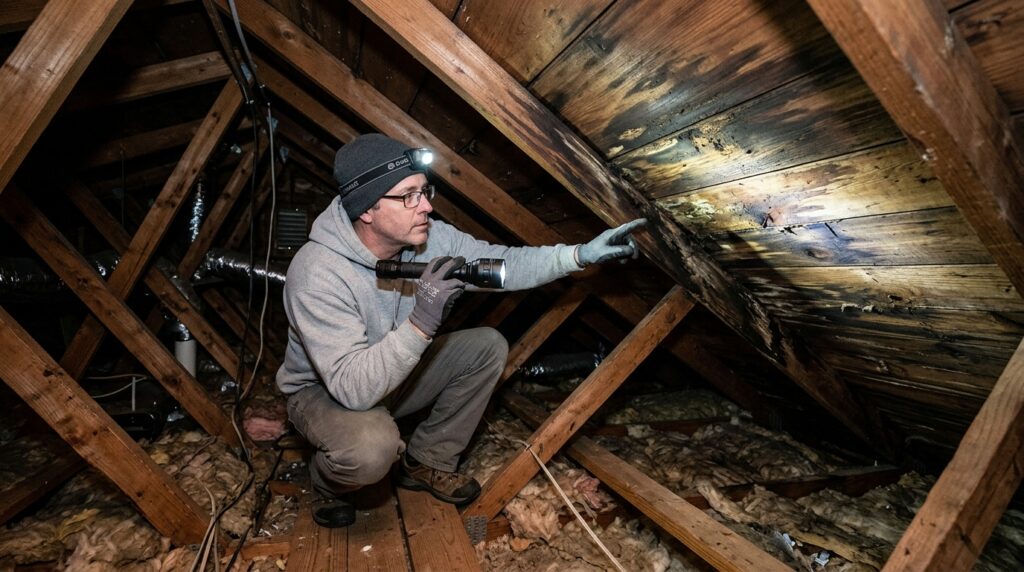
On a dry day, go into the attic with a flashlight and look for:
- Water stains or discoloration on the underside of the roof decking
- Dark spots or mold along rafters or sheathing
- Daylight visible through the decking (this is a clear breach point)
- Wet insulation (pull it back to inspect the decking beneath)
Mark any suspect spots with chalk so you can find them from the roof.
The Garden Hose Test
If you can’t identify the source from the attic, have a helper run a garden hose over sections of the roof while you watch from inside the attic:
- Start at the lowest point of the roof and work upward in sections — wet one area at a time and wait several minutes before moving up.
- When your helper inside sees water appear, you’ve found the zone.
- Narrow it down by wetting smaller areas within that zone.
This takes patience but reliably identifies the source.
The Most Common Leak Locations
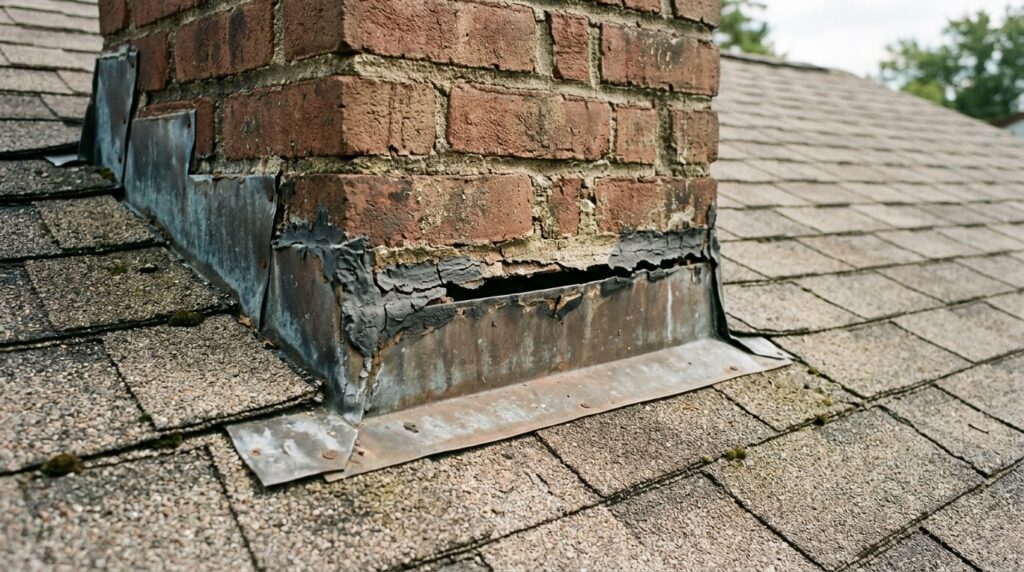
Flashing failures (most common): Flashing is the thin metal strip that seals the joint between the roof and a vertical surface — chimney, dormer wall, vent pipe, or skylight. It’s the #1 source of roof leaks. Look for gaps, rust, or sealant that has pulled away.
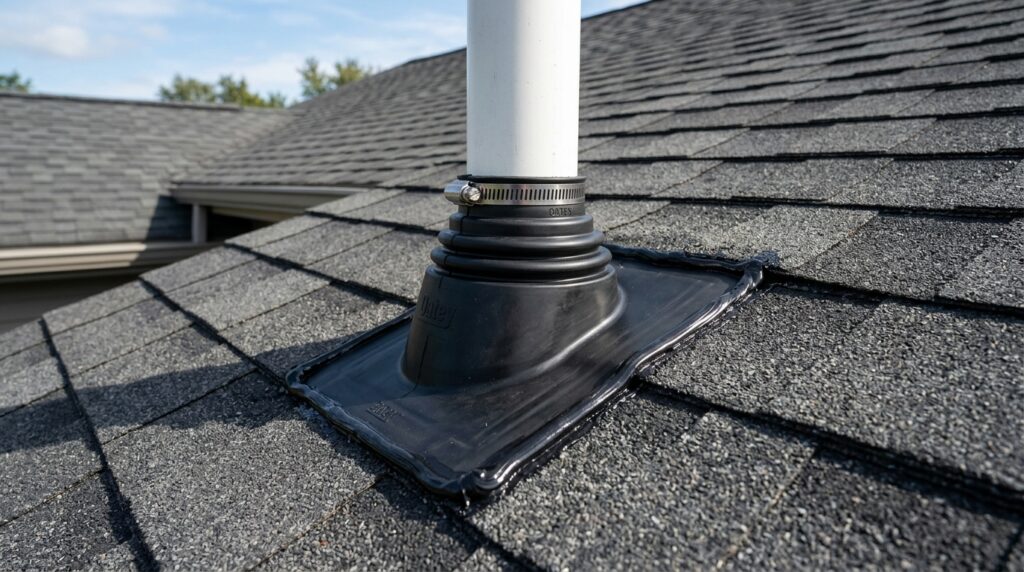
Vent pipe boots: The rubber boot around each vent pipe that comes through the roof dries out and cracks over time. A cracked boot is an extremely common leak source and an easy fix.
Damaged or missing shingles: Look for shingles that are curling, cracked, buckling, or missing entirely. Also check for shingle granules in your gutters — heavy granule loss means the shingles are at the end of their life.
Ridge cap and valleys: The ridge (peak) of the roof and the valleys (where two roof planes meet) are high-stress areas that can develop gaps.
Skylights: The sealant and flashing around skylights degrades faster than the rest of the roof. Check the perimeter carefully.
Step 3: Emergency Repair — Stop the Water Now
If you have an active leak during a rainstorm or can’t do a proper repair immediately, here’s how to stop water intrusion fast.
Option A: Emergency Tarp
For a large damaged area or storm damage:
- Measure the damaged area and cut your tarp to cover it with at least 4 feet of overlap on all sides.
- Lay the tarp over the damage, extending it over the ridge if possible (this prevents water from running under the uphill edge).
- Secure the edges with 2×4 boards — lay a board along each edge of the tarp and screw or nail through the board into the decking. Do not nail through the tarp alone; it will tear.
- Never use rocks or bricks to hold a tarp — they damage the shingles underneath.
Option B: Self-Adhesive Flashing Tape
For a localized crack, gap, or failed flashing:
- Clean and dry the area thoroughly — adhesive won’t bond to a wet or dirty surface.
- Peel the backing off the tape and press it firmly over the gap, smoothing out any air bubbles.
- Run your hand or a roller firmly along the edges to seal.
This is a temporary fix, but it will get you through a rainstorm while you plan the permanent repair.
Step 4: Repair Damaged Shingles
Curling Shingles
Curling at the edges or corners can be re-adhered before they crack or blow off:
- On a warm day (shingles are more pliable in heat), press the curled edge flat.
- Apply roofing caulk or asphalt roofing cement under the lifted area.
- Press the shingle flat and weight it with a brick for 24 hours.
Cracked Shingles
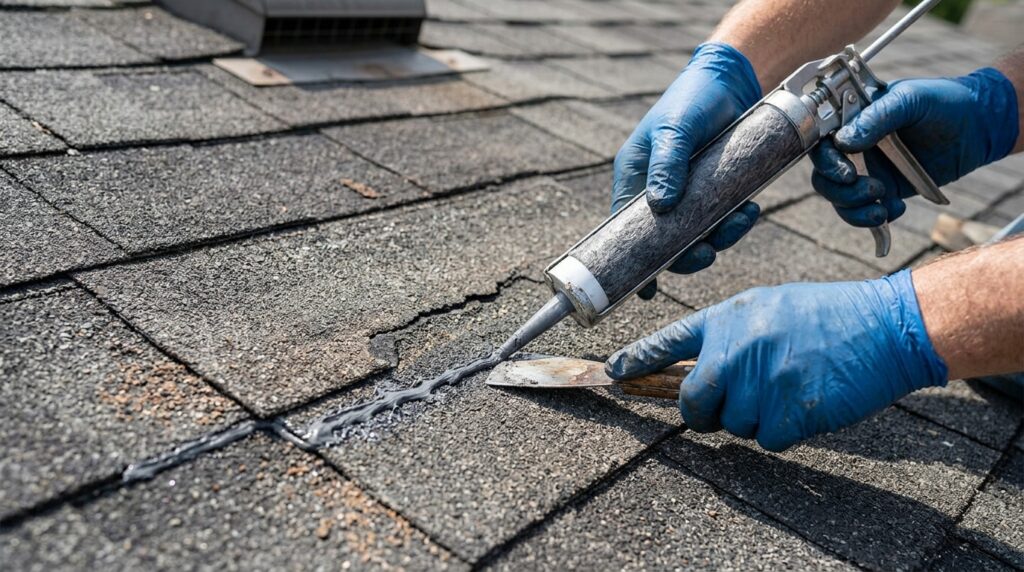
- Apply a bead of roofing caulk along the crack on both sides.
- Spread it smooth with a putty knife.
- Optional: press granules from your gutter into the wet caulk to match the shingle surface and protect the caulk from UV degradation.
Missing Shingles
A missing shingle needs to be replaced, not just patched. Shingles are sold at any home improvement store — bring a sample or photo to match the color and profile.
- Lift the edges of the surrounding shingles carefully.
- Remove any remaining nails from the old shingle location.
- Slide the new shingle into position under the overlapping shingles above.
- Nail the new shingle at the top corners with roofing nails.
- Apply roofing caulk over the nail heads.
- Press the overlapping shingles back down; apply caulk under any lifted edges.
Step 5: Seal or Replace Flashing
Flashing repairs are usually the highest-impact fix for a leaky roof. Most flashing leaks are a sealant failure, not a metal failure — the flashing itself is fine, but the sealant holding it to the surface has cracked or pulled away.
Re-sealing Flashing
- Use a putty knife or stiff brush to remove all old, cracked sealant from the joint.
- Clean the area with a rag to remove dust and debris.
- Apply a bead of roofing caulk or polyurethane sealant along the entire joint — both where the flashing meets the roof and where it meets the vertical surface (chimney, wall, etc.).
- Smooth with a putty knife and let cure per the product directions before rain exposure.
Replacing a Vent Pipe Boot
If the rubber boot around a vent pipe is cracked or collapsed, it needs replacement — re-sealing alone won’t hold long-term.
- Lift the surrounding shingles carefully.
- Remove the nails holding the old boot flange to the decking.
- Slide the old boot up and off the pipe.
- Slide the new boot down over the pipe and position the flange flat against the decking.
- Nail the flange corners, then apply roofing caulk around the pipe-to-boot joint.
- Re-lay the shingles over the flange and nail in place.
Replacement vent boots are available at any home improvement store for $10–$20.
Step 6: Inspect and Seal the Ridge and Valleys
After addressing the specific leak source, do a quick inspection of these high-risk areas:
Ridge cap: Check for any gaps between ridge cap shingles. Apply roofing caulk to any visible gaps.
Valleys: Look for gaps or lifted shingles along the valley lines. Press any lifted edges flat with roofing cement and nail if necessary. Check the valley flashing (if present) for gaps at the seams.
Roof Leak Repair Quick Checklist
Before you go up:
Roof is completely dry
Rubber-soled shoes on
Ladder secured at base and top
Partner present or phone accessible
Safety harness if pitch is 6:12 or steeper
Finding the leak:
Attic inspected for water stains and daylight gaps
Flashing around chimney, vents, and skylights checked first
Vent pipe boots inspected for cracks
Shingles checked for curling, cracking, or missing pieces
Ridge and valleys visually inspected
Making the repair:
Emergency tarp or flashing tape applied if repair can’t happen immediately
Cracked sealant removed before re-applying
New sealant applied to all flashing joints
Damaged shingles patched or replaced
All nail heads sealed with roofing caulk
Repair area allowed to cure before rain exposure
Frequently Asked Questions
How do I find a roof leak with no attic access? Without attic access, use the garden hose method from outside: have someone run water over sections of the roof starting at the lowest point while you watch inside for drips. Move upward in small sections and wait several minutes at each spot. This is slower but reliable. Look closely at flashings, vent boots, and any penetrations through the roof — those are statistically where most leaks originate.
Can I fix a leaky roof from the inside? You can stop water from entering your living space temporarily from inside, but you can’t permanently fix a roof leak without addressing the exterior. From inside you can use hydraulic cement or expanding foam to seal a visible gap in the decking, but these are stopgap measures. The permanent fix requires going on the roof.
How long does roofing caulk last? Quality polyurethane or tripolymer roofing sealant lasts 10–20 years when applied to a clean, dry surface. Standard silicone caulk lasts 5–10 years and is less flexible — it can crack in freeze-thaw cycles. Avoid cheap latex caulk for roofing; it won’t hold up to UV and temperature swings.
When should I call a roofer instead of DIY? Call a professional when: the decking feels soft or spongy (structural rot), multiple areas of the roof are leaking simultaneously, you can see extensive shingle deterioration across most of the roof, the roof pitch is too steep to walk safely, or the damage involves a large area that needs re-flashing or re-shingling. A full roof replacement is always a professional job.
Will homeowner’s insurance cover a leaky roof? It depends on the cause. Sudden damage from a storm or falling tree is typically covered. Leaks from normal wear, age, or neglected maintenance are usually not. File a claim and have an adjuster inspect before spending money on repairs — if the damage qualifies, it’s worth going through insurance for anything beyond a small patch.
The Bottom Line
Most roof leaks are not emergencies that require a roofing crew. They’re small failures at predictable locations — flashing, vent boots, cracked shingles — that a prepared homeowner can find and fix in a few hours.
The key is acting fast. A small leak patched today costs a tube of caulk and an afternoon. The same leak ignored for a season can mean rotted decking, damaged insulation, and a mold remediation bill that runs into thousands.
Find the source first — that’s 80% of the job. Once you know where water is getting in, the repair itself is usually straightforward.
For related seasonal maintenance, see our guide on how to winterize your house — several of those steps directly reduce the risk of winter roof damage.
Related posts: