
This post contains affiliate links. If you buy through our links, we may earn a small commission at no extra cost to you.
A dripping faucet wastes up to 3,000 gallons a year. Here’s how to diagnose which type you have and fix it yourself — starting with the repair that works 80% of the time.
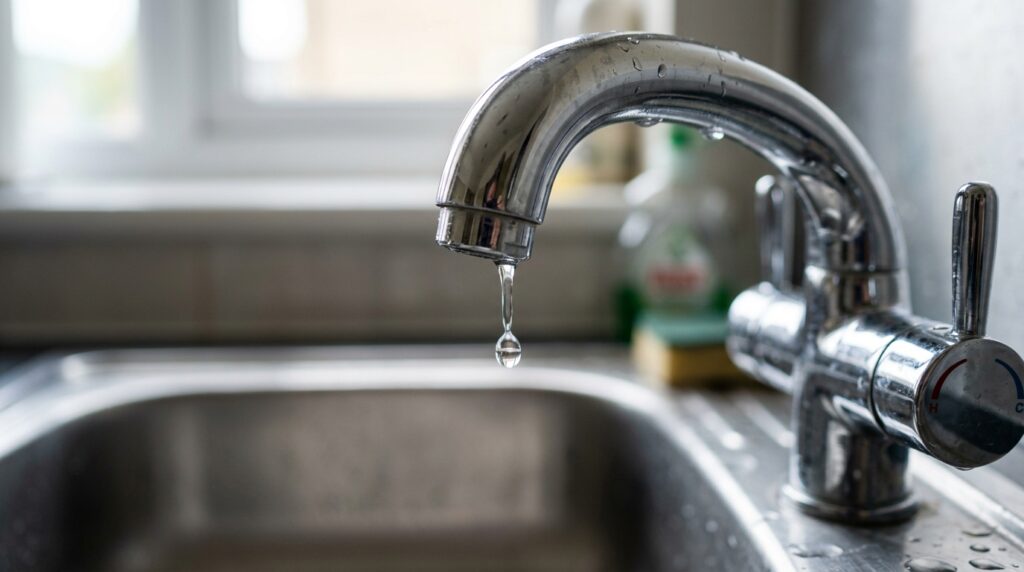
A faucet that drips once per second wastes about 3,000 gallons of water per year — roughly $20–$35 added to your water bill annually, depending on your rate. More importantly, a dripping faucet is almost always a worn part that costs $5–$15 to replace.
The fix varies by faucet type. Get that identification right, and the repair itself is a 30–60 minute job with basic tools.
Quick answer: Identify your faucet type (ball, cartridge, ceramic disc, or compression), turn off the water supply under the sink, disassemble the handle, replace the worn part (washer, O-ring, cartridge, or ball assembly), reassemble, and test. The part almost always costs under $15.
⭐ Essential Product:
Danco Universal Faucet Repair Kit — includes O-rings, washers, packing, and seat washers in multiple sizes. Covers most compression and ball faucet repairs in one kit. Around $8. For cartridge faucets, you’ll need a brand-specific cartridge — bring the old one to the hardware store or search by brand and model number.

Step 1: Identify Your Faucet Type
This determines everything — what part fails, where to find it, and how to replace it.
Ball Faucet (Single Handle, Rotates)
A single handle that rotates in an arc to control both temperature and flow. Common in kitchens. Contains a rotating ball with springs, seats, and O-rings — any of these can wear and leak.
Signs it’s failing: Leaks from the spout or from around the base of the handle.
Cartridge Faucet (Single or Double Handle)
A cartridge inside the faucet body controls water flow. Single-handle cartridges move up/down for flow and left/right for temperature. Two-handle cartridges control hot and cold separately.
Signs it’s failing: Handle feels loose, water drips from spout when off, or water temperature is inconsistent.
Ceramic Disc Faucet (Single Lever, Cylindrical Body)
A wide cylindrical body with a single lever. Uses two ceramic discs that rotate against each other to control flow. Extremely durable — leaks are usually caused by debris or a cracked disc.
Signs it’s failing: Slow drip from spout, or handle feels gritty.
Compression Faucet (Two Handles, Older Style)
The oldest faucet design — two separate handles (hot and cold) that you tighten down to stop flow. Still common in older homes and utility sinks. The rubber washer at the bottom of the stem compresses against a seat to stop water.
Signs it’s failing: Dripping from spout, harder to turn off over time, handle that requires more force to stop flow.
Step 2: Turn Off the Water Supply
The shutoff valves are under the sink — one for hot, one for cold. Turn both clockwise to close.
If the shutoff valves are seized or don’t stop the flow completely, turn off the main water supply to the house.
Turn on the faucet to release any remaining pressure and drain the lines. Keep the drain open while you work — you’ll drop parts.
Step 3: Fix a Ball Faucet (Kitchen Single Handle)
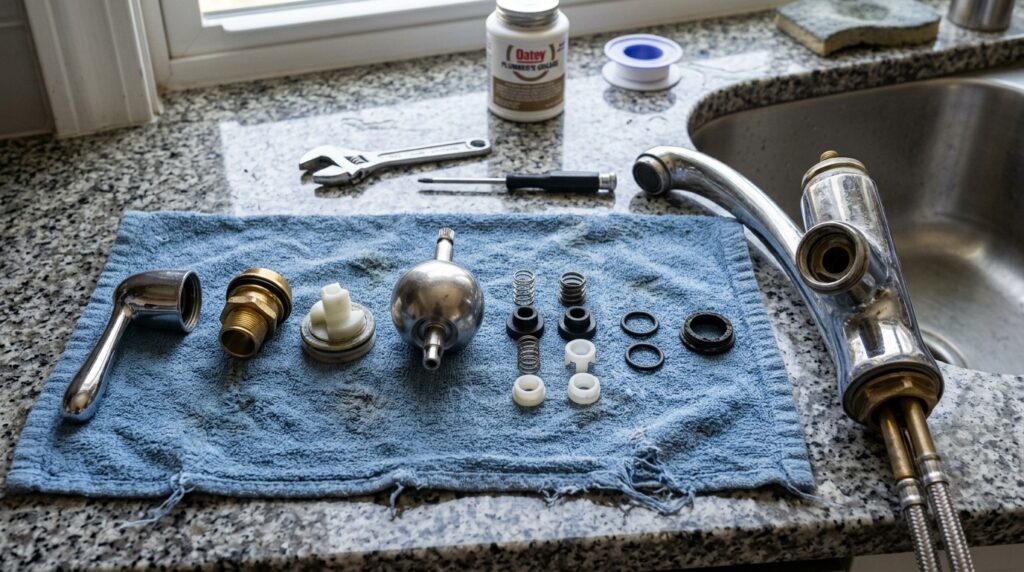
Ball faucets have the most parts — a repair kit is the easiest approach.
What you need: Delta or brand-specific ball faucet repair kit (~$12–$18). Includes springs, seats, O-rings, and the ball.
- Remove the handle set screw (usually under a decorative cap on top of the handle) and lift the handle off
- Unscrew the cap and collar
- Remove the cam, packing, and ball — set aside in order
- Use needle-nose pliers to remove the springs and seats from the two inlet holes
- Replace all parts in the kit — don’t try to identify which part failed. Kits are cheap and reassembling with some old parts creates the same leak later
- Install new springs and seats first (small end of spring into seat)
- Drop in the new ball, align the slot with the pin
- Install new cam and packing, thread on the cap
- Replace handle and test
Step 4: Fix a Cartridge Faucet
Single-Handle Cartridge
- Remove the decorative cap and handle screw, lift off the handle
- Note the cartridge orientation before removing (photograph it)
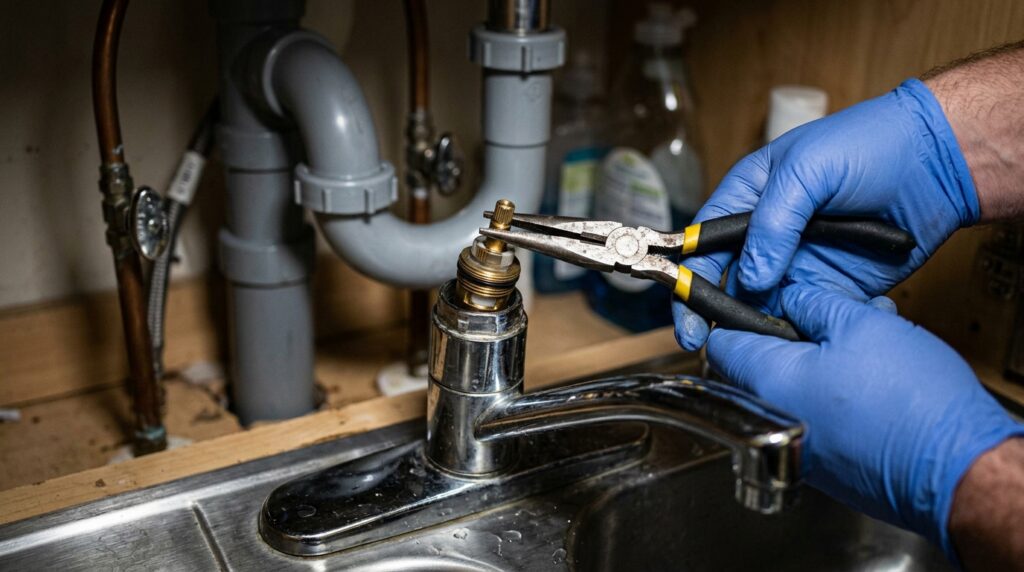
- Pull the cartridge straight up with pliers or a cartridge puller
- Take the old cartridge to the hardware store — cartridges are brand-specific and must match exactly
- Insert the new cartridge in the same orientation as the old one — alignment is critical
- Replace handle and test
Two-Handle Cartridge
Identify which side leaks (hot = left handle, cold = right handle) and repair only that side. Process is the same as single-handle above.
Step 5: Fix a Ceramic Disc Faucet
Ceramic disc faucets rarely fail — when they do, it’s usually debris on the discs or a cracked disc.
- Remove the handle (usually one screw underneath the lever)
- Unscrew the cylinder and pull it out
- Remove the ceramic discs from the bottom of the cylinder
- Clean the discs with white vinegar and a soft cloth — do not use abrasive cleaners
- Inspect for cracks. If cracked, order replacement discs (brand and model specific)
- Reassemble and turn water on slowly — fast water flow can crack ceramic discs
Step 6: Fix a Compression Faucet
The simplest repair — just a worn rubber washer.
- Remove the handle (pry off the decorative cap, remove the screw underneath)
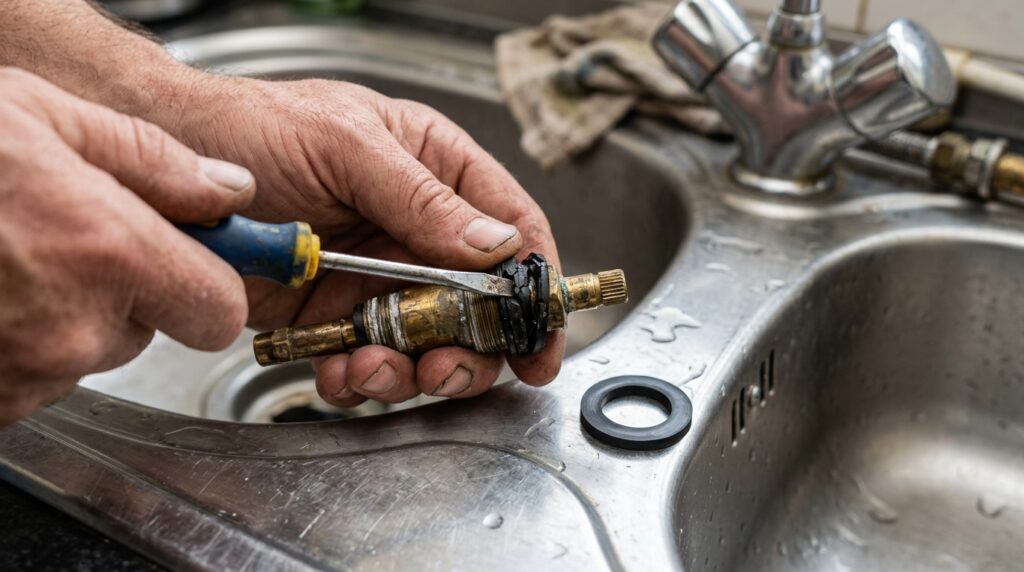
- Unscrew the packing nut with an adjustable wrench and pull out the stem
- At the bottom of the stem, find the rubber washer held by a brass screw
- Remove the screw and old washer
- Take the old washer to the hardware store for an exact match — size matters
- Install new washer, secure with brass screw
- Reassemble stem, packing nut, and handle
- Test — if still dripping, the seat (the surface the washer presses against) may be damaged and need resurfacing with a seat wrench
Still leaking after washer replacement? If the faucet drips immediately after repair, the seat is likely damaged. A seat wrench ($8–$12) resurfaces the seat. If the seat is beyond repair, replacing the entire faucet is usually more economical than custom parts — see our guide on how to replace a bathroom faucet.
Faucet Repair Quick Checklist
Before starting:
Identified faucet type (ball, cartridge, ceramic disc, compression)
Bought correct repair kit or cartridge (brand-specific for cartridge faucets)
Water supply shut off under sink
Drain stopper open (to catch dropped parts)
Towel placed under work area
During repair:
Photographed wiring/assembly before disassembly
Parts laid out in order as removed
Old cartridge or washer saved for hardware store matching
After repair:
Water turned on slowly
Faucet tested at both hot and cold
Base of handle checked for leaks (not just spout)
Shutoff valves opened fully
Frequently Asked Questions
How do I know which type of faucet I have? Look at the handle design. One handle that rotates in an arc = ball faucet. One handle that lifts up and rotates side to side = cartridge. One wide lever on a cylindrical body = ceramic disc. Two separate handles you tighten to turn off = compression. If still unsure, look for a brand name on the faucet and search it online.
Can I fix a leaky faucet without turning off the water? No — shutting off the water supply is non-negotiable. Working on a faucet with the water on causes an immediate flood when you remove the cartridge or stem. The shutoff valves under the sink take 5 seconds to close.
Why does my faucet still drip after I replaced the washer? For compression faucets, the seat (the surface the washer presses against) may be pitted or damaged. A damaged seat eats through new washers quickly. Resurface with a seat wrench or replace the faucet. For cartridge faucets, the cartridge may not be seated correctly or may be the wrong size — reinstall or return for the correct part.
How long does a faucet cartridge last? Typically 10–15 years with normal use. Hard water shortens cartridge life significantly — mineral deposits accelerate wear. If your cartridge needs replacing every few years, consider a whole-house water softener or a dedicated filter.
Is it worth repairing an old faucet or should I just replace it? Repair if the faucet is less than 15 years old and the fix costs under $20. Replace if the faucet is older, corroded, or repairs keep recurring — a new faucet costs $50–$200 and lasts another 15+ years. Our guide on how to replace a bathroom faucet covers the full replacement process if you decide to go that route.
The Bottom Line
A leaky faucet is almost always a worn part that costs less than $15 to replace. Identify the faucet type, shut off the water, replace the right part, and test. For ball faucets, replace the entire kit — not just the obvious failed piece. For cartridge faucets, match the cartridge exactly by brand and model.
For a related bathroom maintenance task worth doing the same weekend, our guide on how to unclog a bathroom sink drain takes 10 minutes and completes the most common bathroom plumbing repairs in one session.
Have questions about your specific faucet? Leave a comment below.
Related posts: