
This post contains affiliate links. If you buy through our links, we may earn a small commission at no extra cost to you.
Replacing a shower head is the fastest plumbing upgrade in the house — 15 minutes, one wrench, and no shutoff valves needed. Here’s the complete process plus how to choose the right replacement.
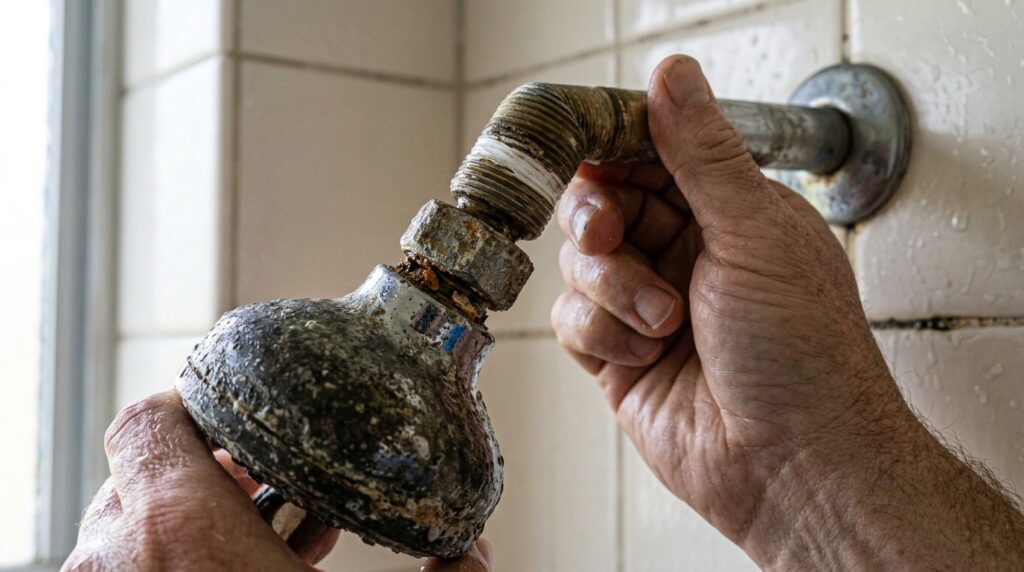
Replacing a shower head is one of the simplest plumbing tasks in a home — no shutoff valves, no drain connections, no P-traps. Just unscrew the old head, wrap the threads, and screw on the new one.
The whole job takes 15 minutes and the only tool you need is an adjustable wrench (and even that’s optional — many shower heads go on hand-tight).
Quick answer: Unscrew the old shower head counterclockwise (by hand or with a wrench), clean the threads on the shower arm, wrap with Teflon tape, screw on the new shower head hand-tight plus 1/4 turn, and test for leaks.
⭐ Essential Product:
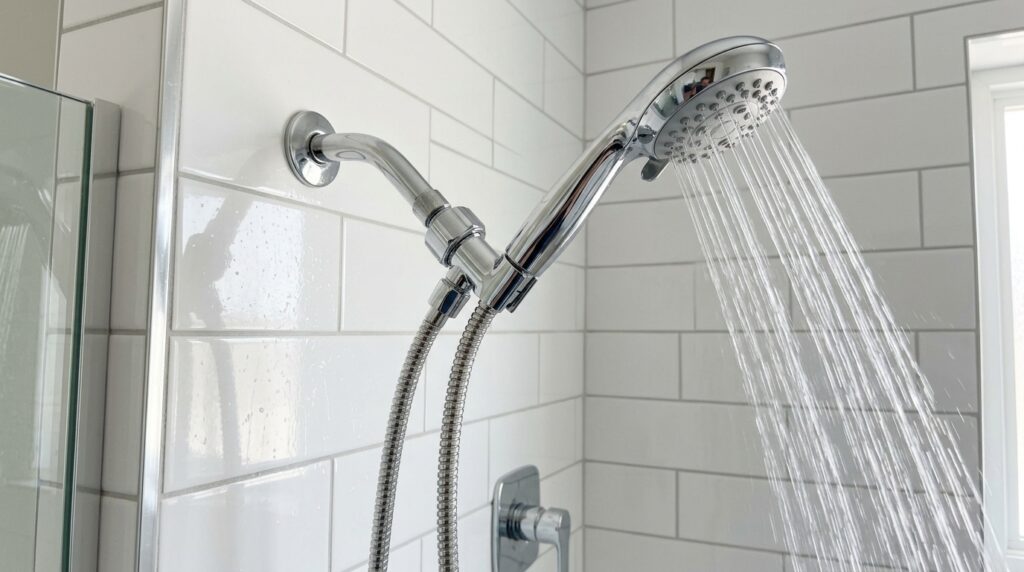
Moen Magnetix Six-Function Handheld Shower Head — magnetic docking, 6 spray settings, easy clean nozzles, chrome finish. Standard 1/2-inch NPT connection fits all residential shower arms. Around $55. The magnetic dock makes it the easiest handheld to return to its bracket one-handed.
Budget pick: AmazonBasics 1.8 GPM Shower Head — fixed mount, 5 spray settings, chrome, WaterSense certified. Around $20. Best value if you just want a reliable upgrade without features.
Essential supply: Teflon Thread Seal Tape — $3 for a roll. Always wrap fresh tape on shower arm threads before installing any shower head.
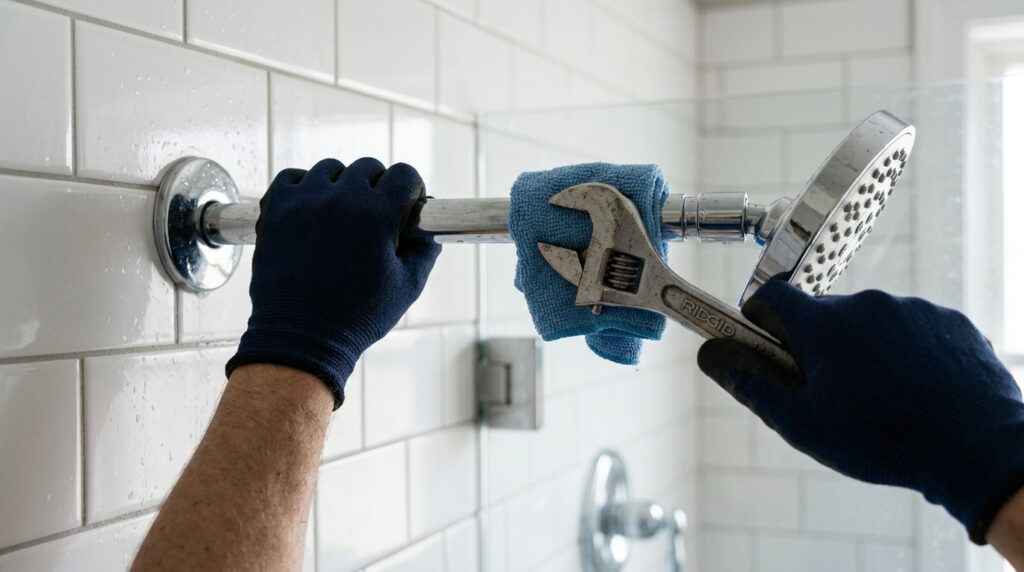
Step 1: Remove the Old Shower Head
By Hand First
Try unscrewing the old shower head by hand — counterclockwise. Many shower heads are only hand-tight and come off easily, especially if recently installed or plastic-threaded.
With a Wrench (If Stuck)
If the head won’t turn by hand:
- Wrap the shower arm (the pipe coming out of the wall) with a cloth or tape to protect the finish
- Hold the shower arm steady with one hand or a second wrench — this prevents the arm from turning inside the wall and damaging the plumbing
- Apply the adjustable wrench to the connection nut on the shower head
- Turn counterclockwise with steady pressure — don’t jerk
⚠️ Always hold the shower arm while unscrewing. If the arm turns, it can crack the fitting inside the wall — an expensive repair that requires opening the wall. Steady the arm before applying torque to the head.
If It’s Corroded Solid
Apply penetrating oil (WD-40 or PB Blaster) to the connection, let sit 15–30 minutes, then try again. Very old shower heads sometimes require significant force — go slow and hold the arm steady.
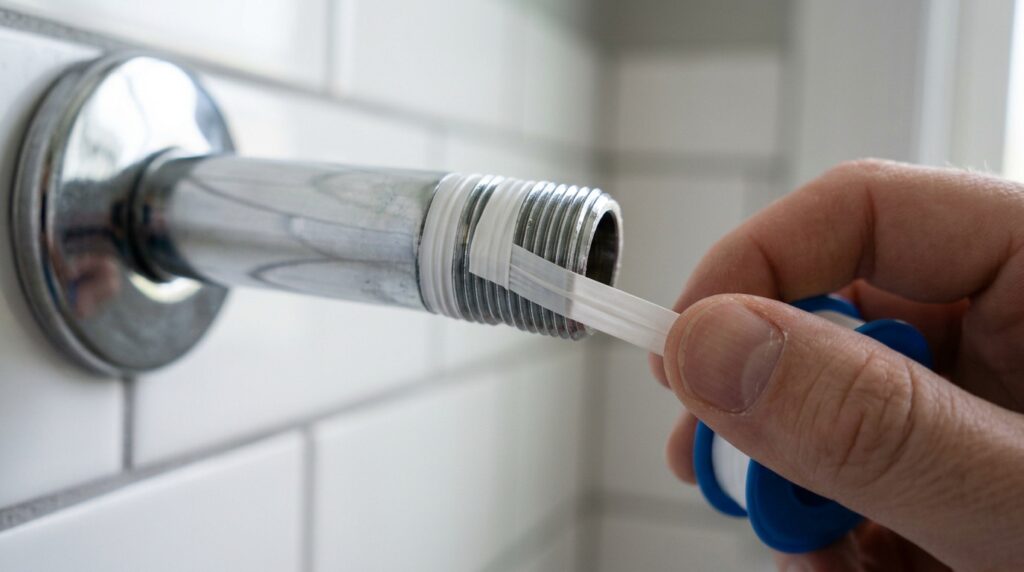
Step 2: Clean the Threads
Once the old head is off, inspect the threads on the shower arm — the pipe sticking out of the wall.
- Remove any old Teflon tape remnants with your fingers or a small brush
- Check the threads for damage (crossed threads, corrosion, mineral buildup)
- Clean mineral deposits with white vinegar on a cloth or an old toothbrush
- Dry the threads completely
The threads should be clean and undamaged before wrapping with new tape. Wrapping over old tape or debris creates an uneven seal that leaks.
Step 3: Wrap With Teflon Tape
Teflon tape (also called thread seal tape or PTFE tape) fills microscopic gaps in the threads and prevents leaks. This step takes 30 seconds and eliminates the most common cause of shower head drips.
- Hold the tape against the start of the threads
- Wrap clockwise (in the direction you’ll tighten the shower head) — 2–3 complete wraps
- Stretch the tape slightly as you wrap so it seats into the threads
- Tear the tape and press the end against the threads
Clockwise wrap is critical. If you wrap counterclockwise, the tape unravels when you screw on the shower head instead of seating into the threads.
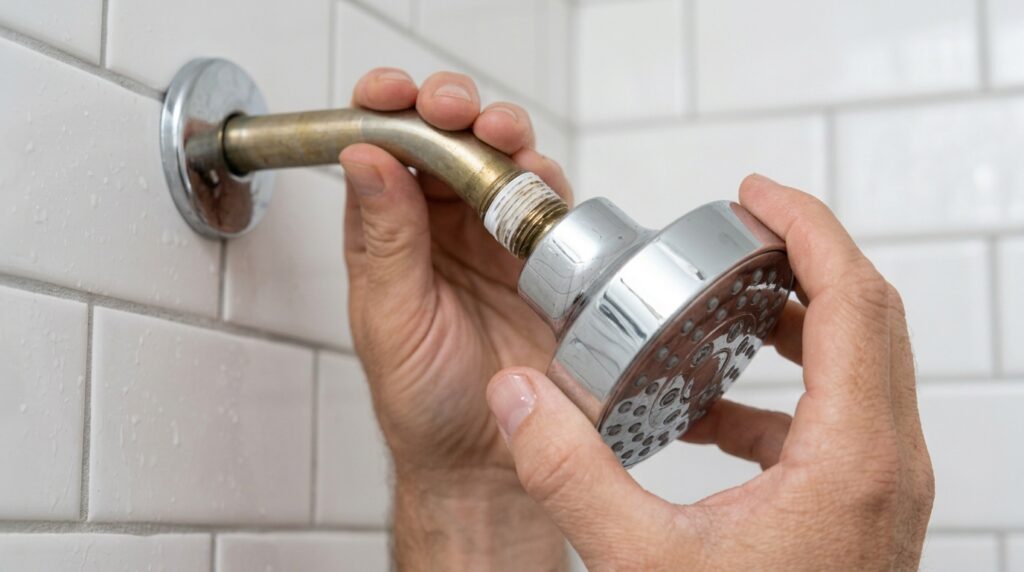
Step 4: Install the New Shower Head
Thread It On
Start threading the new shower head onto the arm by hand. The first few threads should catch easily — if they resist immediately, stop and rethread (cross-threading damages both the head and the arm).
Thread hand-tight until snug, then add 1/4 turn with a wrench — use the same cloth protection and steady-arm technique as removal.
Do not overtighten. Shower head connections only need to be snug — overtightening can crack plastic fittings or damage the thread seal. If the head leaks slightly after testing, add a touch more tightening, not a full turn.
Orient the Head
For fixed shower heads, make sure the head is angled correctly before fully tightening. Once tight, the angle is set — you don’t want to back it off to adjust (risks loosening the seal).
For adjustable-angle heads and handhelds, this isn’t an issue — you can adjust after installation.
Step 5: Test for Leaks
Turn on the water and let it run for 30 seconds while you watch the connection between the shower head and the arm.
No drips = done.
Dripping at the connection: Turn off water, dry the connection, tighten 1/4 turn more, retest. If still leaking after two attempts, remove the head, re-wrap with Teflon tape (3–4 wraps this time), and reinstall.
Dripping from the shower head itself: This is the shower head dripping after shutoff — normal for most heads as internal water drains for 10–30 seconds. If it continues beyond 30 seconds, the diverter valve in the shower may need replacement (separate repair).
Shower Head Replacement Quick Checklist
Before starting:
New shower head purchased (standard 1/2-inch NPT — fits all residential arms)
Teflon tape on hand
Adjustable wrench and cloth to protect finish
Old towels under work area
Removal:
Tried by hand first (counterclockwise)
Shower arm held steady before applying wrench
Old tape removed from arm threads
Threads inspected and cleaned
Installation:
Fresh Teflon tape wrapped clockwise, 2–3 wraps
Head threaded on by hand first
Final 1/4 turn with wrench — not overtightened
Head oriented correctly before final tighten
After installation:
Water turned on, connection checked for drips
Adjusted if needed (1/4 turn increments)
Choosing the Right Shower Head
Before buying, know what you’re replacing:
| Type | Best For | Price Range |
|---|---|---|
| Fixed mount | Simple upgrade, clean look | $15–$80 |
| Handheld | Flexibility, rinsing, bathing kids or pets | $25–$100 |
| Dual (fixed + handheld) | Best of both — most popular upgrade | $40–$150 |
| Rain shower (ceiling) | Luxury feel, requires higher flow | $50–$200+ |
| High-pressure | Homes with low water pressure | $25–$80 |
Flow rate: Standard shower heads flow at 2.5 GPM. WaterSense certified heads flow at 1.8 GPM or less — same feel, 28% less water. Worth choosing if water cost or conservation matters.
Connection size: All US residential shower arms use 1/2-inch NPT threading — any shower head labeled “standard” or “universal” will fit.
Frequently Asked Questions
Do I need to turn off the water to replace a shower head? No — shower heads connect to the shower arm, not directly to a valve. The water is controlled by the shower valve behind the wall. Just don’t turn on the shower while you’re working. No shutoff valves needed.
Why is my new shower head dripping after I turn it off? Water trapped in the shower head and arm drains out for 10–30 seconds after shutoff — this is normal. If it continues dripping beyond 30 seconds, the shower valve’s cartridge may be worn and needs replacement. That’s a separate repair from the shower head itself.
Can I use plumber’s putty instead of Teflon tape on shower head threads? No — plumber’s putty is for drains and faucet bases, not threaded connections. Teflon tape is the correct sealant for threaded pipe connections including shower heads. Using putty on threads creates a messy, ineffective seal.
My shower head spins freely and won’t tighten. What’s wrong? The threads on the shower arm may be stripped or damaged. Inspect the arm threads — if they’re worn smooth, the arm needs replacement. Shower arm replacement is a 30-minute job: unscrew the old arm from the wall fitting (counterclockwise), thread in a new arm, and install the shower head on the new arm.
How often should I replace a shower head? No set schedule — replace when performance degrades (low pressure, uneven spray from clogged nozzles) or when you want an upgrade. Cleaning the shower head nozzles with vinegar every 6–12 months extends lifespan significantly in hard water areas.
The Bottom Line
Replacing a shower head is the fastest plumbing upgrade in the house. Unscrew the old one while holding the arm steady, clean the threads, wrap with Teflon tape clockwise, screw on the new head hand-tight plus 1/4 turn, and test. Fifteen minutes, one wrench.
If low water pressure is the reason you’re upgrading, our guide on how to increase water pressure in the shower covers additional fixes beyond the shower head — including cleaning the flow restrictor and checking the pressure regulator.
Have questions about your specific shower setup? Leave a comment below.
Related posts: