
This post contains affiliate links. If you buy through our links, we may earn a small commission at no extra cost to you.
Wallpaper removal is tedious but manageable with the right sequence — score, saturate, wait, strip. Here’s the step-by-step process that gets it off without destroying the drywall underneath.
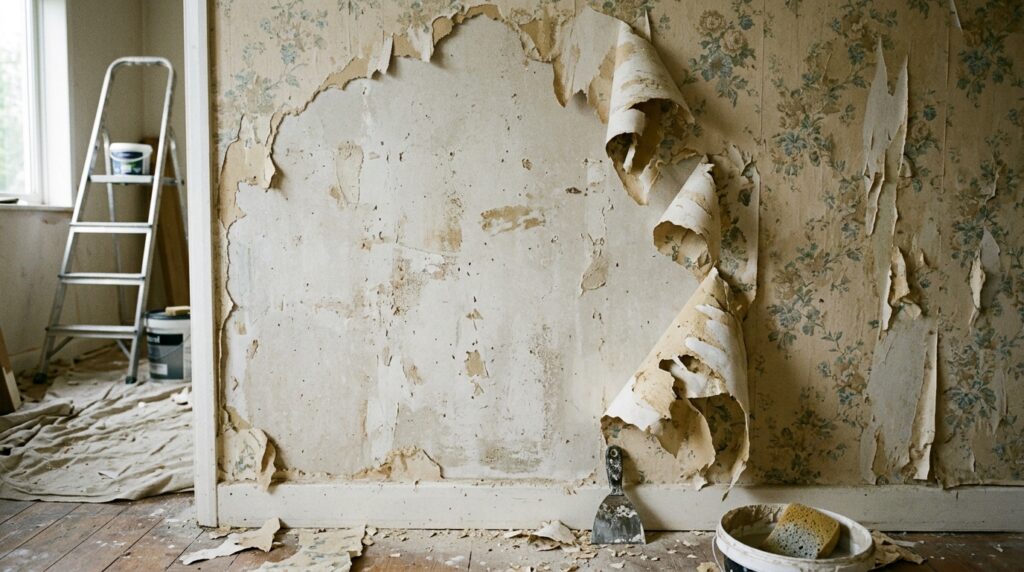
Removing wallpaper has a reputation for being miserable — and it can be, if you rush it or skip the scoring step. Done methodically, it’s tedious but manageable, and the result is a smooth wall ready for paint.
Most wallpaper removal projects take one to two days for a standard room, depending on how many layers you’re dealing with and how well the paper was originally hung.
Quick answer: Score the wallpaper with a scoring tool, saturate with wallpaper remover solution, wait 5–10 minutes, and strip in large sections using a wide putty knife. Work in small sections, keep the wall wet, and don’t rush. After stripping, wash the wall, repair any damage, and prime before painting.
What You’ll Need
- Wallpaper scorer (Paper Tiger or similar)
- Wallpaper remover solution or fabric softener + water
- Garden sprayer or large sponge
- Wide putty knife (6-inch) and narrow putty knife (3-inch)
- Plastic sheeting or drop cloths
- Sponge and bucket
- TSP cleaner or sugar soap
- Drywall joint compound (for repairs after)
- Primer (oil-based recommended before painting over stripped walls)
Our Top Pick — Scorer: Zinsser Paper Tiger Scoring Tool — rotating scoring wheels puncture the wallpaper face without gouging drywall underneath. Around $10. Non-negotiable for non-perforated wallpaper.
Our Pick — Remover Solution: DIF Liquid Concentrate Wallpaper Remover — enzyme-based formula breaks down paste adhesive, works on all wallpaper types. Around $10 per quart (makes 2 gallons). More effective than DIY fabric softener mix on stubborn paper.
Our Pick — Putty Knife: Red Devil 4203 4-Inch Stiff Putty Knife — high carbon steel blade, stiff set for scraping, shatterproof handle. Around $13.
Step 1: Prepare the Room
Wallpaper removal is wet work. Water gets everywhere.
- Move furniture to the center of the room and cover with plastic sheeting
- Remove outlet covers and switch plates
- Turn off electricity to the room at the breaker — water and outlets don’t mix
- Lay plastic sheeting on the floor, taped to the baseboard — not drop cloths, which absorb water and stay wet
- Fill a spray bottle or garden sprayer with remover solution
⚠️ If your home was built before 1978, wallpaper may be covering lead paint. Don’t sand or dry-scrape — keep the process wet and dispose of stripped paper carefully. When in doubt, test for lead with a lead test kit before starting.
Step 2: Identify Your Wallpaper Type
Not all wallpaper removes the same way.
Strippable Wallpaper (Modern)
Most wallpaper installed after the 1990s is strippable — the face peels off dry, leaving the backing. Start at a seam or corner, grab the edge, and pull at a low angle. If large sections come off cleanly in one piece, you have strippable paper.
If strippable: Pull off the face layer dry. You’ll have the backing left on the wall, which still needs to be removed with solution — but half your work is already done.
Non-Strippable Wallpaper (Older)
Vinyl-coated and older papers don’t peel cleanly. These require scoring and soaking to remove.
Multiple Layers
If you find wallpaper under the first layer, plan for a longer project. Each layer needs to be scored and soaked separately. Don’t try to remove multiple layers at once.
Step 3: Score the Wallpaper
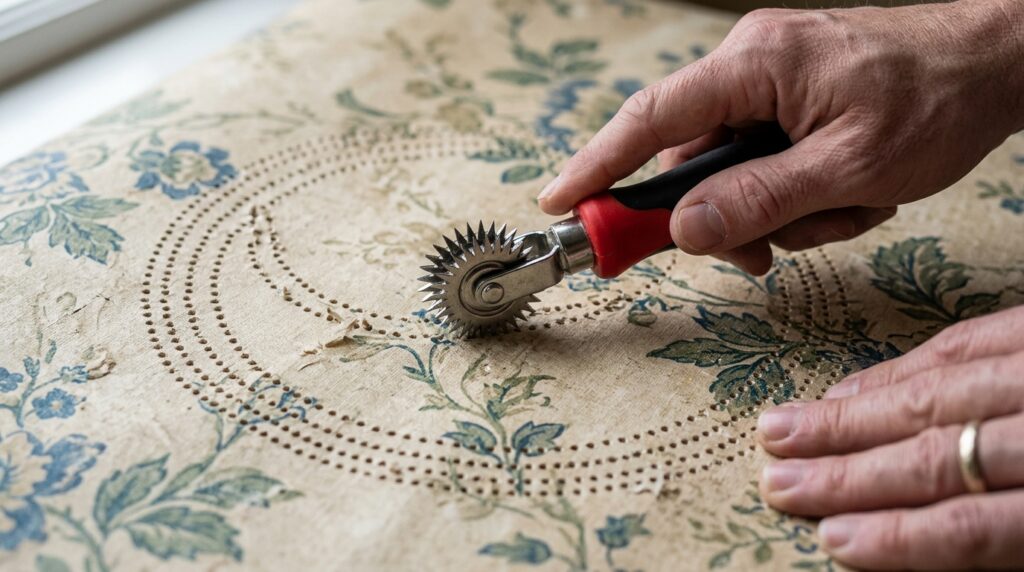
For non-strippable paper (and any backing left after stripping a strippable face), use a scoring tool to perforate the surface.
Run the Paper Tiger or scoring tool across the wall in overlapping circular patterns. The scoring wheels punch small holes through the paper face, allowing the remover solution to penetrate the adhesive layer underneath.
Important: Don’t press too hard. The goal is to perforate the paper, not gouge the drywall. Light, consistent pressure is all you need. Over-scoring creates drywall damage that you’ll spend hours repairing later.
Step 4: Apply Remover Solution
Mix remover solution per the package directions (typically 1 oz concentrate per quart of hot water). Hot water activates the solution faster and improves penetration.
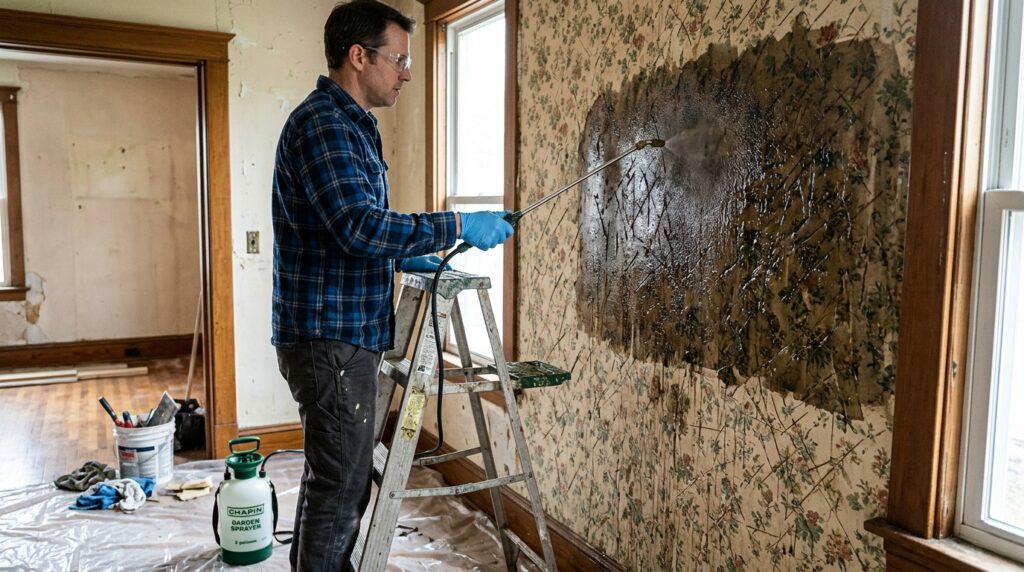
Apply to a manageable section — roughly 3×4 feet. Use a garden sprayer for speed or a large sponge for more control. Saturate the paper thoroughly — it should look dark and wet, not just damp.
Wait 5–10 minutes. The solution needs time to penetrate through the scored holes and soften the adhesive. Don’t let it dry before you start stripping.
Reapply if the paper starts to dry out before you finish the section.
Step 5: Strip the Wallpaper
Starting at a seam or corner, slide the wide putty knife under the edge of the wallpaper at a low angle. Push forward and lift — don’t pry. The goal is to slide the blade between the paper and the wall, not to lever against the wall surface.
Work in large strips when possible. Wet, softened paper often comes off in satisfying large sections. Strip from the top down.
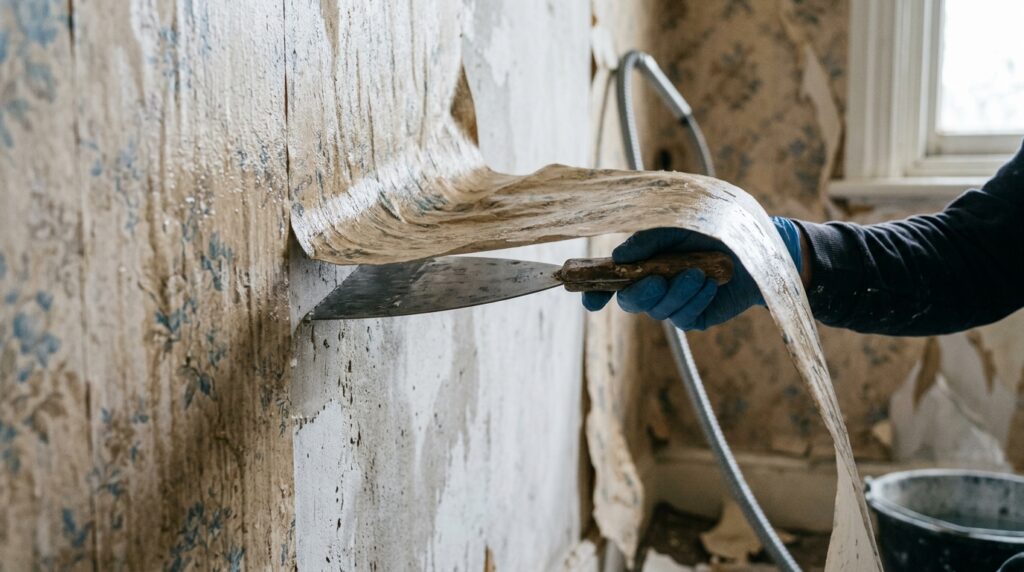
Stubborn areas: Apply more solution, wait another 5 minutes, then try again. Forcing dry paper tears it into small pieces that are much harder to remove than large strips.
At seams: Use the narrow 3-inch knife to work carefully — seams are where drywall damage is most likely.
As you strip, drop waste paper directly into a garbage bag. Wet paper on plastic sheeting is a slip hazard.
Step 6: Wash the Walls
After all paper is removed, the walls will have adhesive residue — a sticky, slightly shiny film that must be removed before painting. Paint applied over adhesive residue peels.
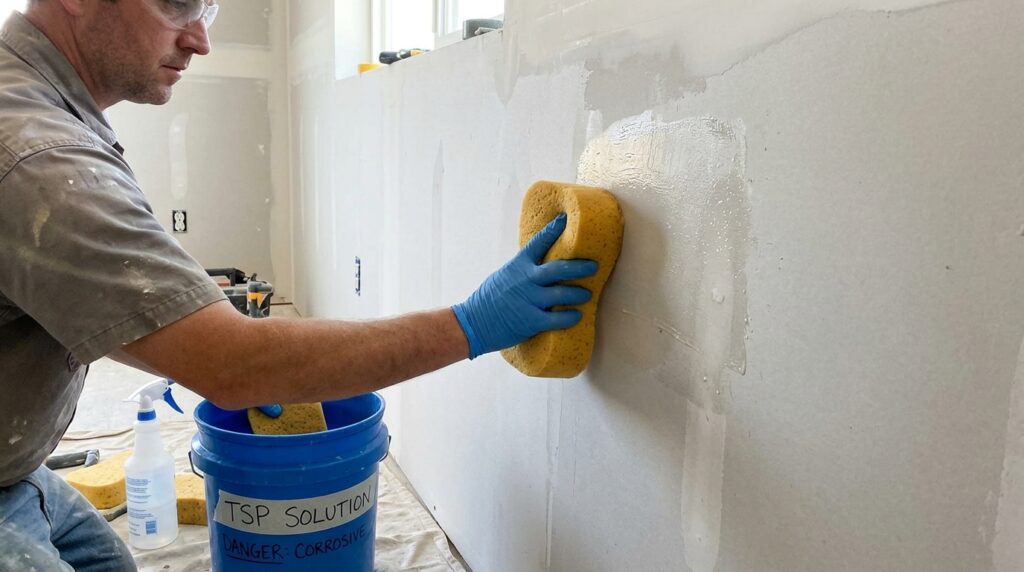
Mix TSP (trisodium phosphate) cleaner with water per package directions. Wash the entire wall surface with a sponge, working top to bottom. Rinse with clean water. Let dry completely — at least 24 hours with good ventilation.
Step 7: Repair the Wall
Wallpaper removal almost always leaves some wall damage — torn drywall paper, small gouges, dings. Repair before priming.
- Torn drywall face paper: Seal with a coat of oil-based primer before applying joint compound — water-based products can cause torn drywall paper to bubble and peel
- Small holes and gouges: Apply joint compound with a putty knife, let dry, sand smooth
- Deeper damage: Apply two thin coats of joint compound, feathering the edges; sand between coats
Step 8: Prime Before Painting
This step is non-negotiable. Bare or repaired drywall absorbs paint unevenly — the result looks patchy even after multiple coats of paint.
Use an oil-based primer or a high-hide drywall primer. Apply one full coat, let dry completely, then lightly sand with 220-grit before painting.
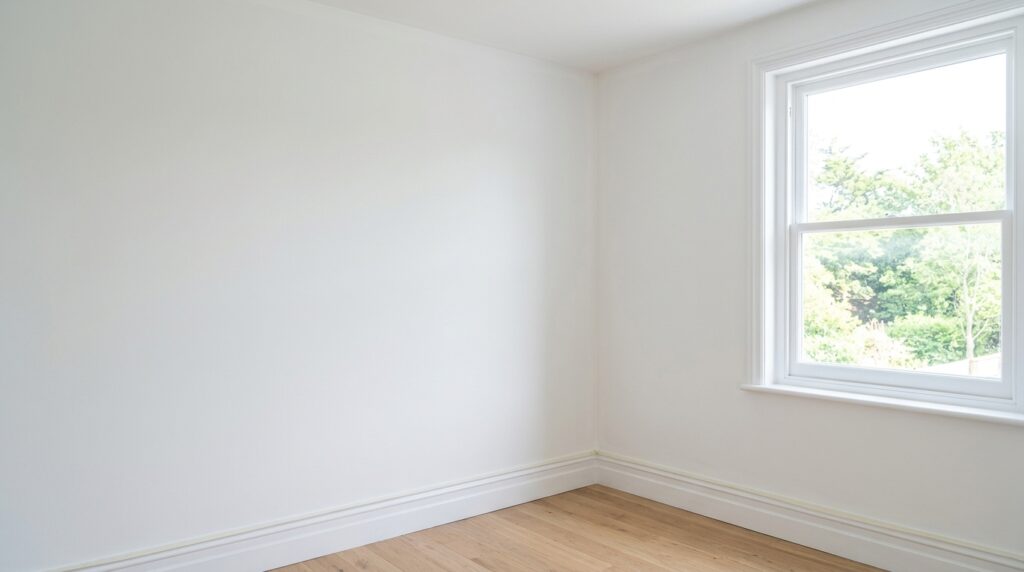
Why oil-based primer? Stripped walls have adhesive residue and damaged drywall paper that water-based primers can reactivate or raise. Oil-based primer seals everything in one coat and gives a stable base for topcoats.
For the painting process after priming, our guide on how to paint a room covers the full sequence from cutting in to rolling.
Common Problems and Solutions
| Problem | Cause | Solution |
|---|---|---|
| Paper tears into tiny pieces | Not wet enough | Reapply solution, wait longer |
| Drywall tears with paper | Over-scoring or paper stuck to bare drywall | Wet more, pull at lower angle |
| Adhesive residue won’t come off | Didn’t use TSP cleaner | Re-wash with TSP |
| Paint peels after wallpaper removal | Painted over residue without priming | Strip, re-prime with oil-based primer |
| Paper is under a coat of paint | Previous owner painted over wallpaper | Score more aggressively, use more solution |
What If Someone Painted Over the Wallpaper?
Painted-over wallpaper is the worst-case scenario. The paint seals the paper face, preventing remover solution from penetrating.
Options:
- Score aggressively and use a steamer (rental ~$30/day) instead of solution — steam penetrates through paint better than liquid
- Skim coat over it — if the wallpaper is firmly attached with no bubbles or peeling edges, some professionals skim coat directly over it with joint compound for a smooth surface ready to paint. Not ideal, but viable if removal is proving destructive to the drywall beneath.
- Install new drywall over it — in extreme cases, installing ¼-inch drywall over the existing wall is faster and cheaper than removing painted-over wallpaper from damaged drywall.
Frequently Asked Questions
How long does it take to remove wallpaper from one room? A standard 12×12 bedroom with single-layer wallpaper takes 6–10 hours including prep, stripping, washing, and repairs. Add 2–4 hours for each additional layer. Budget a full weekend for the complete project including drying time.
Can I use a steamer instead of solution? Yes — a wallpaper steamer is more aggressive than solution and works better on thick vinyl paper or painted-over wallpaper. Rent one for $25–$40/day. The drawback is that steam can damage drywall if held in one place too long — keep it moving.
Do I have to remove wallpaper before painting? Technically no, but it’s strongly recommended. Painting over wallpaper traps moisture, can cause bubbling at seams, and makes future removal much harder. If the wallpaper is perfectly flat with no peeling edges and you’re in a short-term living situation, painting over it is a shortcut — not a long-term solution.
What’s the easiest wallpaper to remove? Strippable vinyl wallpaper installed after the mid-1990s on properly primed drywall. It peels off in large sections without scoring or solution. The worst is older non-strippable paper hung directly on unprimed drywall — the paper bonds to the drywall face and tears it when removed.
How do I prevent wall damage when removing wallpaper? Keep the paper wet throughout the process, pull at a very low angle (nearly parallel to the wall), and don’t rush. Dry paper tears; wet paper releases. The slower you go in the early sections, the more you learn about how the paper on your specific wall behaves.
The Bottom Line
Wallpaper removal is a patience project, not a skill project. Score, saturate, wait, strip — in that order, in manageable sections. The most common mistake is not keeping the wall wet long enough before stripping.
Once it’s off, wash the walls thoroughly with TSP and prime with oil-based primer before painting. The prep determines how the paint looks for the next decade.
For the wall repair work after stripping, our guide on how to patch a hole in drywall covers every repair size from nail holes to large damage.
Have questions about your specific wallpaper situation? Leave a comment below.
Related posts: